メインコンテンツにスキップ

Asus ROG G750JM-BS17N23 Back Plate Replacement

必要な工具と部品

  1. Asus ROG G750JM-BS17N23 Back Plate Replacement, Back Plate: 手順 1、 1の画像 1
    • With the computer upside down, lift up on the rubber cap on the back plate to access the captive Phillips #2 screw.

  2. Asus ROG G750JM-BS17N23 Back Plate Replacement: 手順 2、 1の画像 1
    • Retract the Phillips #2 screw until the cover is loose.

    • The screw will not come all the way out.

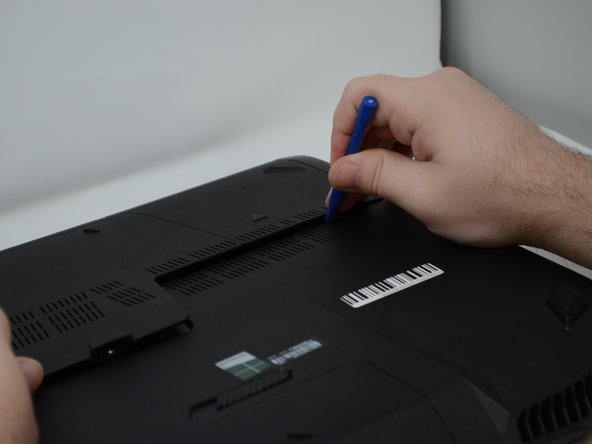
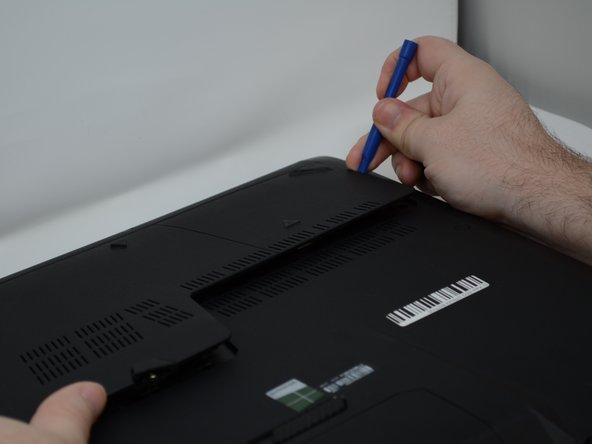
  3. Asus ROG G750JM-BS17N23 Back Plate Replacement: 手順 3、 3の画像 1 Asus ROG G750JM-BS17N23 Back Plate Replacement: 手順 3、 3の画像 2 Asus ROG G750JM-BS17N23 Back Plate Replacement: 手順 3、 3の画像 3
    • Pry around the edges of the plate using a plastic opening tool until the plate is removed.

終わりに

To reassemble your device, follow these instructions in reverse order.

ある他の人がこのガイドを完成しました。

作成者

1人の作成者と共同作成されました。

Tanner

メンバー登録日: 09/21/18

919 ポイント

5のガイドは作成済み

チーム

0 件のコメント

コメントを追加

統計データ:

過去 24時間: 0

過去 7 日: 1

過去 30 日: 3

今までの合計 462