メインコンテンツにスキップ

Asus R510CA-OB01 Motherboard Replacement

必要な工具と部品

  1. Asus R510CA-OB01 Motherboard Replacement, Keyboard and Mousepad: 手順 1、 1の画像 1
    • Shut down the computer and disconnect all external devices connected to it.

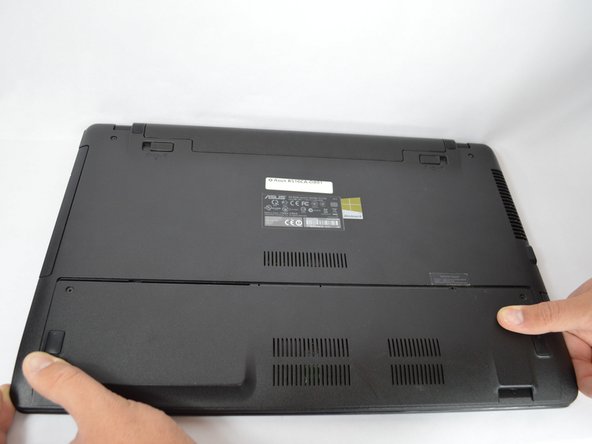
    • Turn the computers that it is upside down. Position the computer with the front towards you.

  2. Asus R510CA-OB01 Motherboard Replacement: 手順 2、 1の画像 1
    • After detaching the battery, remove the two 5mm screws holding down the casing using a Phillips #00 screwdriver.

  3. Asus R510CA-OB01 Motherboard Replacement: 手順 3、 2の画像 1 Asus R510CA-OB01 Motherboard Replacement: 手順 3、 2の画像 2
    • Loosen the four 12mm screws on the bottom and top panel of your device using a Phillips #0 screwdriver.

  4. Asus R510CA-OB01 Motherboard Replacement: 手順 4、 3の画像 1 Asus R510CA-OB01 Motherboard Replacement: 手順 4、 3の画像 2 Asus R510CA-OB01 Motherboard Replacement: 手順 4、 3の画像 3
    • Use the grips to slide the panel off.

    • Remove the panel by lifting it off the device.

  5. Asus R510CA-OB01 Motherboard Replacement: 手順 5、 2の画像 1 Asus R510CA-OB01 Motherboard Replacement: 手順 5、 2の画像 2
    • Remove the three 5mm screws holding down the hard drive and the five 5mm screws holding down the casing using a Phillips #00 bit.

  6. Asus R510CA-OB01 Motherboard Replacement: 手順 6、 2の画像 1 Asus R510CA-OB01 Motherboard Replacement: 手順 6、 2の画像 2
    • Turn the laptop the right way up and face it towards you.

    • Insert the flat edge of the flat plastic opening tool into the crease of the keyboard cover.

    • While the opening tool is in the crease, carefully pry open the casing by sliding the plastic opening tool along the edge.

  7. Asus R510CA-OB01 Motherboard Replacement: 手順 7、 2の画像 1 Asus R510CA-OB01 Motherboard Replacement: 手順 7、 2の画像 2
    • Make sure that the entire cover has been released front the plastic pins.

    • Slowly lift the cover open from the front of the laptop but do not completely remove.

    • Note the three locations of the three white and blue data cables connecting the keyboard to the computer's main board.

  8. Asus R510CA-OB01 Motherboard Replacement: 手順 8、 3の画像 1 Asus R510CA-OB01 Motherboard Replacement: 手順 8、 3の画像 2 Asus R510CA-OB01 Motherboard Replacement: 手順 8、 3の画像 3
    • Remove each data cable from the motherboard by using your finger or the plastic opening tool to lift the white latch.

    • The cable will slide out of its place.

  9. Asus R510CA-OB01 Motherboard Replacement: 手順 9、 2の画像 1 Asus R510CA-OB01 Motherboard Replacement: 手順 9、 2の画像 2
    • With the data cables removed and the keyboard module fully disconnected, the keyboard module should come free from the laptop.

  10. Asus R510CA-OB01 Motherboard Replacement, Optical Drive: 手順 10、 2の画像 1 Asus R510CA-OB01 Motherboard Replacement, Optical Drive: 手順 10、 2の画像 2
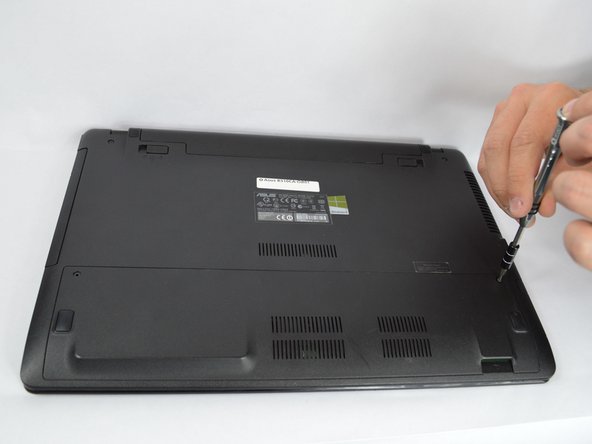
    • Remove the 4.5mm silver screw in the top right corner using a Phillips #0 bit.

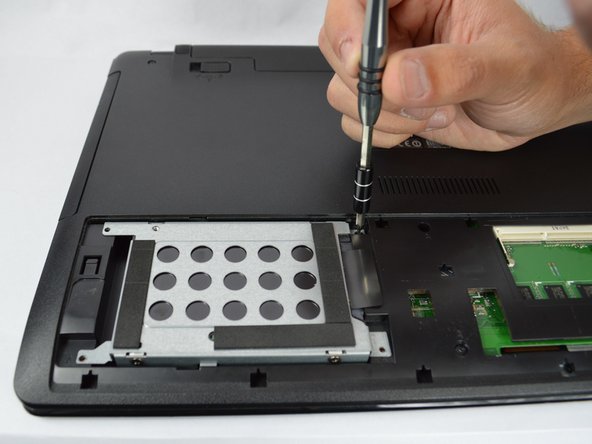
    • Remove the three 2mm silver screws using a Phillips #000 bit.

    • Remove the 5mm screw using a Phillips #1 bit that is holding the optical drive in place.

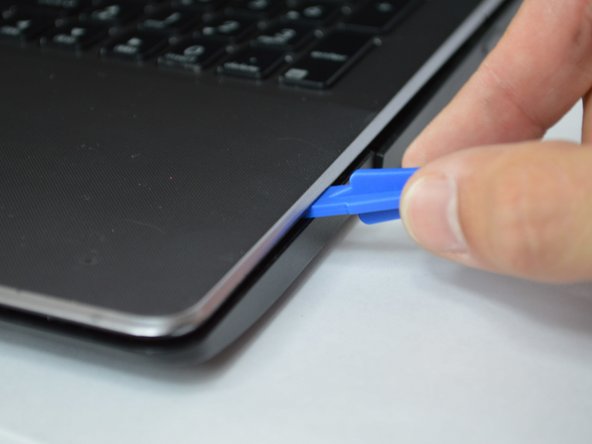
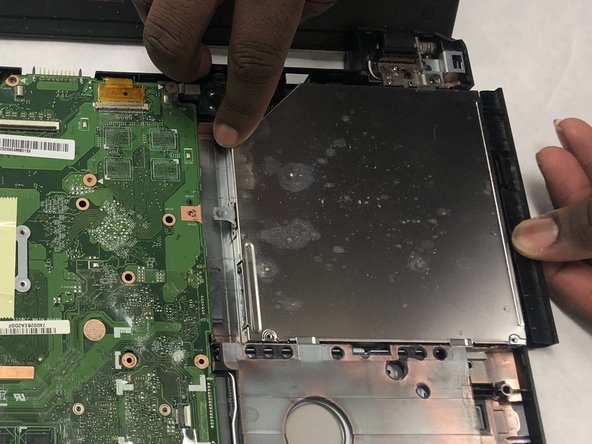
    • With your hands, gently slide the optical drive out of the laptop.

  11. Asus R510CA-OB01 Motherboard Replacement, Motherboard: 手順 11、 1の画像 1
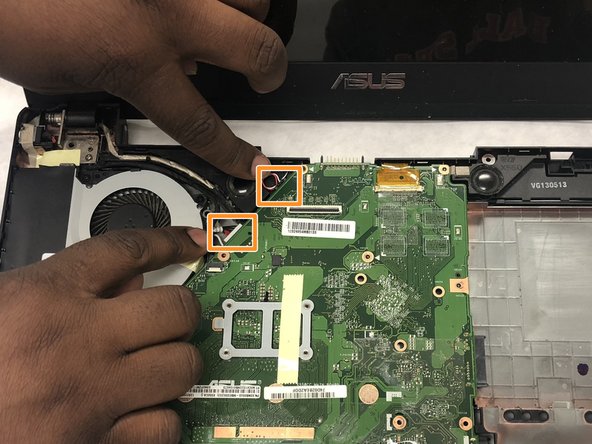
    • Remove the seven 5mm screws that are holding both the fan and motherboard in place using a Phillips #1 bit.

  12. Asus R510CA-OB01 Motherboard Replacement: 手順 12、 3の画像 1 Asus R510CA-OB01 Motherboard Replacement: 手順 12、 3の画像 2 Asus R510CA-OB01 Motherboard Replacement: 手順 12、 3の画像 3
    • Disconnect the cables from the motherboard by sliding the cable out of place.

    • Disconnect the cables connecting the fan to the motherboard and laptop by pulling the cable out of place.

  13. Asus R510CA-OB01 Motherboard Replacement: 手順 13、 2の画像 1 Asus R510CA-OB01 Motherboard Replacement: 手順 13、 2の画像 2
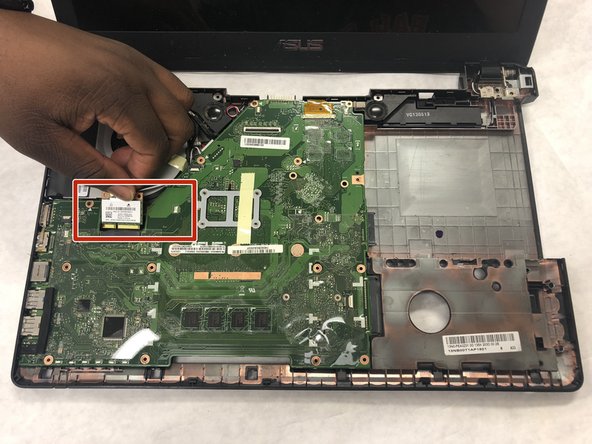
    • Lift the motherboard on the right side so that it is lifted slightly above the hard drive.

    • Slide the motherboard and fan to the right. Both components should be free from the device.

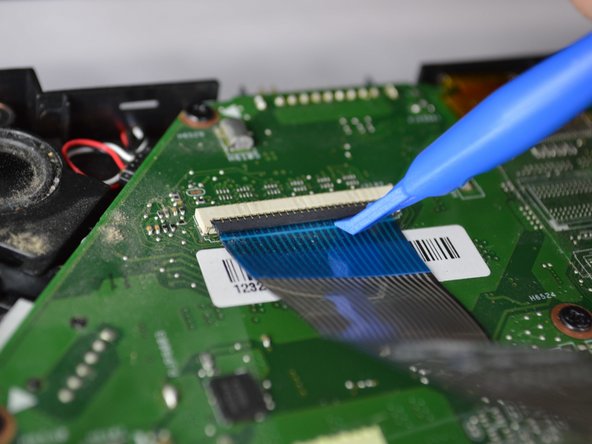
    • Once the fan and motherboard are free from the device, flip them over and remove the cable connecting both components.

  14. Asus R510CA-OB01 Motherboard Replacement: 手順 14、 2の画像 1 Asus R510CA-OB01 Motherboard Replacement: 手順 14、 2の画像 2
    • Remove the four 5mm screws connecting the fan and motherboard using a Phillips #1 bit.

    • Once the screws have been removed, the fan and motherboard should come apart.

  15. Asus R510CA-OB01 Motherboard Replacement: 手順 15、 1の画像 1
    • The motherboard should now be free from the device .

終わりに

To reassemble your device, follow these instructions in reverse order.

ある他の人がこのガイドを完成しました。

作成者

6人の作成者と共同で作成されました。

Mame

メンバー登録日: 03/25/19

13 ポイント

2のガイドは作成済み

チーム

IUPUI, Team S1-G2, Henning Spring 2019 IUPUI, Team S1-G2, Henning Spring 2019人のメンバー

IUPUI-HENNING-S19S1G2

3 メンバー

3のガイドは作成済み

0 件のコメント

コメントを追加

統計データ:

過去 24時間: 3

過去 7 日: 6

過去 30 日: 11

今までの合計 598