はじめに
This guide will provide a step-by-step demonstration of how to remove a Asus Q552UB-BHI7T12 screen.
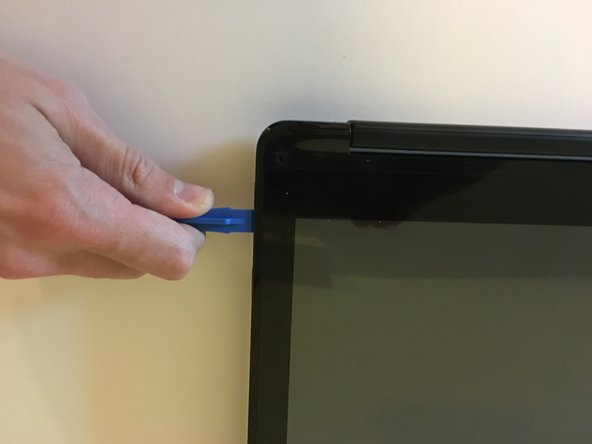
The process of removing the screen has multiple steps as demonstrated in the images below. In order to replace the screen, you will require both a Phillip's head screwdriver and an opening tool. This guide can also be used in reverse to model putting the screen back onto the laptop.
Before using this guide, remember to visit the Asus troubleshooting page to ensure that removing the screen is the appropriate solution to your system issues.
必要な工具と部品


Follow these instructions in reverse order to reassemble your device.
Follow these instructions in reverse order to reassemble your device.
2 の人々がこのガイドを完成させました。
チーム

University of North Texas, Team S6-G5, Thomas Fall 2017 University of North Texas, Team S6-G5, Thomas Fall 2017人のメンバー
UNT-THOMAS-F17S6G5
4 メンバー
5のガイドは作成済み
2 件のコメント
Can you show the connection on motherboard for LCD cable?