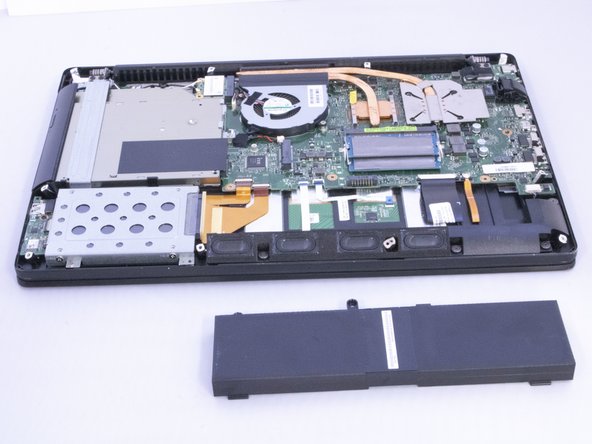
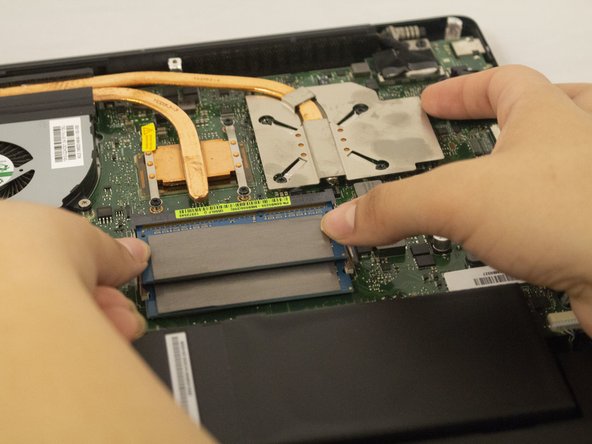
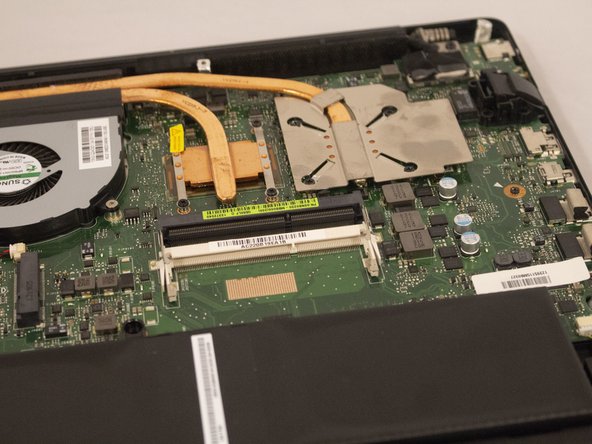
メインコンテンツにスキップ

Asus Q550LF-BBI7T07 RAM Replacement

必要な工具と部品

  1. Asus Q550LF-BBI7T07 RAM Replacement, Battery: 手順 1、 2の画像 1 Asus Q550LF-BBI7T07 RAM Replacement, Battery: 手順 1、 2の画像 2
    • Use a T4 Torx screwdriver head to remove the ten 4mm Torx head screws on the bottom of the laptop.

  2. Asus Q550LF-BBI7T07 RAM Replacement: 手順 2、 2の画像 1 Asus Q550LF-BBI7T07 RAM Replacement: 手順 2、 2の画像 2
    • Use an opening tool to pry open the rear cover. Lift the cover off and away from the board.

  3. Asus Q550LF-BBI7T07 RAM Replacement: 手順 3、 2の画像 1 Asus Q550LF-BBI7T07 RAM Replacement: 手順 3、 2の画像 2
    • Use a Phillips #0 screwdriver head to remove the three black 7mm Phillips head screws that hold the battery in place.

  4. Asus Q550LF-BBI7T07 RAM Replacement: 手順 4、 2の画像 1 Asus Q550LF-BBI7T07 RAM Replacement: 手順 4、 2の画像 2
    • Once the screws have been removed, gently lift the battery out.

  5. Asus Q550LF-BBI7T07 RAM Replacement, RAM: 手順 5、 3の画像 1 Asus Q550LF-BBI7T07 RAM Replacement, RAM: 手順 5、 3の画像 2 Asus Q550LF-BBI7T07 RAM Replacement, RAM: 手順 5、 3の画像 3
    • Push both metal tabs away from each other on each side of the RAM farthest from battery so that the RAM will pop up.

  6. Asus Q550LF-BBI7T07 RAM Replacement: 手順 6、 1の画像 1
    • Pull out first RAM chip.

  7. Asus Q550LF-BBI7T07 RAM Replacement: 手順 7、 1の画像 1
    • Push both metal tabs away from each other on each side of the RAM closest to the battery so that the second RAM will pop up.

  8. Asus Q550LF-BBI7T07 RAM Replacement: 手順 8、 2の画像 1 Asus Q550LF-BBI7T07 RAM Replacement: 手順 8、 2の画像 2
    • Pull out second RAM chip.

終わりに

To reassemble your device, follow these instructions in reverse order.

4 の人々がこのガイドを完成させました。

作成者

5人の作成者と共同で作成されました。

Chance Woudenberg

メンバー登録日: 10/02/18

673 ポイント

4のガイドは作成済み

チーム

Eastern Washington University, Team S2-G1, Munoz Fall 2018 Eastern Washington University, Team S2-G1, Munoz Fall 2018人のメンバー

EWU-MUNOZ-F18S2G1

4 メンバー

5のガイドは作成済み

0 件のコメント

コメントを追加

統計データ:

過去 24時間: 1

過去 7 日: 3

過去 30 日: 8

今までの合計 605