メインコンテンツにスキップ

Asus Q325U CPU Fan Replacement

必要な工具と部品

  1. Asus Q325U CPU Fan Replacement, Back Panel: 手順 1、 3の画像 1 Asus Q325U CPU Fan Replacement, Back Panel: 手順 1、 3の画像 2 Asus Q325U CPU Fan Replacement, Back Panel: 手順 1、 3の画像 3
    • Remove the ten 5mm screws using a T5 Torx screwdriver.

  2. Asus Q325U CPU Fan Replacement: 手順 2、 3の画像 1 Asus Q325U CPU Fan Replacement: 手順 2、 3の画像 2 Asus Q325U CPU Fan Replacement: 手順 2、 3の画像 3
    • Lift the back panel upward using the suction tool.

  3. Asus Q325U CPU Fan Replacement, Copper Plate: 手順 3、 2の画像 1 Asus Q325U CPU Fan Replacement, Copper Plate: 手順 3、 2の画像 2
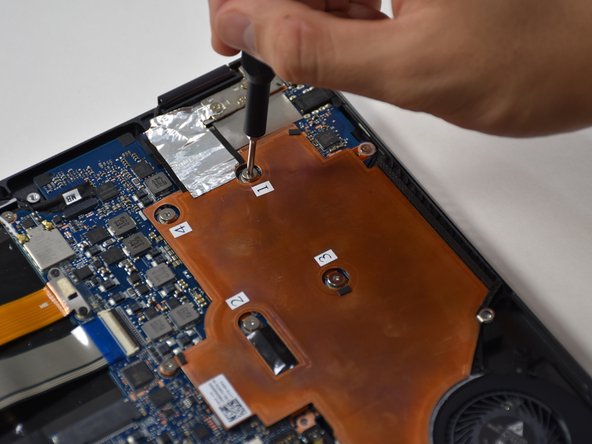
    • Remove the six 3mm screws using a Phillips #00.

  4. Asus Q325U CPU Fan Replacement: 手順 4、 2の画像 1 Asus Q325U CPU Fan Replacement: 手順 4、 2の画像 2
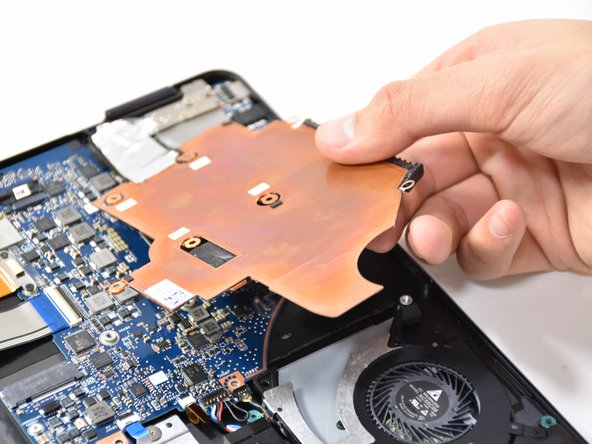
    • Use the plastic opening tool to lift up the edge. Pull upward on the edge.

  5. Asus Q325U CPU Fan Replacement: 手順 5、 2の画像 1 Asus Q325U CPU Fan Replacement: 手順 5、 2の画像 2
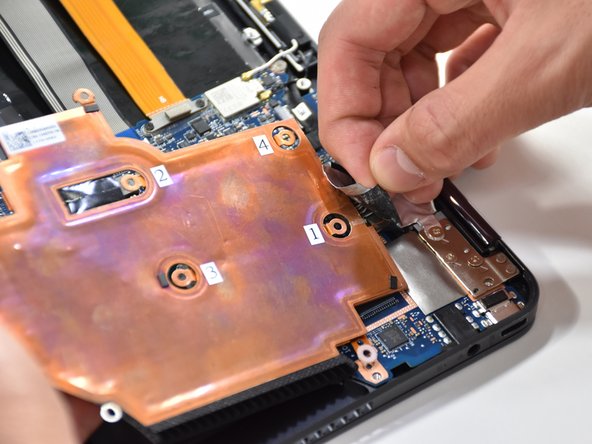
    • On the other side of the plate, remove the tape.

  6. Asus Q325U CPU Fan Replacement, CPU Fan: 手順 6、 2の画像 1 Asus Q325U CPU Fan Replacement, CPU Fan: 手順 6、 2の画像 2
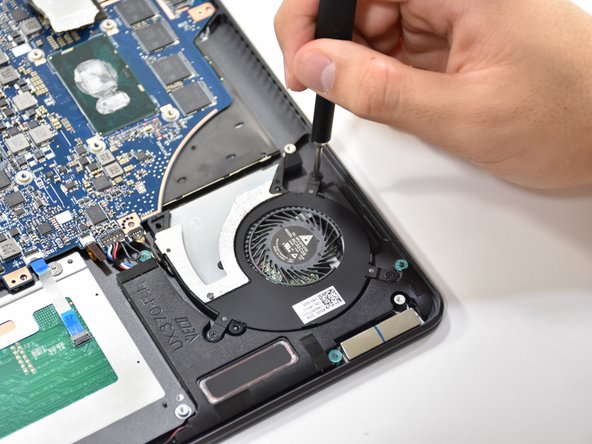
    • Remove the three 3.7 mm screws using a Phillips #00 screwdriver.

  7. Asus Q325U CPU Fan Replacement: 手順 7、 1の画像 1
    • Detach the black wire and plug shown using a tweezer.

  8. Asus Q325U CPU Fan Replacement: 手順 8、 1の画像 1
    • Grab CPU fan by its edge and gently pull upwards to remove.

終わりに

To reassemble your device, follow these instructions in reverse order.

2 の人々がこのガイドを完成させました。

作成者

3人の作成者と共同で作成されました。

Matthew Slawson

メンバー登録日: 01/29/19

271 ポイント

2のガイドは作成済み

チーム

Cal Poly, Team S19-G1, White Winter 2019 Cal Poly, Team S19-G1, White Winter 2019人のメンバー

CPSU-WHITE-W19S19G1

3 メンバー

6のガイドは作成済み

0 件のコメント

コメントを追加

統計データ:

過去 24時間: 0

過去 7 日: 3

過去 30 日: 9

今までの合計 783