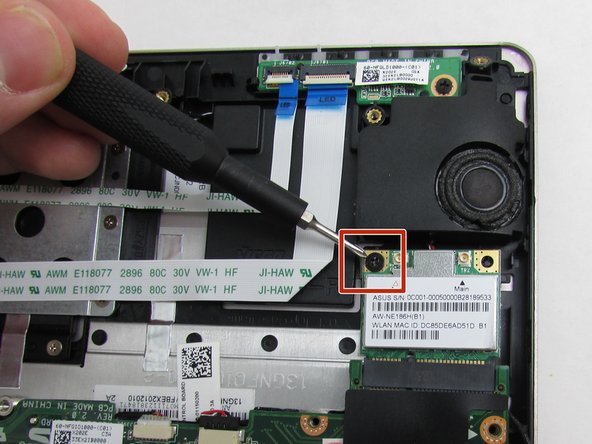
メインコンテンツにスキップ

Asus Q200E-CT144H Wi-Fi Card Replacement

必要な工具と部品

  1. Asus Q200E-CT144H Wi-Fi Card Replacement, Back Cover: 手順 1、 1の画像 1
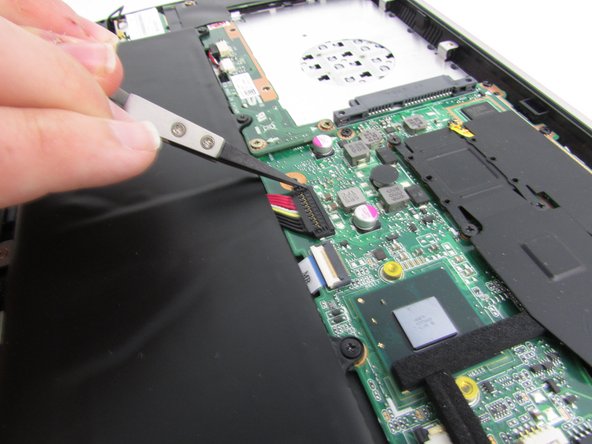
    • To start, turn off the laptop and disconnect the power cable.

    • If the computer is on or plugged in, it could cause electric shock.

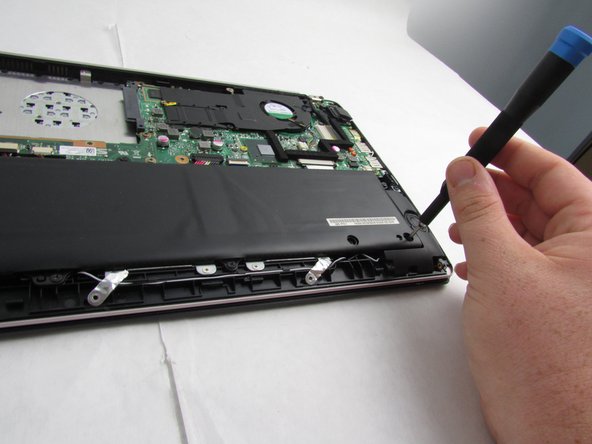
    • Flip the laptop over so the back panel is visible.

  2. Asus Q200E-CT144H Wi-Fi Card Replacement: 手順 2、 1の画像 1
    • Remove the 9 screws holding the cover in place by taking a Phillips #00 Screwdriver and turning it counterclockwise.

  3. Asus Q200E-CT144H Wi-Fi Card Replacement: 手順 3、 2の画像 1 Asus Q200E-CT144H Wi-Fi Card Replacement: 手順 3、 2の画像 2
    • Use an iFixit opening tool to lift the back cover and remove it from the laptop.

  4. Asus Q200E-CT144H Wi-Fi Card Replacement, Battery: 手順 4、 2の画像 1 Asus Q200E-CT144H Wi-Fi Card Replacement, Battery: 手順 4、 2の画像 2
    • Remove the battery connector by using tweezers to lift up on it.

  5. Asus Q200E-CT144H Wi-Fi Card Replacement: 手順 5、 2の画像 1 Asus Q200E-CT144H Wi-Fi Card Replacement: 手順 5、 2の画像 2
    • Remove the nine Phillips #00 screws that hold the battery in place.

    • There is one 9.2mm screw, four 4.7mm screws, and four 5.7mm screws.

  6. Asus Q200E-CT144H Wi-Fi Card Replacement: 手順 6、 2の画像 1 Asus Q200E-CT144H Wi-Fi Card Replacement: 手順 6、 2の画像 2
    • Remove the battery from the battery bay.

  7. Asus Q200E-CT144H Wi-Fi Card Replacement, Wi-Fi Card: 手順 7、 1の画像 1
    • Use tweezers or your fingers to disconnect the Wi-Fi card's power connector.

  8. Asus Q200E-CT144H Wi-Fi Card Replacement: 手順 8、 1の画像 1
    • Unscrew the single 4.7mm screw with a Phillips #00 screwdriver.

  9. Asus Q200E-CT144H Wi-Fi Card Replacement: 手順 9、 1の画像 1
    • Remove the card from its bay.

終わりに

To reassemble your device, follow these instructions in reverse order.

作成者

1人の作成者と共同作成されました。

Kirsti Wattles

メンバー登録日: 09/16/19

689 ポイント

6のガイドは作成済み

チーム

0 件のコメント

コメントを追加

統計データ:

過去 24時間: 0

過去 7 日: 1

過去 30 日: 2

今までの合計 106