メインコンテンツにスキップ

このバージョンは誤った内容を含んでいる可能性があります。最新の承認済みスナップショットに切り替えてください。

必要な工具と部品

  1. この手順は未翻訳です。 翻訳を手伝う。

    : 手順 1、 1の画像 1
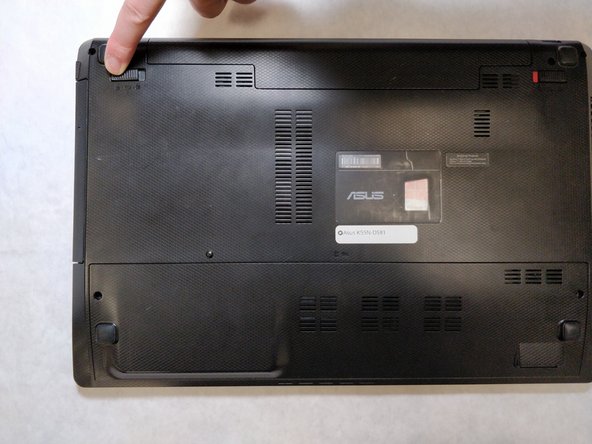
    • Flip the laptop over, such that the bottom of the laptop is facing upwards.

    • Ensure that the laptop is powered off prior to following this guide.

  2. この手順は未翻訳です。 翻訳を手伝う。

    : 手順 2、 2の画像 1 : 手順 2、 2の画像 2
    • Pull the latch to the right of the battery to the right.

  3. この手順は未翻訳です。 翻訳を手伝う。

    : 手順 3、 2の画像 1 : 手順 3、 2の画像 2
    • Pull the latch to the left of the battery to the left. Hold the latch open with a finger to prevent it from closing.

  4. この手順は未翻訳です。 翻訳を手伝う。

    : 手順 4、 2の画像 1 : 手順 4、 2の画像 2
    • While holding the second latch from the previous step, use another hand to reach underneath the battery.

    • Pull the battery upwards and away from the laptop to remove it.

  5. この手順は未翻訳です。 翻訳を手伝う。

    : 手順 5、 1の画像 1
    • Insert a card between the outer plate cover and the back plate.

    • There may be some clips that break.

  6. この手順は未翻訳です。 翻訳を手伝う。

    : 手順 6、 3の画像 1 : 手順 6、 3の画像 2 : 手順 6、 3の画像 3
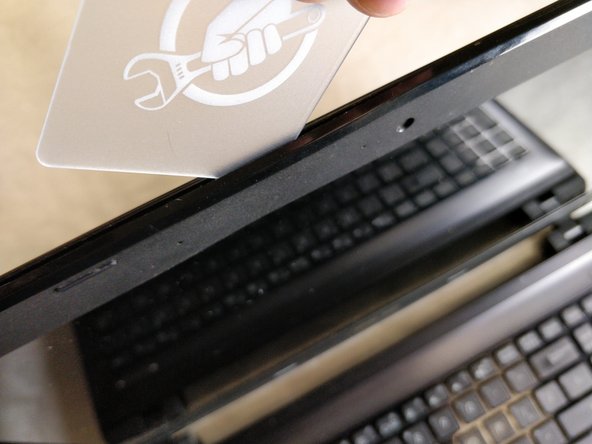
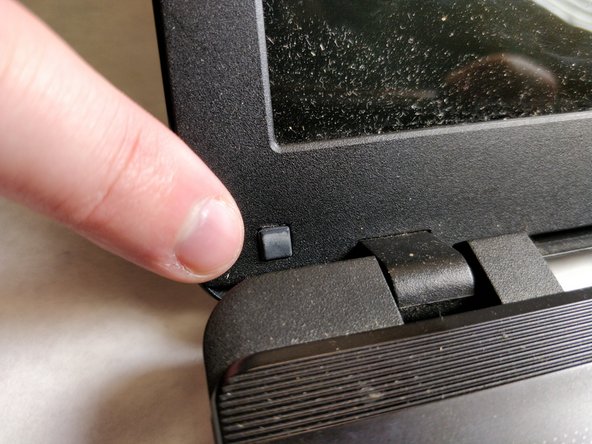
    • Using the card that has been inserted in the top of the screen follow the edge of the screen all the way down to each corner touching the keyboard.

    • Some of the clips may break.

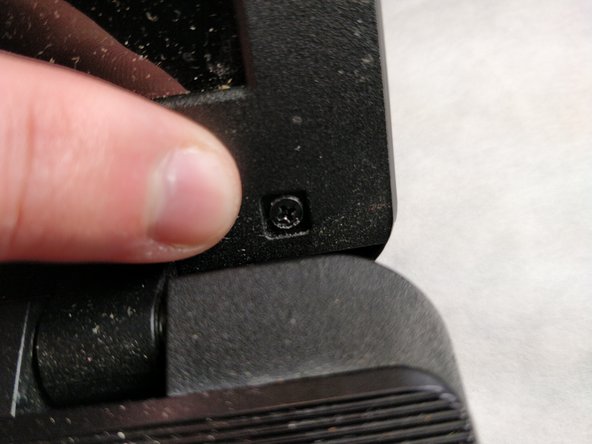
    • If the cover is not being held by just the bottom, go around the screen again to ensure all of the clips have been popped.

  7. この手順は未翻訳です。 翻訳を手伝う。

    : 手順 7、 3の画像 1 : 手順 7、 3の画像 2 : 手順 7、 3の画像 3
    • Remove the plugs at the bottom corners to expose the screws beneath.

  8. この手順は未翻訳です。 翻訳を手伝う。

    : 手順 8、 2の画像 1 : 手順 8、 2の画像 2
    • Using a JIS #00 screwdriver, remove the two 5 mm screws that were exposed by the bumpers being removed.

  9. この手順は未翻訳です。 翻訳を手伝う。

    : 手順 9、 3の画像 1 : 手順 9、 3の画像 2 : 手順 9、 3の画像 3
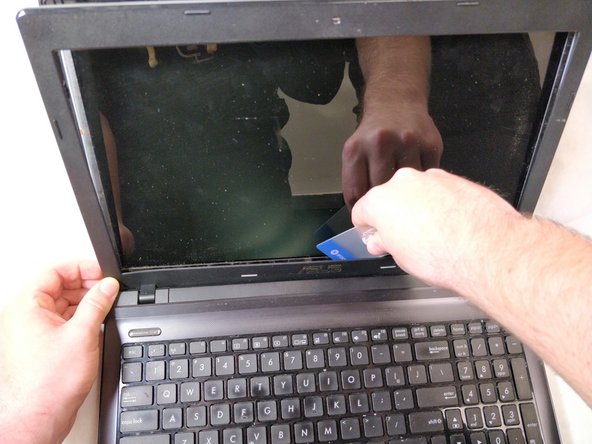
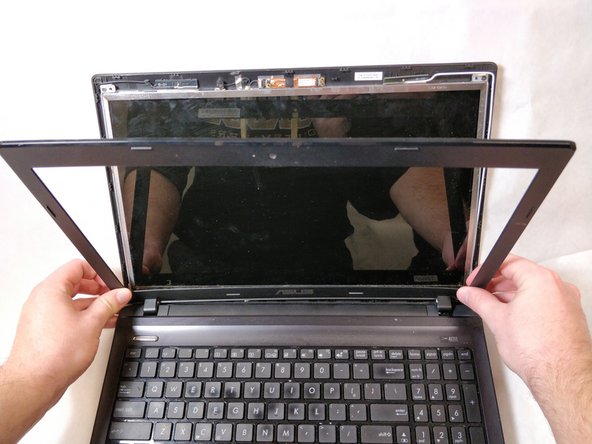
    • Using the card to loosen the remaining clasps inside the screen cover, remove the cover from the back plate and screen.

    • If the cover does not come off of the screen and back plate easily, the cover may be stuck to the hinge. (This is usually due to dirt or grime)

  10. この手順は未翻訳です。 翻訳を手伝う。

    : 手順 10、 3の画像 1 : 手順 10、 3の画像 2 : 手順 10、 3の画像 3
    • Using a JIS #00 screwdriver, remove the six 5 mm screws from the back plate to screen connections in each of the 4 corners of the screen.

  11. この手順は未翻訳です。 翻訳を手伝う。

    : 手順 11、 2の画像 1 : 手順 11、 2の画像 2
    • Remove the plastic covering the connections on the backside of the screen.

    • Make sure back plate is being held so there is no strain occurring on the still connected cables.

  12. この手順は未翻訳です。 翻訳を手伝う。

    : 手順 12、 3の画像 1 : 手順 12、 3の画像 2 : 手順 12、 3の画像 3
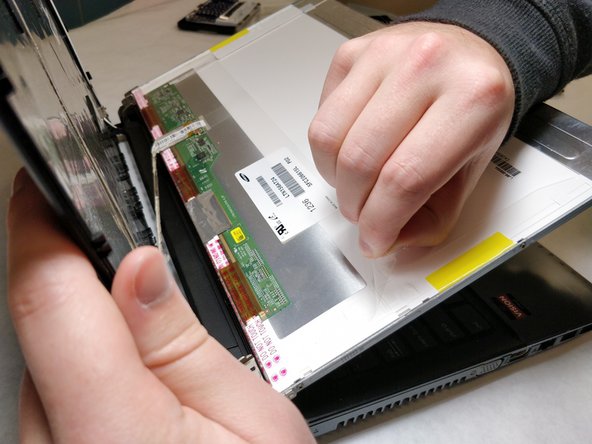
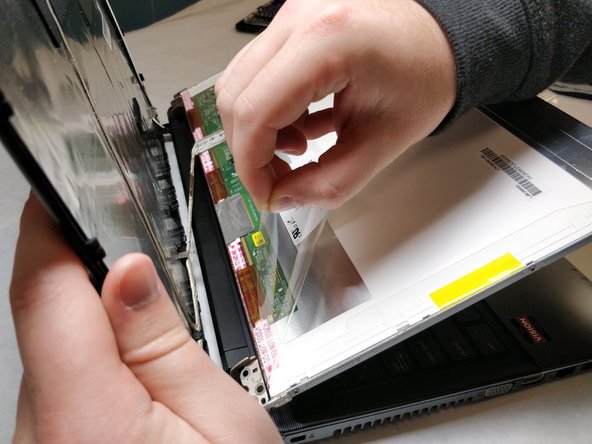
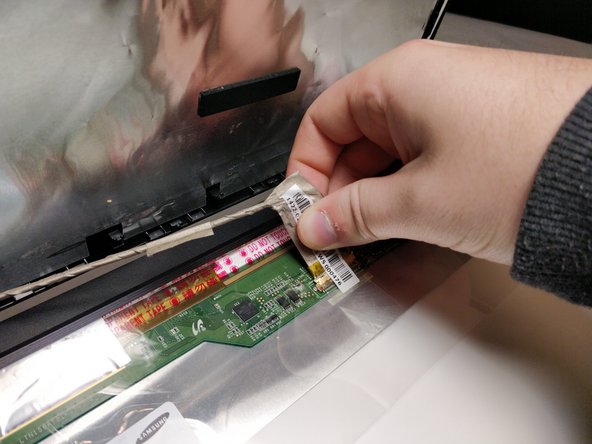
    • Pull up on the tape holding down the ribbon connector.

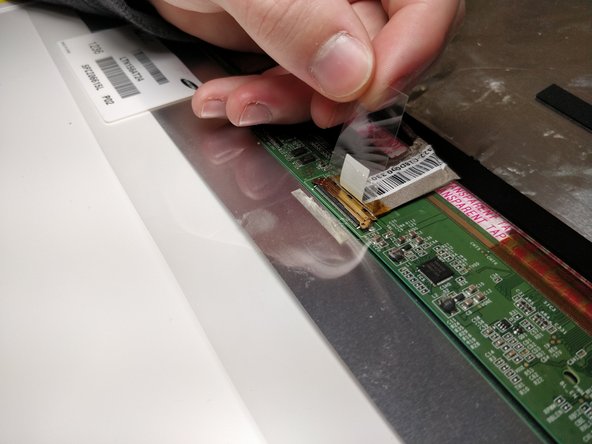
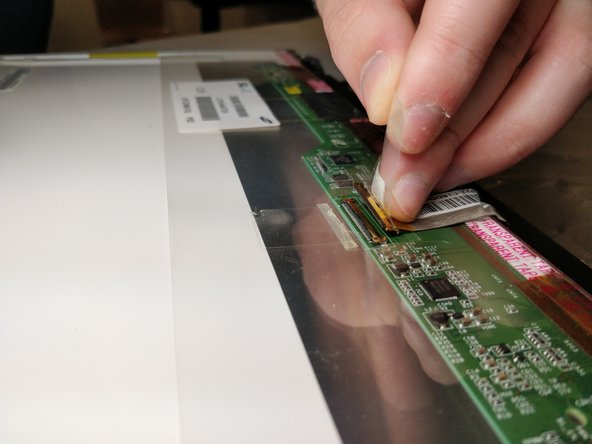
    • Using the brown colored part of the cable pull the cable out of the connection point

    • The connection point is delicate, try to pull straight back and away from the connection point.

  13. この手順は未翻訳です。 翻訳を手伝う。

    : 手順 13、 3の画像 1 : 手順 13、 3の画像 2 : 手順 13、 3の画像 3
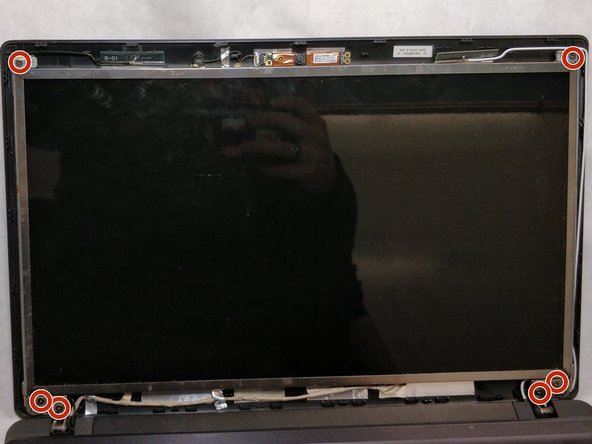
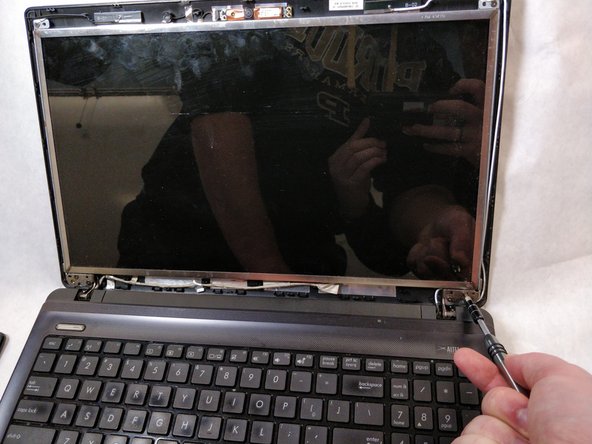
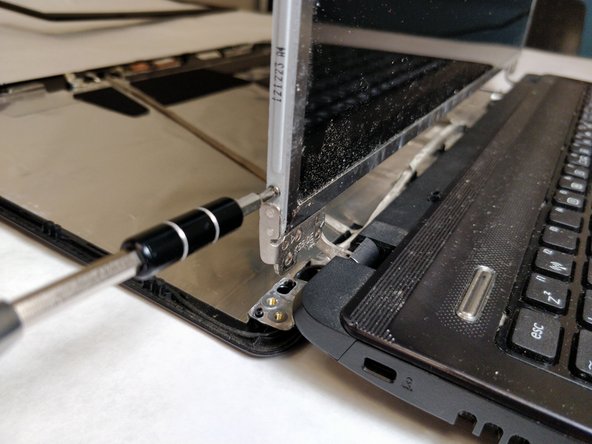
    • Using a JIS #00 screwdriver, unscrew the six 2.5 mm screws while holding the bracket to the screen on the sides.

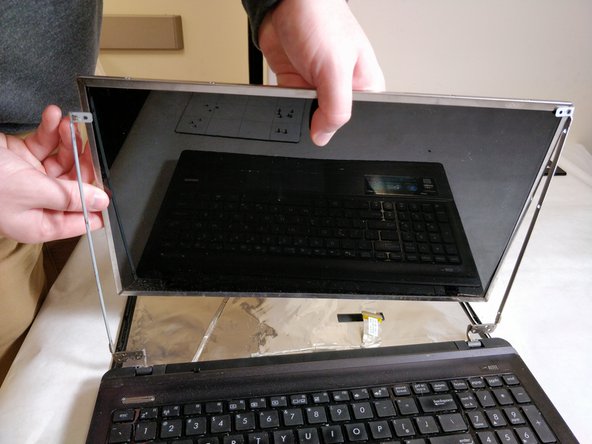
    • The screen should be easily removed when all of the screws are taken out.

ゴール

3 の人々がこのガイドを完成させました。

作成者

2人の作成者と共同で作成されました。

Jarrett Wilson

メンバー登録日: 11/05/18

285 ポイント

1ガイドが承認済み

チーム

IUPUI, Team S2-G1, Baechle Fall 2018 IUPUI, Team S2-G1, Baechle Fall 2018人のメンバー

IUPUI-BAECHLE-F18S2G1

4 メンバー

5のガイドは作成済み

コメント 1 件

The guide worked perfect. Easier than I thought.

steve - 返信

コメントを追加

統計データ:

過去 24時間: 3

過去 7 日: 5

過去 30 日: 13

今までの合計 455