はじめに
Use this guide will help you access the fans in order to clean or replace them.
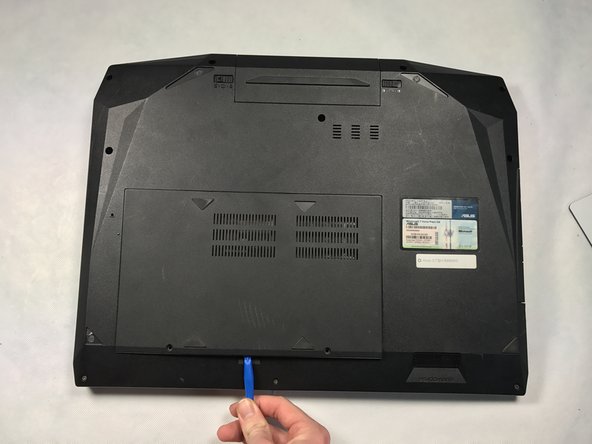
Tools needed: size 0 Phillips head screwdriver, opening tool, metal spudger
必要な工具と部品
-
-
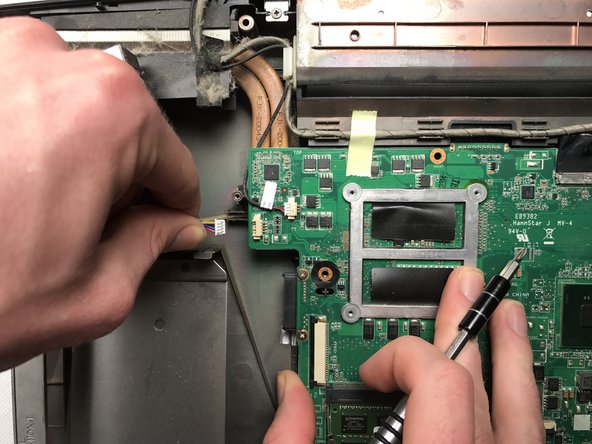
Locate the 5 clips located at the top of the keyboard. Insert a metal spudger into the clip openings on the keyboard to remove the keyboard.
-
-


To reassemble your device, follow these instructions in reverse order.
To reassemble your device, follow these instructions in reverse order.
3 の人々がこのガイドを完成させました。
チーム

Cal Poly, Team 22-11, Maness Winter 2017 Cal Poly, Team 22-11, Maness Winter 2017人のメンバー
CPSU-MANESS-W17S22G11
3 メンバー
5のガイドは作成済み
コメント 1 件
Some steps missing, regarding screws to remove: 1 screw that holds optical drive; once that is removed, 2 screws in the drive compartment; 2 screws in the battery compartment; 3 screws from the bottom of the motherboard.