メインコンテンツにスキップ

Asus F554LA-WS52 Screen Replacement

必要な工具と部品

  1. Asus F554LA-WS52 Screen Replacement, Screen: 手順 1、 2の画像 1 Asus F554LA-WS52 Screen Replacement, Screen: 手順 1、 2の画像 2
    • Remove the two plastic screw coverings from the bottom of the screen panel.

  2. Asus F554LA-WS52 Screen Replacement: 手順 2、 2の画像 1 Asus F554LA-WS52 Screen Replacement: 手順 2、 2の画像 2
    • Remove the two 4.6mm screws using the Phillips #0 screwdriver.

  3. Asus F554LA-WS52 Screen Replacement: 手順 3、 2の画像 1 Asus F554LA-WS52 Screen Replacement: 手順 3、 2の画像 2
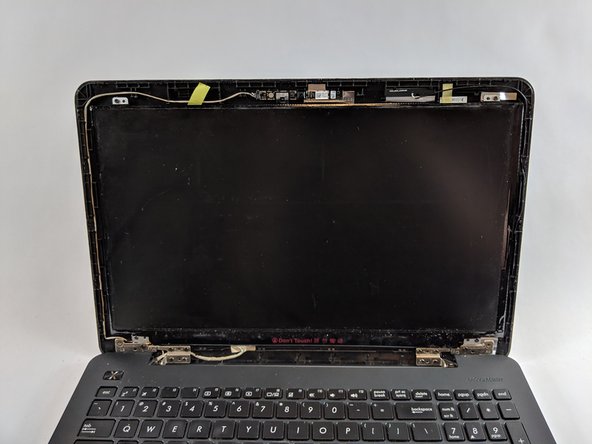
    • Using the plastic opening tool, gently pry the notebook's plastic screen covering away from the screen.

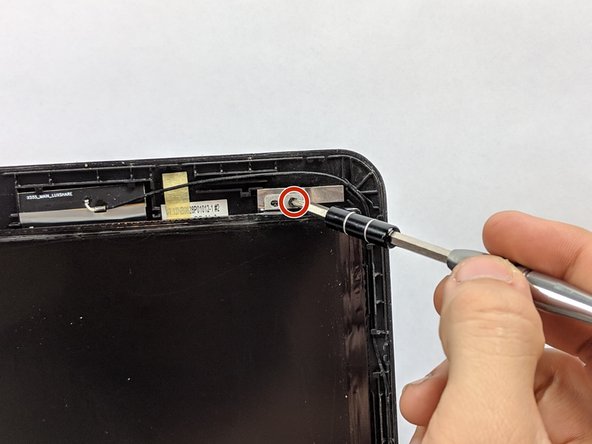
  4. Asus F554LA-WS52 Screen Replacement: 手順 4、 2の画像 1 Asus F554LA-WS52 Screen Replacement: 手順 4、 2の画像 2
    • Remove the two 4.6mm screws holding screen in place.

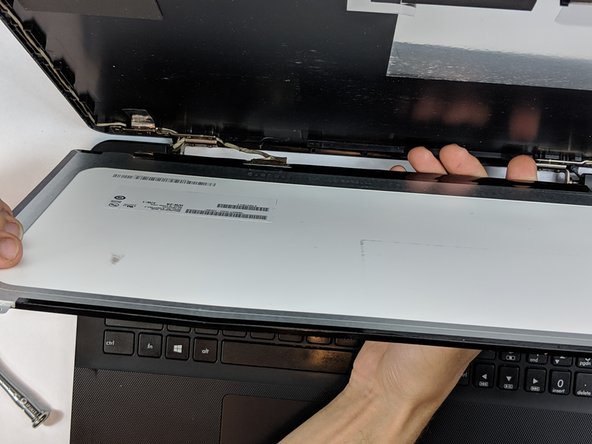
  5. Asus F554LA-WS52 Screen Replacement: 手順 5、 3の画像 1 Asus F554LA-WS52 Screen Replacement: 手順 5、 3の画像 2 Asus F554LA-WS52 Screen Replacement: 手順 5、 3の画像 3
    • Carefully, lay screen down on the keyboard.

    • Be cautious as the screen will still be attached.

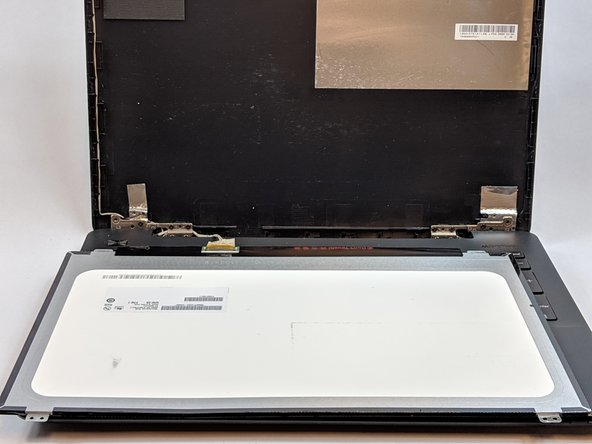
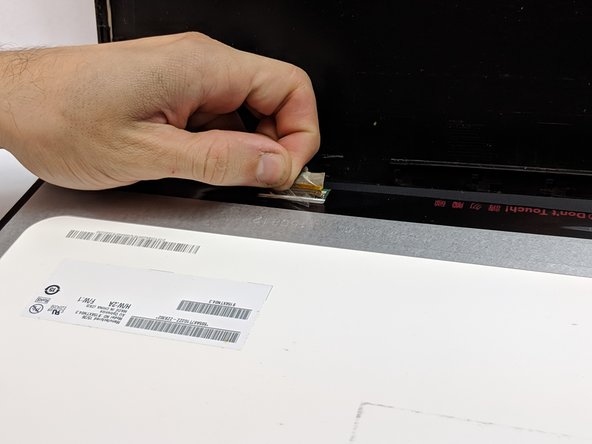
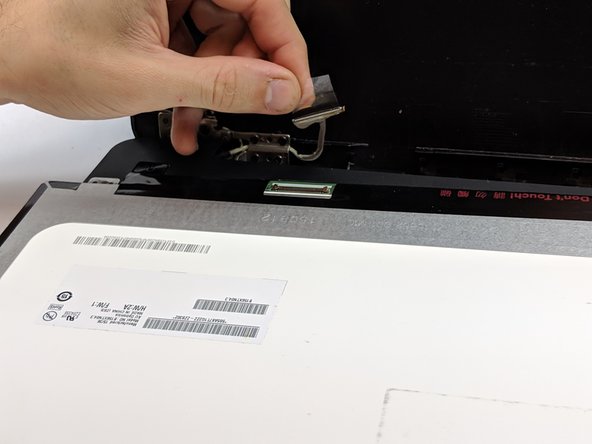
  6. Asus F554LA-WS52 Screen Replacement: 手順 6、 3の画像 1 Asus F554LA-WS52 Screen Replacement: 手順 6、 3の画像 2 Asus F554LA-WS52 Screen Replacement: 手順 6、 3の画像 3
    • Remove tape that covers the visual pin connectors.

    • Gently disconnect the screen from the pin connectors and replace.

終わりに

To reassemble your device, follow these instructions in reverse order.

作成者

2人の作成者と共同で作成されました。

Aaron Ratliff

メンバー登録日: 10/09/18

527 ポイント

4のガイドは作成済み

チーム

USF Tampa, Team S1-G2, Leahy Fall 2018 USF Tampa, Team S1-G2, Leahy Fall 2018人のメンバー

USFT-LEAHY-F18S1G2

4 メンバー

6のガイドは作成済み

0 件のコメント

コメントを追加

統計データ:

過去 24時間: 2

過去 7 日: 5

過去 30 日: 6

今までの合計 366