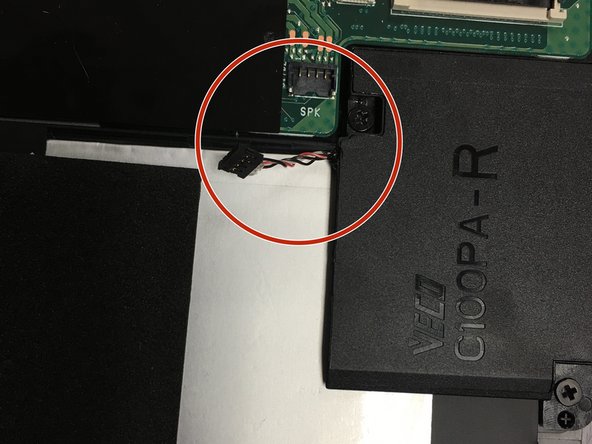
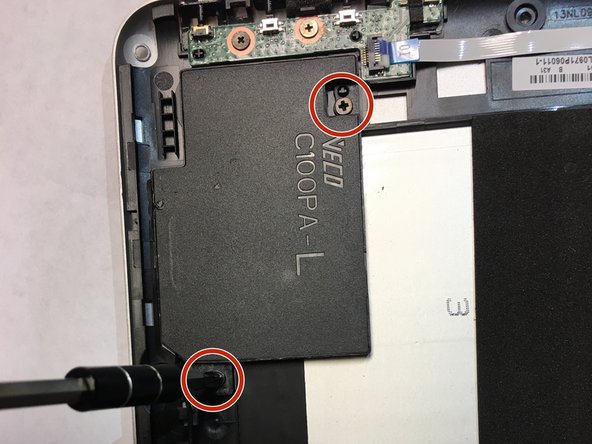
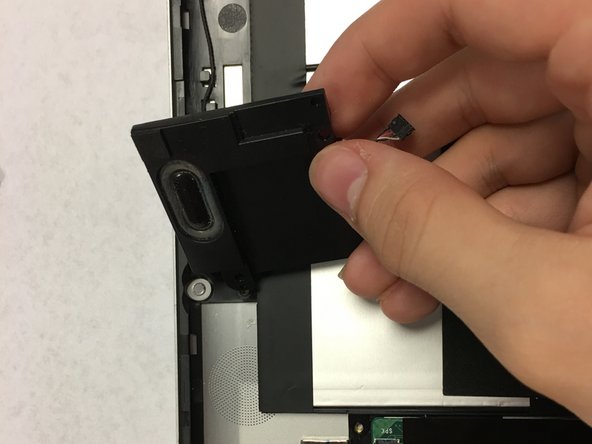
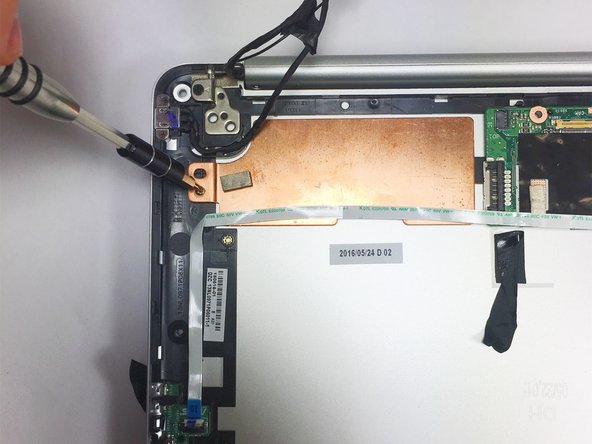
メインコンテンツにスキップ

Asus Chromebook Flip C100P Motherboard Replacement

必要な工具と部品

  1. Asus Chromebook Flip C100P Motherboard Replacement, Motherboard: 手順 1、 1の画像 1
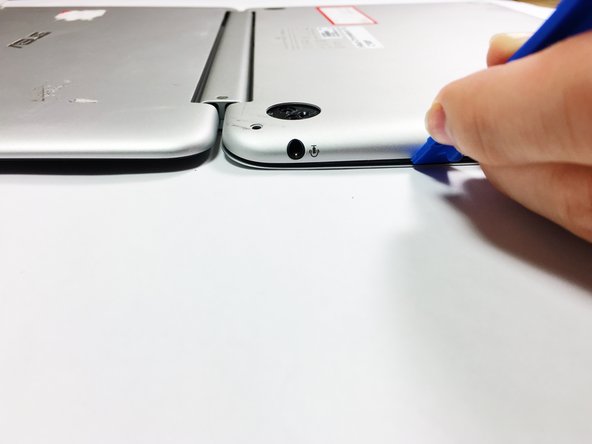
    • Remove three of the rubber feet on the bottom cover with a plastic or metal spudger.

  2. Asus Chromebook Flip C100P Motherboard Replacement: 手順 2、 1の画像 1
    • Remove the five screws from beneath the rubber feet using a Phillips #0 screwdriver.

    • The first 1.9mm screw is located under the front right foot, the second 1.9mm screw and third 2.3mm screw are located under the rear right foot, and the fourth and fifth 2.3mm screws are located under the rear left foot.

  3. Asus Chromebook Flip C100P Motherboard Replacement: 手順 3、 1の画像 1
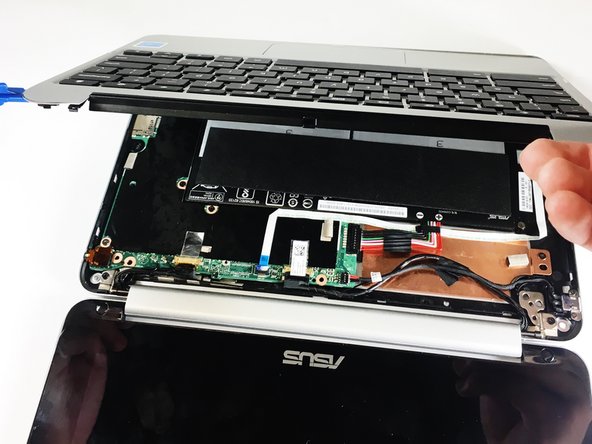
    • Remove the nine bottom cover screws using a T5 screwdriver. Set apart the 6mm screw in the rear middle of the bottom cover from the the other eight 3mm screws, as it is longer than them.

    • Set apart the 6mm screw in the rear middle of the bottom cover from the the other eight 3mm screws, as it is longer than them

  4. Asus Chromebook Flip C100P Motherboard Replacement: 手順 4、 3の画像 1 Asus Chromebook Flip C100P Motherboard Replacement: 手順 4、 3の画像 2 Asus Chromebook Flip C100P Motherboard Replacement: 手順 4、 3の画像 3
    • Pry the palm rest assembly apart from the bottom cover using a spudger. This step may require extra power. Once the palm rest has been separated from the bottom cover, pull it away from the screen, rather than away from yourself.

  5. Asus Chromebook Flip C100P Motherboard Replacement: 手順 5、 3の画像 1 Asus Chromebook Flip C100P Motherboard Replacement: 手順 5、 3の画像 2 Asus Chromebook Flip C100P Motherboard Replacement: 手順 5、 3の画像 3
    • Disconnect the touchpad cable and the keyboard cable on the palm rest assembly from the motherboard using the pointed end of a plastic spudger.

  6. Asus Chromebook Flip C100P Motherboard Replacement: 手順 6、 3の画像 1 Asus Chromebook Flip C100P Motherboard Replacement: 手順 6、 3の画像 2 Asus Chromebook Flip C100P Motherboard Replacement: 手順 6、 3の画像 3
    • Disconnect the DC jack cable and the battery cable from the motherboard using tweezers, the pointed end of a plastic spudger, or by simply pulling the cables apart from the motherboard with your fingers.

  7. Asus Chromebook Flip C100P Motherboard Replacement: 手順 7、 2の画像 1 Asus Chromebook Flip C100P Motherboard Replacement: 手順 7、 2の画像 2
    • Disconnect the LCD cable from the motherboard using the pointed end of a plastic spudger.

  8. Asus Chromebook Flip C100P Motherboard Replacement: 手順 8、 2の画像 1 Asus Chromebook Flip C100P Motherboard Replacement: 手順 8、 2の画像 2
    • Disconnect the motherboard to powerboard cable from the motherboard using the pointed end of a plastic spudger.

  9. Asus Chromebook Flip C100P Motherboard Replacement: 手順 9、 2の画像 1 Asus Chromebook Flip C100P Motherboard Replacement: 手順 9、 2の画像 2
    • Disconnect the digitizer board cable from the motherboard using the pointed end of a plastic spudger.

  10. Asus Chromebook Flip C100P Motherboard Replacement: 手順 10、 1の画像 1
    • Disconnect the two WiFi antenna cables from the motherboard using the pointed end of a plastic spudger or simply by pulling the cables apart from the motherboard with your fingers.

  11. Asus Chromebook Flip C100P Motherboard Replacement: 手順 11、 2の画像 1 Asus Chromebook Flip C100P Motherboard Replacement: 手順 11、 2の画像 2
    • Disconnect the speaker cable from the motherboard using the pointed end of a plastic spudger.

  12. Asus Chromebook Flip C100P Motherboard Replacement: 手順 12、 3の画像 1 Asus Chromebook Flip C100P Motherboard Replacement: 手順 12、 3の画像 2 Asus Chromebook Flip C100P Motherboard Replacement: 手順 12、 3の画像 3
    • Remove the four 4.2mm speaker screws, then remove the two speakers using a philips head screwdriver.

  13. Asus Chromebook Flip C100P Motherboard Replacement: 手順 13、 2の画像 1 Asus Chromebook Flip C100P Motherboard Replacement: 手順 13、 2の画像 2
    • Remove the five 2.7mm motherboard screws with a T5 screwdriver.

  14. Asus Chromebook Flip C100P Motherboard Replacement: 手順 14、 1の画像 1
    • Remove the motherboard.

終わりに

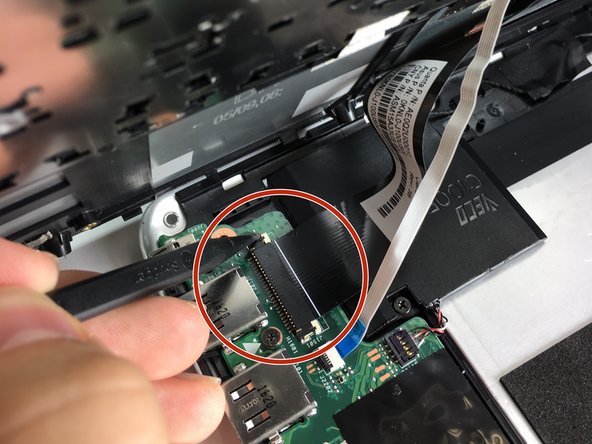
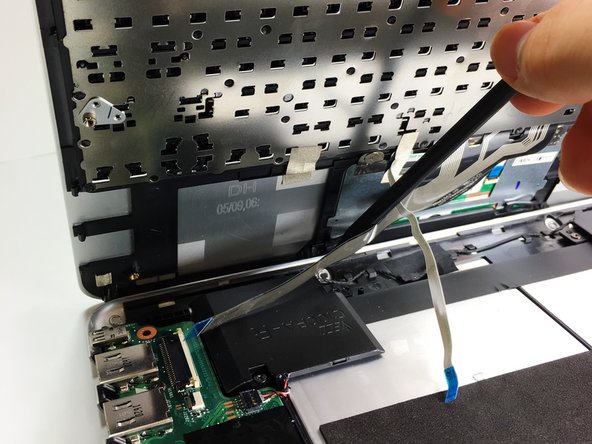
To reassemble your device, replace the broken or faulty motherboard with a new motherboard and follow these instructions in reverse order.

3 の人々がこのガイドを完成させました。

作成者

2人の作成者と共同で作成されました。

Andrew Acton

メンバー登録日: 03/19/18

469 ポイント

2のガイドは作成済み

チーム

Baylor, Team S5-G2, Williams Spring 2018 Baylor, Team S5-G2, Williams Spring 2018人のメンバー

BU-WILLIAMS-S18S5G2

3 メンバー

8のガイドは作成済み

0 件のコメント

コメントを追加

統計データ:

過去 24時間: 0

過去 7 日: 2

過去 30 日: 22

今までの合計 2,488