はじめに
Replacing the battery on an Asus Chromebook C300MA DB01 is a simple process. No special skills are required. If the laptop does not start up or charge correctly, then then the battery needs to be replaced. Follow this guide to remove and replace the battery in an Asus Chromebook C300MA DB01.
必要な工具と部品
-
-
Remove the eight 9.0 mm Phillips screws along the perimeter of the case.
-
Remove the three 6.0 mm Phillips screws from the center of the case.
-
-
-
Slide the Jimmy in between the keyboard and underside of the laptop to remove the keyboard.
-
Leave the keyboard face down on the screen.
-
-
-
-
Use a nylon spudger to lift the latch on each wire jack and detach the keyboard wires.
-
After the tabs have been lifted, the wire can be gently pulled out by hand.
-
Set the keyboard aside.
-
-
-
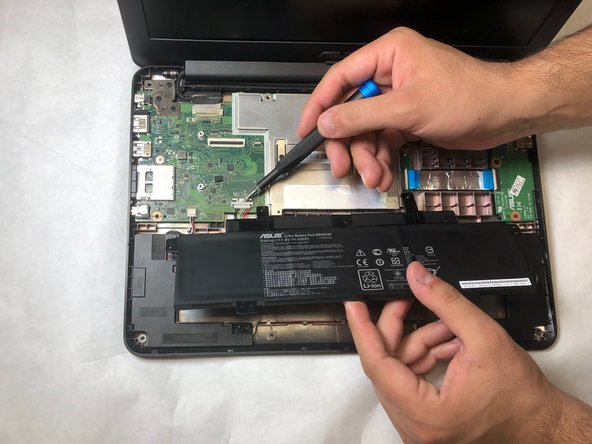
Remove the six 6.0mm Phillips screws on the battery.
-
Remove the wire jack from the battery. Use a nylon spudger to lift the latch.
-
Remove the battery from the device.
-


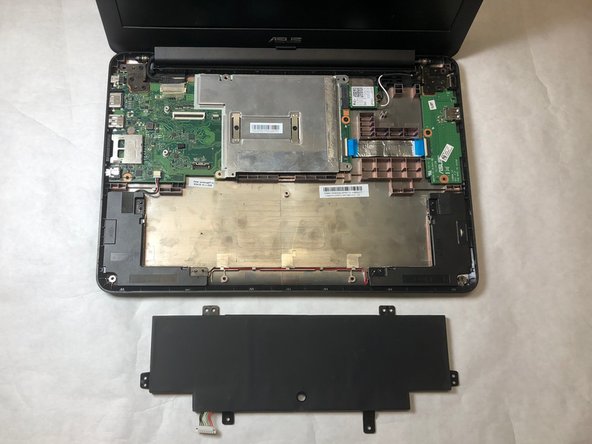
To reassemble your device, follow these instructions in reverse order.
To reassemble your device, follow these instructions in reverse order.
チーム

IUPUI, Team S10-G10, Wilson Spring 2019 IUPUI, Team S10-G10, Wilson Spring 2019人のメンバー
IUPUI-WILSON-S19S10G10
3 メンバー
3のガイドは作成済み