メインコンテンツにスキップ

Asus A53S Motherboard Replacement

必要な工具と部品

  1. Asus A53S Motherboard Replacement, Motherboard: 手順 1、 3の画像 1 Asus A53S Motherboard Replacement, Motherboard: 手順 1、 3の画像 2 Asus A53S Motherboard Replacement, Motherboard: 手順 1、 3の画像 3
    • Power off your device and remove the battery before beginning this guide.

    • Flip the laptop so the underside is facing up.

    • Using a Phillips #01 screwdriver, unscrew the two 6 mm screws.

  2. Asus A53S Motherboard Replacement: 手順 2、 2の画像 1 Asus A53S Motherboard Replacement: 手順 2、 2の画像 2
    • Place a spudger under the white wire and pull it up gently, disconnecting it from the Wi-Fi card.

    • Use the same method on the black wire.

  3. Asus A53S Motherboard Replacement: 手順 3、 3の画像 1 Asus A53S Motherboard Replacement: 手順 3、 3の画像 2 Asus A53S Motherboard Replacement: 手順 3、 3の画像 3
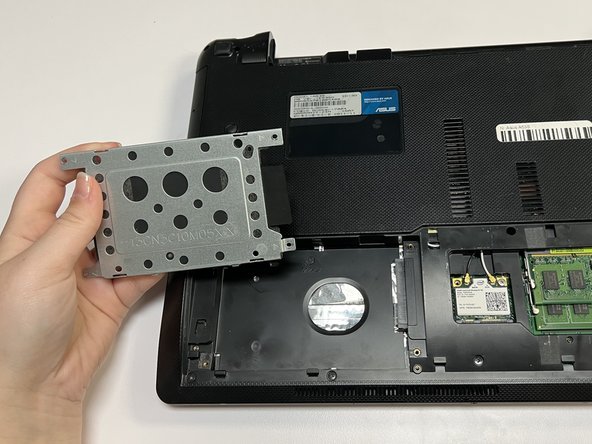
    • Push the hard drive to the left and remove it.

  4. Asus A53S Motherboard Replacement: 手順 4、 2の画像 1 Asus A53S Motherboard Replacement: 手順 4、 2の画像 2
    • Using a Phillips #01 screwdriver, unscrew the fifteen 6 mm screws.

  5. Asus A53S Motherboard Replacement: 手順 5、 2の画像 1 Asus A53S Motherboard Replacement: 手順 5、 2の画像 2
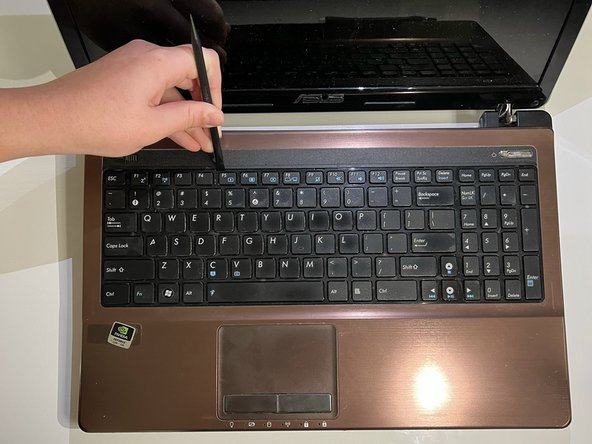
    • Flip over the laptop and open it.

    • Using the spudger, insert the flat end into the notches at the top of the keyboard and slowly "pop" the keyboard up and out of the device.

  6. Asus A53S Motherboard Replacement: 手順 6、 2の画像 1 Asus A53S Motherboard Replacement: 手順 6、 2の画像 2
    • Using the flat end of the spudger, lift the black ZIF connector lock bar and disconnect the keyboard from the computer.

    • Remove the keyboard.

  7. Asus A53S Motherboard Replacement: 手順 7、 2の画像 1 Asus A53S Motherboard Replacement: 手順 7、 2の画像 2
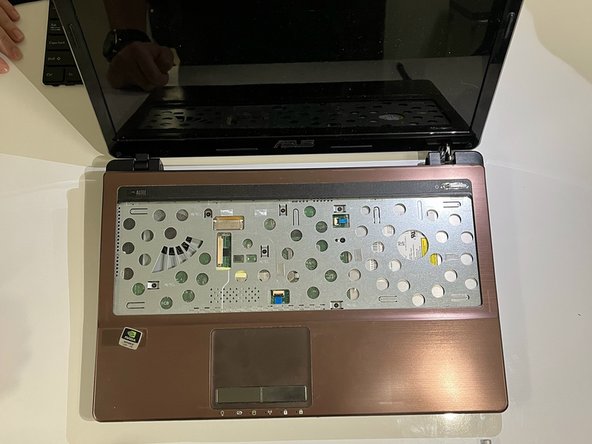
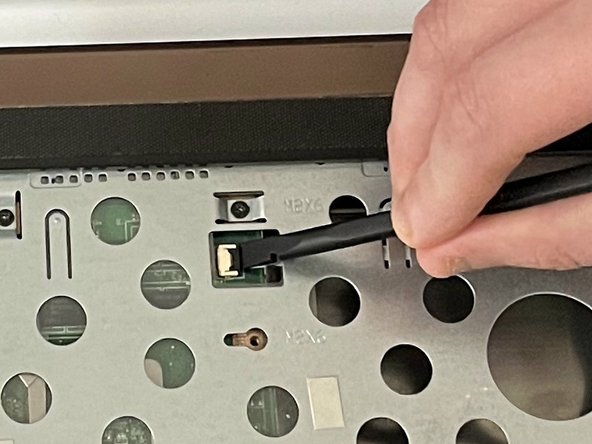
    • Using the spudger, place the flat end under the black lock bar holding the power switch. Push the spudger up and to the left, disconnecting the power switch.

    • Use the same technique on the touchpad to disconnect it.

  8. Asus A53S Motherboard Replacement: 手順 8、 2の画像 1 Asus A53S Motherboard Replacement: 手順 8、 2の画像 2
    • Using a Phillips #01 screwdriver, unscrew the seven 6 mm screws.

  9. Asus A53S Motherboard Replacement: 手順 9、 1の画像 1
    • Gently pull out the optical drive.

  10. Asus A53S Motherboard Replacement: 手順 10、 1の画像 1
    • Flip the laptop back over so that the bottom is facing up.

    • Use a Phillips #01 screwdriver to unscrew the three 6 mm screws.

  11. Asus A53S Motherboard Replacement: 手順 11、 2の画像 1 Asus A53S Motherboard Replacement: 手順 11、 2の画像 2
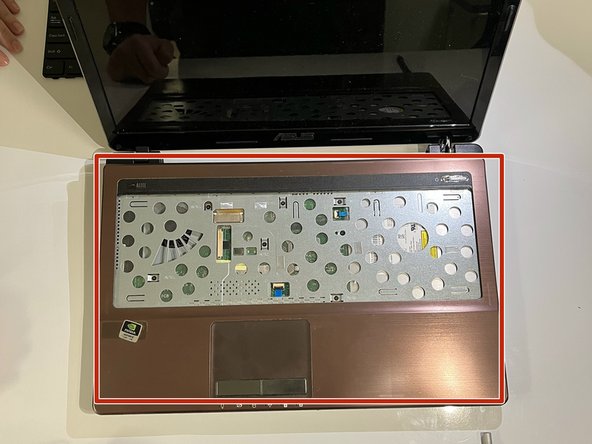
    • Turn the laptop back over so that you can open it.

    • Gently separate the cover from the laptop by putting an opening tool between the cover and the lower part of the laptop.

  12. Asus A53S Motherboard Replacement: 手順 12、 1の画像 1
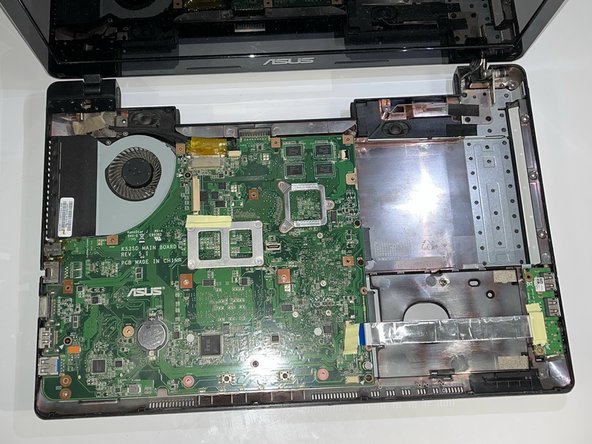
    • Remove the yellow tape.

  13. Asus A53S Motherboard Replacement: 手順 13、 1の画像 1
    • Using the flat end of a spudger, flip ZIF connector lock bar up, disconnecting the USB board from the mother board.

  14. Asus A53S Motherboard Replacement: 手順 14、 2の画像 1 Asus A53S Motherboard Replacement: 手順 14、 2の画像 2
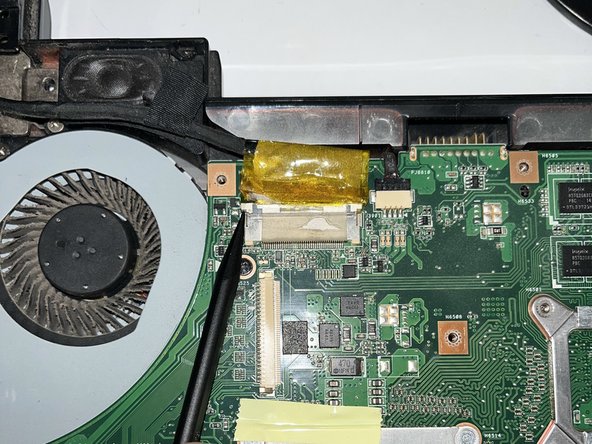
    • Using the pointy end of a spudger, push upwards on the notches of the tan part of the LCD connector.

  15. Asus A53S Motherboard Replacement: 手順 15、 2の画像 1 Asus A53S Motherboard Replacement: 手順 15、 2の画像 2
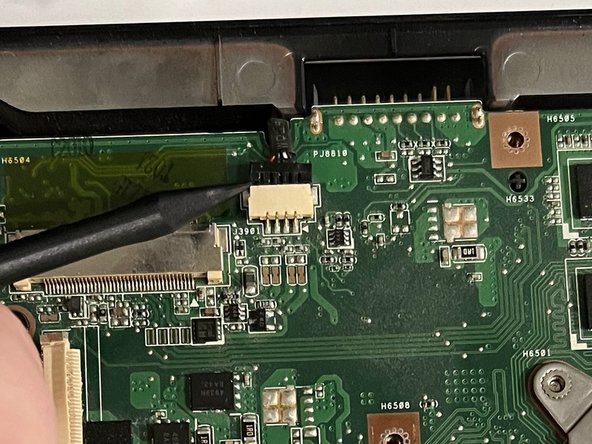
    • Using the pointy end of a spudger, gently push upwards on the black part of the speaker connector.

  16. Asus A53S Motherboard Replacement: 手順 16、 2の画像 1 Asus A53S Motherboard Replacement: 手順 16、 2の画像 2
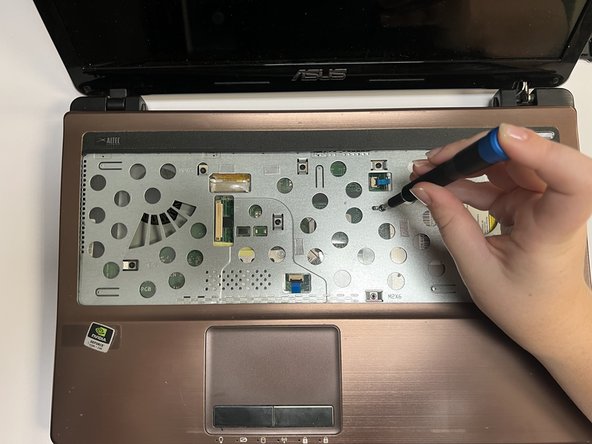
    • Using a Phillips #01 screwdriver, unscrew the five 6 mm screws at the indicated places.

    • Using a Phillips #01 screwdriver, unscrew the 5 mm screws.

    • All of these screws are indicated by a small white arrow.

  17. Asus A53S Motherboard Replacement: 手順 17、 2の画像 1 Asus A53S Motherboard Replacement: 手順 17、 2の画像 2
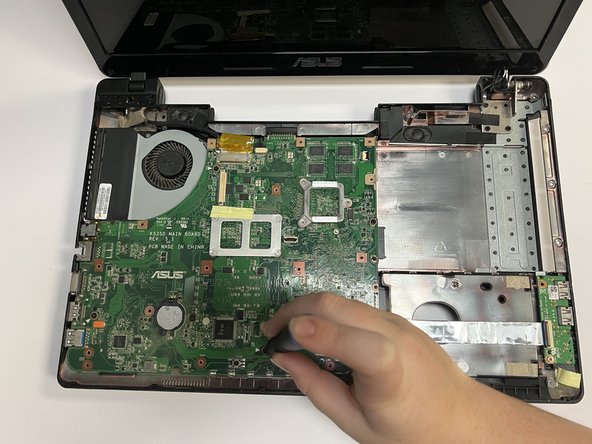
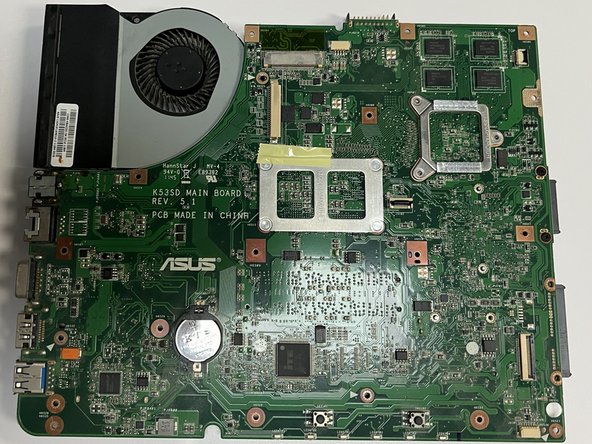
    • Gently lift the motherboard, removing it from the laptop shell.

終わりに

To reassemble your device, follow these instructions in reverse order.

ある他の人がこのガイドを完成しました。

作成者

2人の作成者と共同で作成されました。

Nixon Lanning

メンバー登録日: 09/22/22

295 ポイント

1ガイドが承認済み

チーム

University of North Texas, Team 3-1, Saru Jimmy Fall 2022 University of North Texas, Team 3-1, Saru Jimmy Fall 2022人のメンバー

UNT-SARU JIMMY-F22S3G1

4 メンバー

6のガイドは作成済み

0 件のコメント

コメントを追加

統計データ:

過去 24時間: 1

過去 7 日: 7

過去 30 日: 21

今までの合計 369