メインコンテンツにスキップ

Astro C40 TR Joystick Replacement

必要な工具と部品

  1. Astro C40 TR Joystick Replacement, Joystick: 手順 1、 1の画像 1
    • Unplug your controller from the video game console.

    • Turn the wireless mode off if it is activated on your controller.

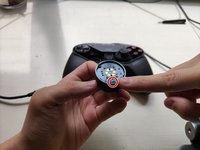
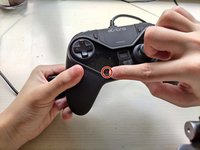
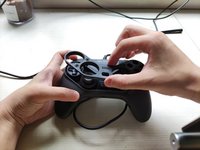
  2. Astro C40 TR Joystick Replacement: 手順 2、 3の画像 1 Astro C40 TR Joystick Replacement: 手順 2、 3の画像 2 Astro C40 TR Joystick Replacement: 手順 2、 3の画像 3
    • Use an H.20 Hexagonal screwdriver to loosen the two screws on each joystick's side.

    • Remove the face cover of the joystick by flipping the controller on its side.

    • Don't panic if the joystick falls off! It can be placed back on.

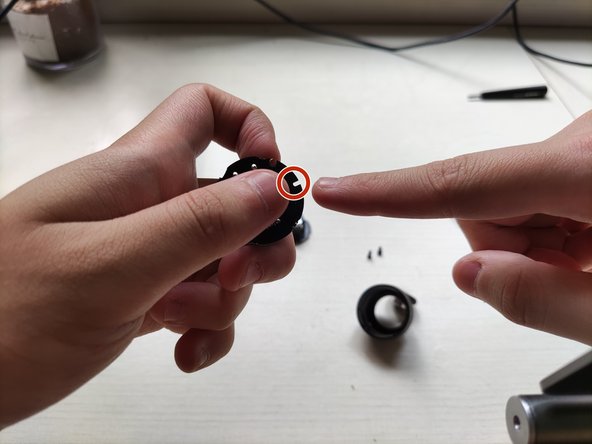
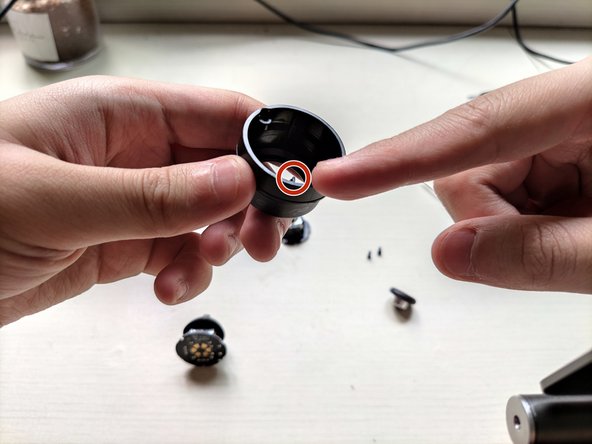
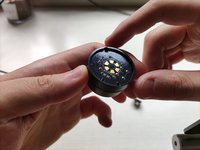
  3. Astro C40 TR Joystick Replacement: 手順 3、 3の画像 1 Astro C40 TR Joystick Replacement: 手順 3、 3の画像 2 Astro C40 TR Joystick Replacement: 手順 3、 3の画像 3
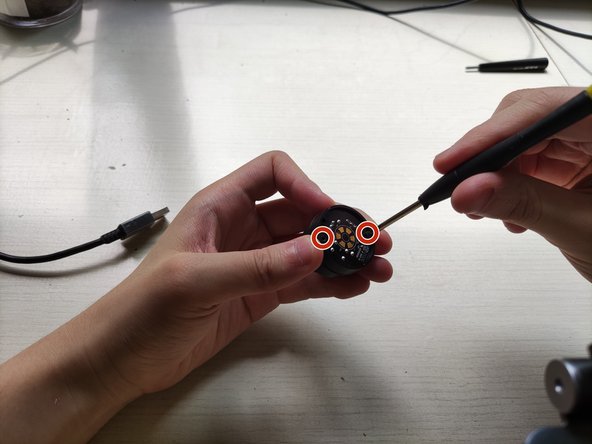
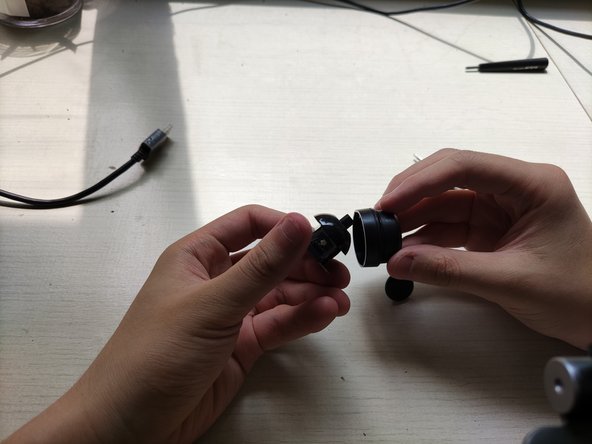
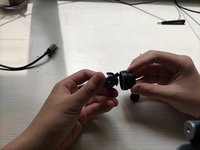
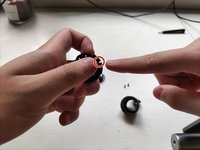
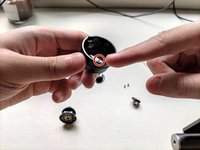
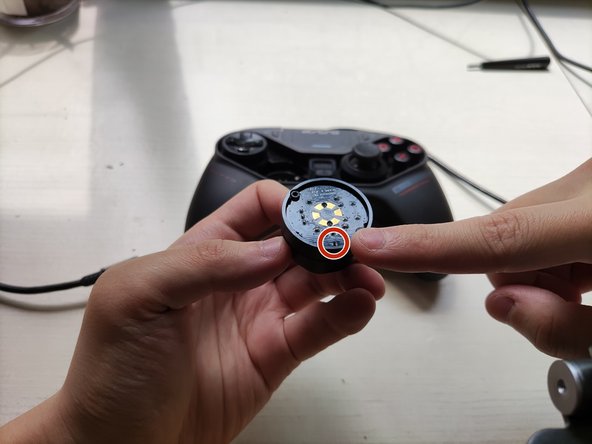
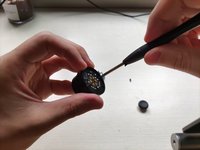
    • Use the 30mm TORX Screwdriver to remove the screws from the module.

    • Push on the top frame until it pops off of the module.

    • If you have a whole new joystick module, you can skip to step 6.

  4. Astro C40 TR Joystick Replacement: 手順 4、 3の画像 1 Astro C40 TR Joystick Replacement: 手順 4、 3の画像 2 Astro C40 TR Joystick Replacement: 手順 4、 3の画像 3
    • Connect the base frame replacement to the joystick module.

    • Insert the top frame on the module until it clicks back together.

  5. Astro C40 TR Joystick Replacement: 手順 5、 3の画像 1 Astro C40 TR Joystick Replacement: 手順 5、 3の画像 2 Astro C40 TR Joystick Replacement: 手順 5、 3の画像 3
    • Reassemble the joystick module and plug it back into the controller.

    • Make sure the replacement and base frame are tightly screwed together.

    • Align the module and controller as you put joystick back together.

  6. Astro C40 TR Joystick Replacement: 手順 6、 2の画像 1 Astro C40 TR Joystick Replacement: 手順 6、 2の画像 2
    • Reassemble the controller by placing the face cover back on.

    • Tighten the screws on the face cover with the H.20 Hexagonal Screwdriver.

    • If it's difficult to tighten the screws, don't force it. The joystick and controller are probably not aligned correctly!

  7. Astro C40 TR Joystick Replacement: 手順 7、 1の画像 1
    • Recalibrate the controller so the new joystick can be detected by the console.

    • Connect the controller to the console and activate wire-connect mode by clicking the controller's top right corner.

    • Push the button on the back of the controller. Hold it until the controller vibrates. Release the button and repeat.

終わりに

To reassemble your device, follow these instructions in reverse order.

作成者

5人の作成者と共同で作成されました。

Pan

メンバー登録日: 09/13/21

145 ポイント

1ガイドが承認済み

チーム

York University, Team E-21, Melo-Thaiss Fall 2021 York University, Team E-21, Melo-Thaiss Fall 2021人のメンバー

YORK-MELO-THAISS-F21SEG21

1 メンバー

1のガイドは作成済み

0 件のコメント

コメントを追加

統計データ:

過去 24時間: 16

過去 7 日: 49

過去 30 日: 172

今までの合計 2,996