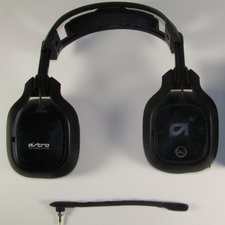
メインコンテンツにスキップ

Astro A40 Gen2 Mixamp Motherboard Replacement

必要な工具と部品

  1. Astro A40 Gen2 Mixamp Motherboard Replacement, Remove Dials: 手順 1、 3の画像 1 Astro A40 Gen2 Mixamp Motherboard Replacement, Remove Dials: 手順 1、 3の画像 2 Astro A40 Gen2 Mixamp Motherboard Replacement, Remove Dials: 手順 1、 3の画像 3
    • Remove the dials using either a metal spudger or your hands. Be careful as the dials may be difficult to remove.

  2. Astro A40 Gen2 Mixamp Motherboard Replacement, Remove nuts and washers.: 手順 2、 1の画像 1
    • Locate the two 11/32 inch nuts underneath the dials.

    • Use an 11/32 inch socket wrench or tweezers to unscrew and remove the nuts and washers.

  3. Astro A40 Gen2 Mixamp Motherboard Replacement, Remove back pad.: 手順 3、 2の画像 1 Astro A40 Gen2 Mixamp Motherboard Replacement, Remove back pad.: 手順 3、 2の画像 2
    • Using a larger metal spudger, remove the rubber back of the mixamp.

    • The back will have glue residue after removal. Depending on the stickiness of the residue, more glue may be needed to stick the backing back on.

  4. Astro A40 Gen2 Mixamp Motherboard Replacement, Take out main case screw.: 手順 4、 1の画像 1
    • Remove the one 4.5 mm Phillips #0 screw on the back panel of the mixamp.

  5. Astro A40 Gen2 Mixamp Motherboard Replacement, Pry open the case.: 手順 5、 3の画像 1 Astro A40 Gen2 Mixamp Motherboard Replacement, Pry open the case.: 手順 5、 3の画像 2 Astro A40 Gen2 Mixamp Motherboard Replacement, Pry open the case.: 手順 5、 3の画像 3
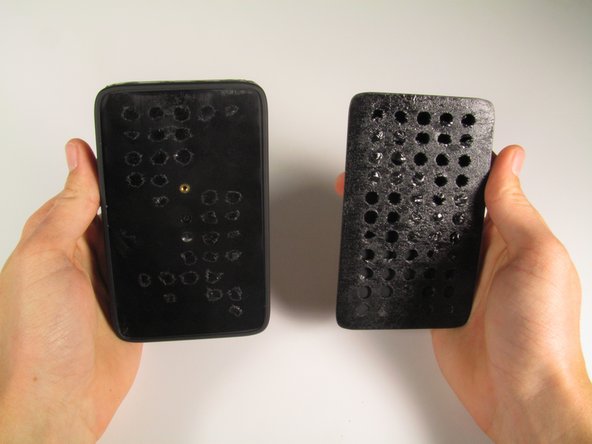
    • Using a large metal spudger, detach all plastic clips holding the bottom and top casings together.

    • Remove the input casing using your fingers.

    • Be careful when releasing the clips between the two casings, as it is very easy to scratch the mixamp or break the clips.

    • Use caution when pulling the two casings apart as it is very easy to pinch your fingers between them.

  6. Astro A40 Gen2 Mixamp Motherboard Replacement, Remove the motherboard from the case.: 手順 6、 1の画像 1
    • Remove the four 5.8 mm Phillips #0 screws on the motherboard.

  7. Astro A40 Gen2 Mixamp Motherboard Replacement: 手順 7、 2の画像 1 Astro A40 Gen2 Mixamp Motherboard Replacement: 手順 7、 2の画像 2
    • Remove the motherboard from the casing.

終わりに

To reassemble your device, follow these instructions in reverse order.

2 の人々がこのガイドを完成させました。

作成者

7人の作成者と共同で作成されました。

Mark

メンバー登録日: 01/22/15

412 ポイント

3のガイドは作成済み

チーム

Cal Poly, Team 20-18, Maness Winter 2015 Cal Poly, Team 20-18, Maness Winter 2015人のメンバー

CPSU-MANESS-W15S20G18

4 メンバー

10のガイドは作成済み

コメント 1 件

Where would I find a motherboard? And would it save money fixing the mixamp?

benaiah paul - 返信

コメントを追加

統計データ:

過去 24時間: 0

過去 7 日: 8

過去 30 日: 28

今までの合計 8,020