メインコンテンツにスキップ

Assembling the case

必要な工具と部品

    • Reinstall the left side panel.

    • Put on the side wall and make sure that the lugs are snapped into the slots provided. Then slide the side panel slightly forward. The side panel should audibly snap into place when pushed forward.

    • Reinstall the right side panel.

    • First attach the side wall and make sure that the lugs have snapped into the slots provided. Then slide the side panel slightly forward. The side panel should audibly snap into place when pushed forward.

  1. Assembling the case: 手順 3、 1の画像 1
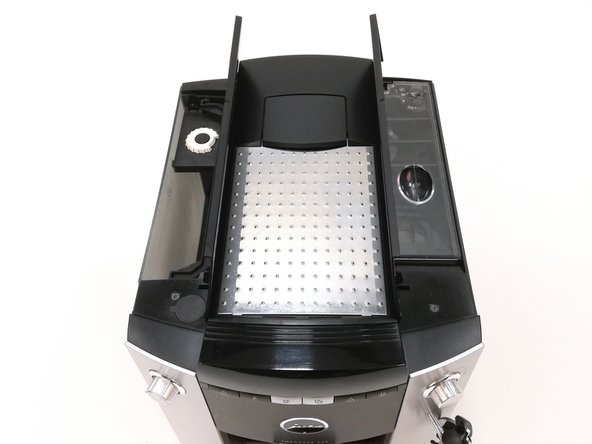
    • Place the housing cover back on the coffee maker.

  2. Assembling the case: 手順 4、 2の画像 1 Assembling the case: 手順 4、 2の画像 2
    • Use the Torx T15 screwdriver to tighten the 2 countersunk screws on the housing cover.

  3. Assembling the case: 手順 5、 2の画像 1 Assembling the case: 手順 5、 2の画像 2
    • Using the oval head wrench, tighten the 4 oval head screws on the back of the machine.

  4. Assembling the case: 手順 6、 3の画像 1 Assembling the case: 手順 6、 3の画像 2 Assembling the case: 手順 6、 3の画像 3
    • Replace the water tank,

    • the drip tray with drip tray, pulp tray and pulp container,

    • and place the aroma protection cover back on.

ゴール

ある他の人がこのガイドを完成しました。

以下の翻訳者の皆さんにお礼を申し上げます:

de en

100%

oldturkey03さんは世界中で修理する私たちを助けてくれています! あなたも貢献してみませんか?
翻訳を始める ›

作成者

3人の作成者と共同で作成されました。

Natalie

メンバー登録日: 05/08/19

738 ポイント

4のガイドは作成済み

チーム

KMM 2019SS KMM 2019SS人のメンバー

Community

11 メンバー

8のガイドは作成済み

0 件のコメント

コメントを追加

統計データ:

過去 24時間: 1

過去 7 日: 4

過去 30 日: 19

今までの合計 790