メインコンテンツにスキップ

Art Tube MP AMP 12 AX7A Tube Replacement

必要な工具と部品

  1. Art Tube MP AMP 12 AX7A Tube Replacement, 12 AX7A Tube: 手順 1、 2の画像 1 Art Tube MP AMP 12 AX7A Tube Replacement, 12 AX7A Tube: 手順 1、 2の画像 2
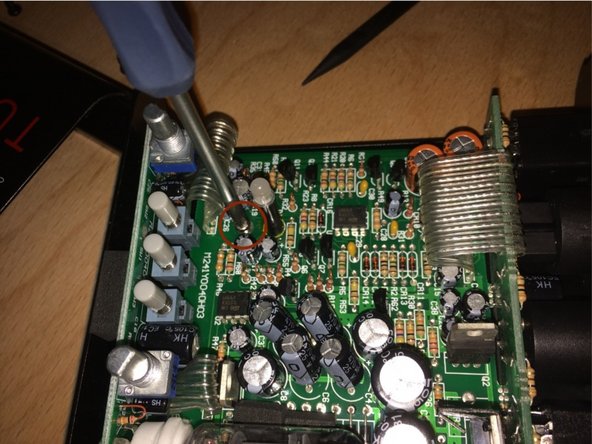
    • Loosen the 4 screws sideways the device, using a PH1

  2. Art Tube MP AMP 12 AX7A Tube Replacement: 手順 2、 3の画像 1 Art Tube MP AMP 12 AX7A Tube Replacement: 手順 2、 3の画像 2 Art Tube MP AMP 12 AX7A Tube Replacement: 手順 2、 3の画像 3
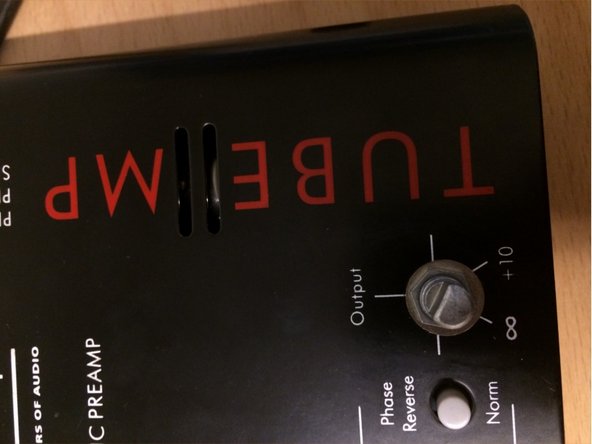
    • Use the Smart Wrench to loosen the two In- and Output controllers. Attach the Smart Wrench below the controller.

    • Be careful not to damage the surface.

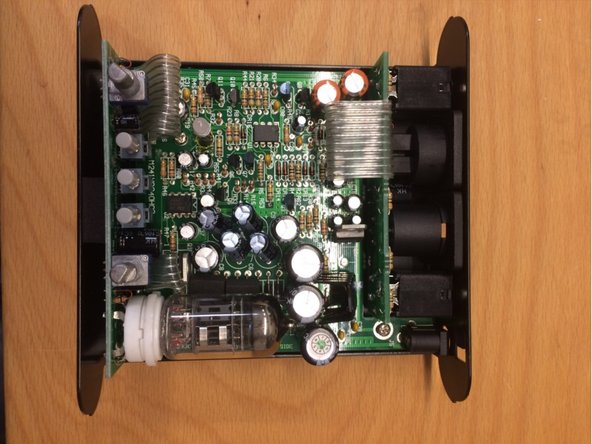
    • Now you can lift up the top of the device, and the mainboard appears.

  3. Art Tube MP AMP 12 AX7A Tube Replacement: 手順 3、 1の画像 1
    • Use the Smart Wrench again to loosen the cinch ports on the backside.

    • Attention! Do not lose the washers located at the in- and outside. Two pieces each.

  4. Art Tube MP AMP 12 AX7A Tube Replacement: 手順 4、 3の画像 1 Art Tube MP AMP 12 AX7A Tube Replacement: 手順 4、 3の画像 2 Art Tube MP AMP 12 AX7A Tube Replacement: 手順 4、 3の画像 3
    • Use the PH 1 to unscrew 2 screws on the motherboard.

    • Now you can take the board out completely

    • Attention: There are again 2 washers.

  5. Art Tube MP AMP 12 AX7A Tube Replacement: 手順 5、 3の画像 1 Art Tube MP AMP 12 AX7A Tube Replacement: 手順 5、 3の画像 2 Art Tube MP AMP 12 AX7A Tube Replacement: 手順 5、 3の画像 3
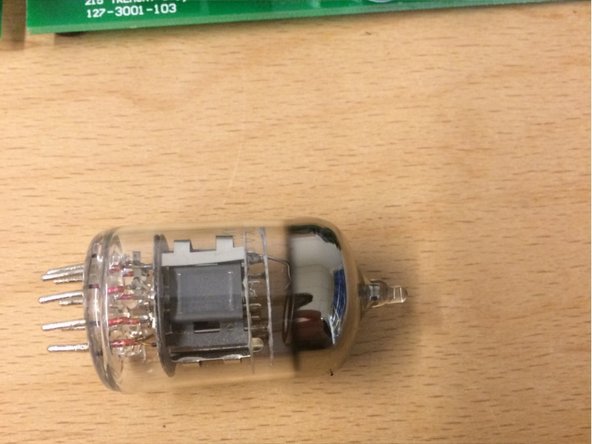
    • Carefully bend the tube up to get a better view

    • Remove the tube with a cloth from the socket, a metal spudger can help

    • Insert the new tube

    • Use cloth so that no residues accumulate on the surface.

  6. Art Tube MP AMP 12 AX7A Tube Replacement: 手順 6、 3の画像 1 Art Tube MP AMP 12 AX7A Tube Replacement: 手順 6、 3の画像 2 Art Tube MP AMP 12 AX7A Tube Replacement: 手順 6、 3の画像 3
    • Finally just reassemble all parts.

    • Be careful to tighten all the screws and ports, otherwise internal vibrations could cause damage to your device.

    • First put the cinch ports in to get the mainboard back in place.

終わりに

Congratulations you did it :)

3 の人々がこのガイドを完成させました。

以下の翻訳者の皆さんにお礼を申し上げます:

de en

100%

これらの翻訳者の方々は世界を修理する私たちのサポートをしてくれています。 あなたも貢献してみませんか?
翻訳を始める ›

作成者

3人の作成者と共同で作成されました。

Alex Krug

メンバー登録日: 12/23/16

38,185 ポイント

1ガイドが承認済み

3 件のコメント

Only replace the fuse? Is that the only part that usually breaks?

Raoul B. - 返信

A tube replacement for this device is not necessarily meant for broken tubes. Most people do it for altering the sound. There is still a modification manual on the web for changing most of the parts like resistors, capacitors and ICs for higher quality.

Holger Klos - 返信

I didn’t find it necessary to remove the motherboard to replace the tube. The card where the tube socket is located is connected to the main board with two cables. That board may be lifted clear of the chassis just by extending those cables.

Greg Baker - 返信

コメントを追加

統計データ:

過去 24時間: 2

過去 7 日: 11

過去 30 日: 42

今までの合計 2,880