この翻訳は、ソースガイドの最新の更新を反映していない可能性があります。 翻訳の更新に協力してください。 または ソースガイドを参照してください。
はじめに
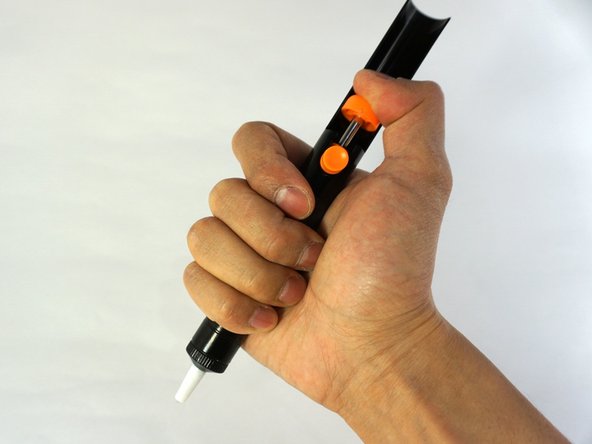
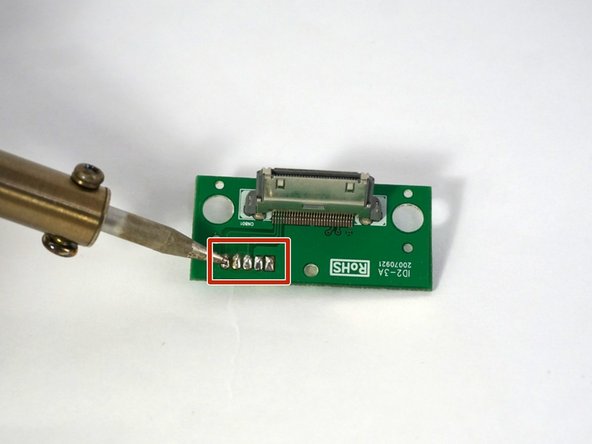
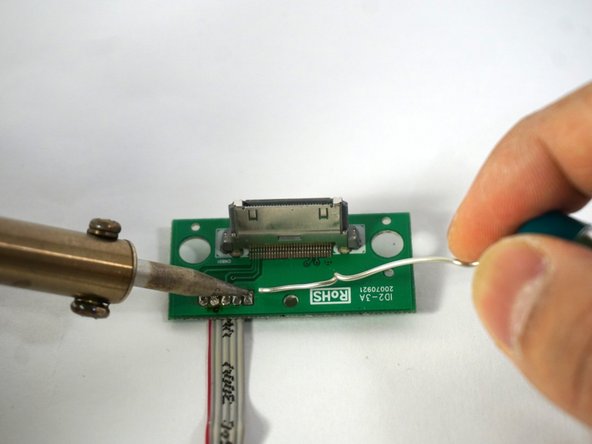
During this guide you will need some solder skills to repair the product. If you don't have any experiences in soldering, take a look at the How to Solder and Desolder Connections guide. Make sure you have all the tools that's needed to desolder en solder. Be aware of the fumes—do this in a well ventilated room!
必要な工具と部品
-
-
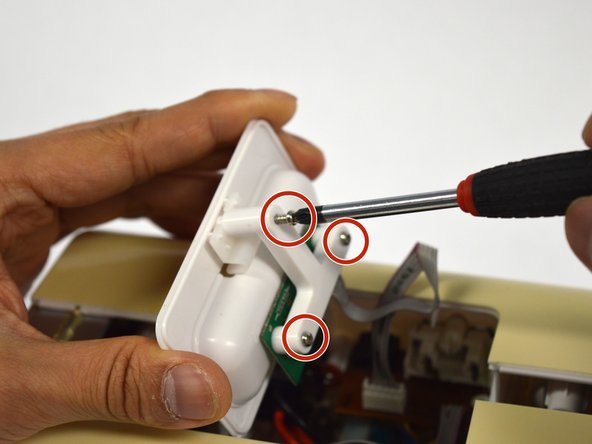
Unscrew the four Phillips screws on the backside of the docking system.
-
-


To reassemble your device, follow these instruction in reverse order from step 7
To reassemble your device, follow these instruction in reverse order from step 7
チーム

Delft University of Technology, Team S1-G6, Flipsen Spring 2017 Delft University of Technology, Team S1-G6, Flipsen Spring 2017人のメンバー
TUD-FLIPSEN-S17S1G6
3 メンバー
2のガイドは作成済み