メインコンテンツにスキップ

Apple Magic Keyboard 2 A2450 Keyboard Replacement

必要な工具と部品

  1. Apple Magic Keyboard 2 A2450 Keyboard Replacement, Lower Case: 手順 1、 3の画像 1 Apple Magic Keyboard 2 A2450 Keyboard Replacement, Lower Case: 手順 1、 3の画像 2 Apple Magic Keyboard 2 A2450 Keyboard Replacement, Lower Case: 手順 1、 3の画像 3
    • Apply heat around the perimeter of the lower case to loosen the adhesive that secures the lower case to the chassis.

    • The plastic should be a bit too warm to touch comfortably, but not hot.

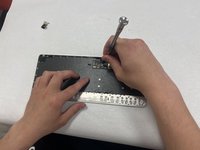
    • Insert an opening pick in the gap between the lower case and chassis.

    • After ensuring that the adhesive is warm, slide the pick around the perimeter to sever the adhesive.

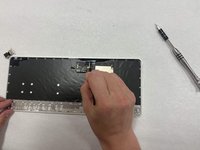
    • As you sever the adhesive, insert additional opening picks at each corner to prevent the adhesive from readhering.

    • Remove the lower case.

  2. Apple Magic Keyboard 2 A2450 Keyboard Replacement, Keyboard: 手順 2、 3の画像 1 Apple Magic Keyboard 2 A2450 Keyboard Replacement, Keyboard: 手順 2、 3の画像 2 Apple Magic Keyboard 2 A2450 Keyboard Replacement, Keyboard: 手順 2、 3の画像 3
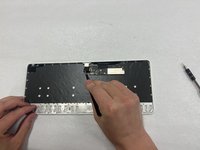
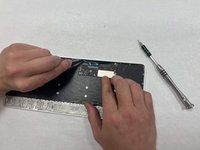
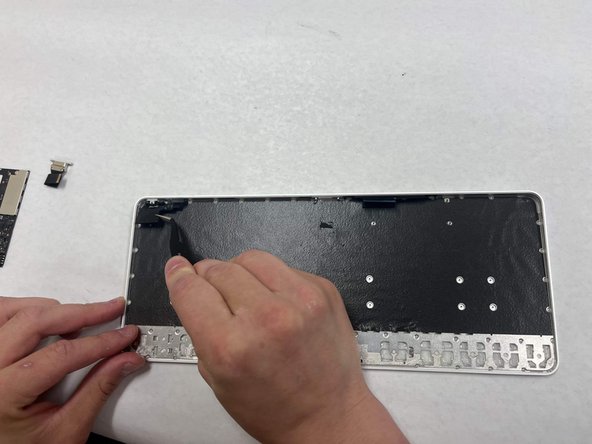
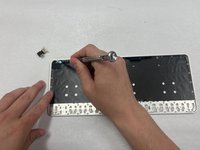
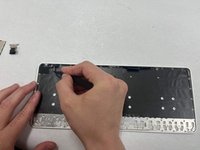
    • Use a T3 Torx screwdriver head to remove all twelve 5 mm that secure the midframe.

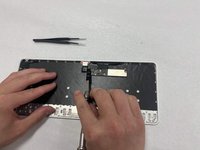
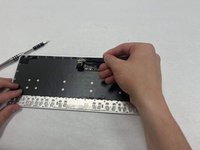
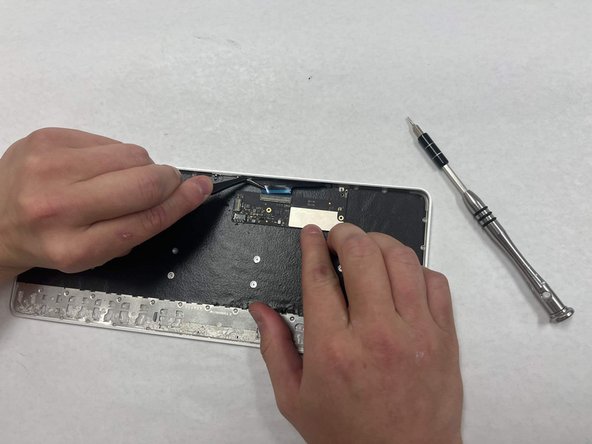
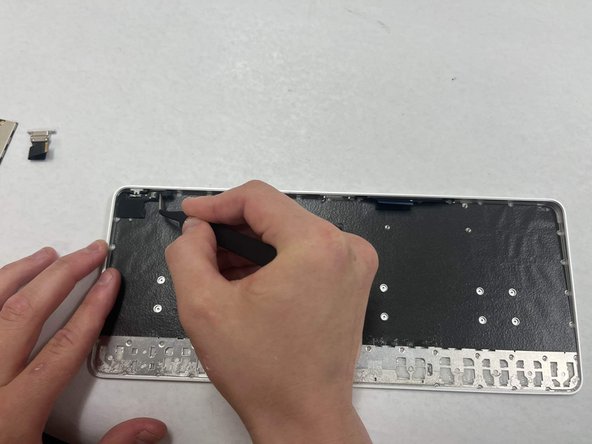
    • Use tweezers to disconnect the battery motherboard connection.

    • Remove the midframe.

  3. Apple Magic Keyboard 2 A2450 Keyboard Replacement: 手順 3、 3の画像 1 Apple Magic Keyboard 2 A2450 Keyboard Replacement: 手順 3、 3の画像 2 Apple Magic Keyboard 2 A2450 Keyboard Replacement: 手順 3、 3の画像 3
    • Use a T3 Torx screwdriver to remove the two 5 mm screws that secure the lightning port.

    • Use tweezers to remove the Lighting port from the motherboard.

  4. Apple Magic Keyboard 2 A2450 Keyboard Replacement: 手順 4、 3の画像 1 Apple Magic Keyboard 2 A2450 Keyboard Replacement: 手順 4、 3の画像 2 Apple Magic Keyboard 2 A2450 Keyboard Replacement: 手順 4、 3の画像 3
    • Use a T3 Torx screwdriver to remove the three 3 mm screws that secure the motherboard.

    • Remove the tape covering the ribbon cable on the top half of the motherboard.

    • Use a small pair of tweezers to gently unplug the ribbon cable and remove the motherboard from the keyboard.

  5. Apple Magic Keyboard 2 A2450 Keyboard Replacement: 手順 5、 3の画像 1 Apple Magic Keyboard 2 A2450 Keyboard Replacement: 手順 5、 3の画像 2 Apple Magic Keyboard 2 A2450 Keyboard Replacement: 手順 5、 3の画像 3
    • Use a T3 Torx screwdriver to remove the single 3 mm screw that secures the assembly to the frame.

    • Use tweezers to unplug the power switch from the case. Pull horizontally on the entire assembly to remove the switch from the keyboard.

  6. Apple Magic Keyboard 2 A2450 Keyboard Replacement: 手順 6、 1の画像 1
    • Replace the keyboard.

終わりに

To reassemble your device, follow these instructions in reverse order.

作成者

3人の作成者と共同で作成されました。

Alex

メンバー登録日: 04/02/24

217 ポイント

2のガイドは作成済み

チーム

IUPUI, Team 3-2, Harley Spring 2024 IUPUI, Team 3-2, Harley Spring 2024人のメンバー

IUPUI-HARLEY-S24S3G2

4 メンバー

3のガイドは作成済み

0 件のコメント

コメントを追加

統計データ:

過去 24時間: 5

過去 7 日: 22

過去 30 日: 88

今までの合計 959