メインコンテンツにスキップ

Apple IIc IC Chips Replacement

必要な工具と部品

  1. Apple IIc IC Chips Replacement, Disassembling Apple IIc Cover: 手順 1、 2の画像 1 Apple IIc IC Chips Replacement, Disassembling Apple IIc Cover: 手順 1、 2の画像 2
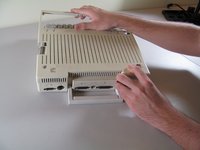
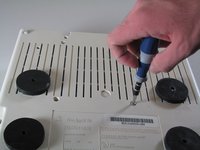
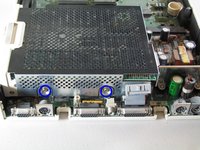
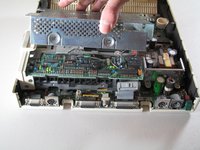
    • Remove the six 19 mm long screws with a #2 Phillips head screwdriver.

  2. Apple IIc IC Chips Replacement: 手順 2、 2の画像 1 Apple IIc IC Chips Replacement: 手順 2、 2の画像 2
    • Release the catch by pushing it in using a plastic opening tool.

    • The catch is off-center, but in line with the middle of the speaker underneath.

  3. Apple IIc IC Chips Replacement: 手順 3、 2の画像 1 Apple IIc IC Chips Replacement: 手順 3、 2の画像 2
    • Slide the case toward the ports on the back, then grip under the catch and pull up while moving toward the ports to remove.

  4. Apple IIc IC Chips Replacement: 手順 4、 2の画像 1 Apple IIc IC Chips Replacement: 手順 4、 2の画像 2
    • Lift the handle straight up to remove.

  5. Apple IIc IC Chips Replacement, Keyboard: 手順 5、 2の画像 1 Apple IIc IC Chips Replacement, Keyboard: 手順 5、 2の画像 2
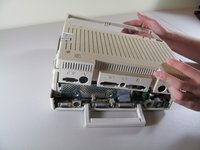
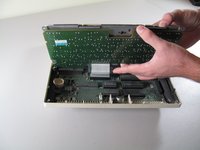
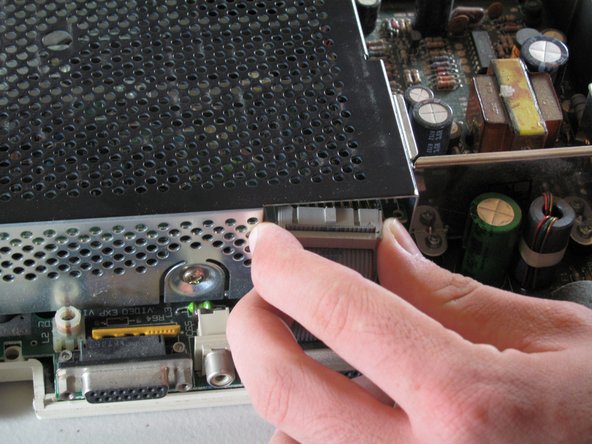
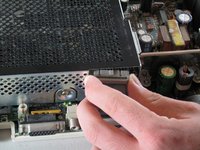
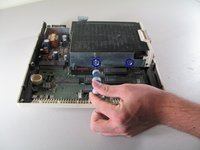
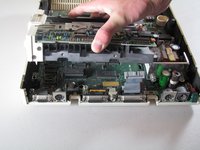
    • Tilt the keyboard up while detaching the ribbon connection by pulling it straight up. You may have to wiggle the connector sideways to loosen it.

    • Be careful not to force the ribbon while pulling it out to avoid tearing. Do not try to pull the ribbon out by pulling the keyboard as it may cause tearing.

  6. Apple IIc IC Chips Replacement, Floppy Drive: 手順 6、 2の画像 1 Apple IIc IC Chips Replacement, Floppy Drive: 手順 6、 2の画像 2
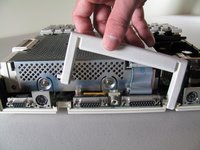
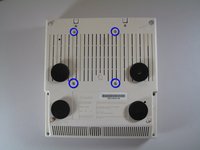
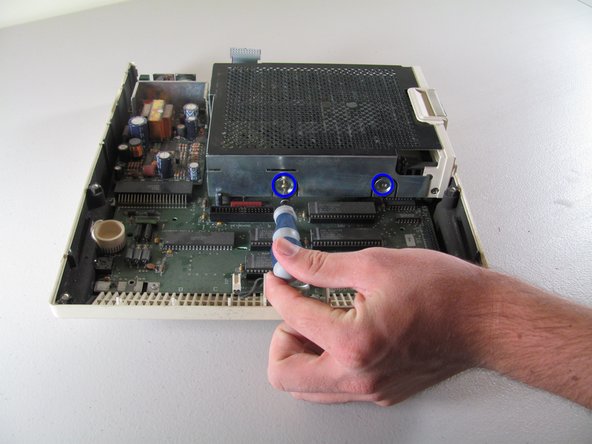
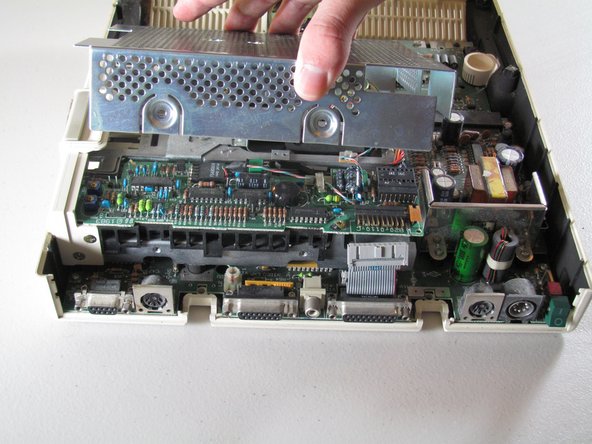
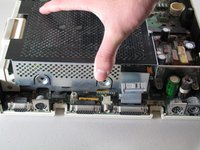
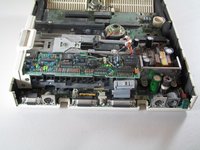
    • Carefully place device upside down to remove the four centered 21.1 mm screws that secure the floppy drive.

  7. Apple IIc IC Chips Replacement: 手順 7、 3の画像 1 Apple IIc IC Chips Replacement: 手順 7、 3の画像 2 Apple IIc IC Chips Replacement: 手順 7、 3の画像 3
    • Carefully detach ribbon connector from floppy disk drive by pulling it out horizontally.

  8. Apple IIc IC Chips Replacement: 手順 8、 2の画像 1 Apple IIc IC Chips Replacement: 手順 8、 2の画像 2
    • Unscrew the four 8.5 mm screws that attach the floppy drive cage. Two screws are located on the front and back of the cage.

  9. Apple IIc IC Chips Replacement: 手順 9、 2の画像 1 Apple IIc IC Chips Replacement: 手順 9、 2の画像 2
    • Carefully lift the floppy drive cage straight up to remove it.

  10. Apple IIc IC Chips Replacement: 手順 10、 2の画像 1 Apple IIc IC Chips Replacement: 手順 10、 2の画像 2
    • Lift the floppy drive straight up to remove.

  11. Apple IIc IC Chips Replacement, IC Chips: 手順 11、 3の画像 1 Apple IIc IC Chips Replacement, IC Chips: 手順 11、 3の画像 2 Apple IIc IC Chips Replacement, IC Chips: 手順 11、 3の画像 3
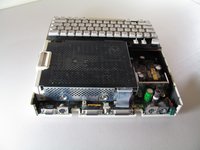
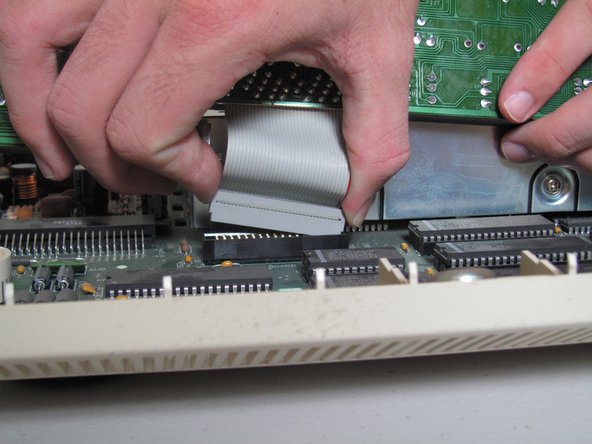
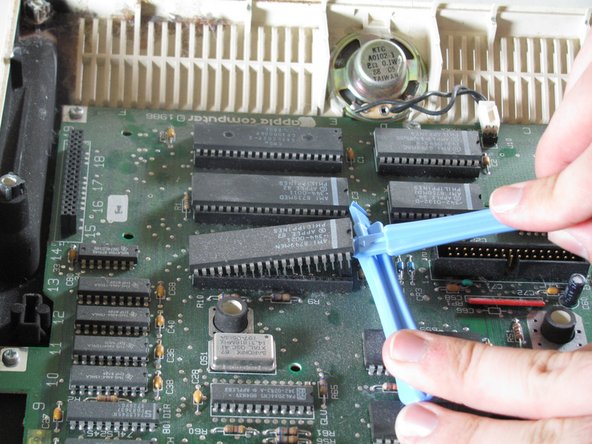
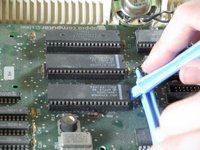
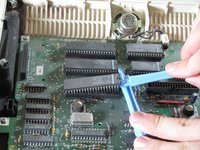
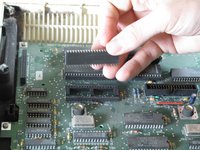
    • Use the plastic opening tools to carefully lever the IC chips out of the holder. Gently lever one end and then the other to lift it out of the chip holder.

    • Do not force IC chips out! Pins are very fragile and can easily bend or break.

終わりに

To reassemble your device, follow these instructions in reverse order.

9 の人々がこのガイドを完成させました。

作成者

4人の作成者と共同で作成されました。

Josiah

メンバー登録日: 10/06/11

658 ポイント

3のガイドは作成済み

チーム

Cal Poly, Team 21-23, Maness Fall 2011 Cal Poly, Team 21-23, Maness Fall 2011人のメンバー

CPSU-MANESS-F11S21G23

4 メンバー

13のガイドは作成済み

コメント 1 件

What are the 4 round black things shown in the photos in Step 1 and Step 6? (No explanation is given.)

James Wages - 返信

コメントを追加

統計データ:

過去 24時間: 0

過去 7 日: 8

過去 30 日: 27

今までの合計 6,642