はじめに
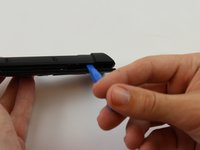
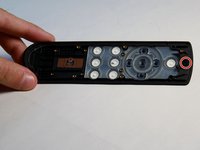
リモコンの複数のボタンが反応しませんか?このガイドを使用して、リモコンのボタンパネルを交換してください。
取り外されたネジは、容器の中や磁気マット上で保管をして、紛失しないようご注意ください。
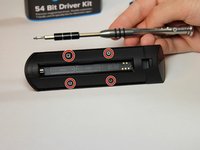
必要な工具と部品


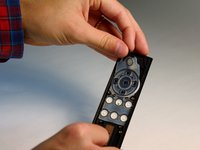
デバイスを再組み立てするには以下のインストラクションを逆の順番に従って作業を進めてください。
5 の人々がこのガイドを完成させました。
以下の翻訳者の皆さんにお礼を申し上げます:
100%

これらの翻訳者の方々は世界を修理する私たちのサポートをしてくれています。 あなたも貢献してみませんか?
翻訳を始める ›
チーム

USF Tampa, Team 16-3, Wollert Fall 2015 USF Tampa, Team 16-3, Wollert Fall 2015人のメンバー
USFT-WOLLERT-F15S16G3
4 メンバー
16のガイドは作成済み
3件のガイドコメント
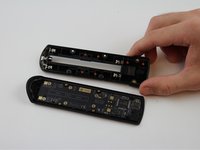
I too popped it open with force and found the 2 nuts pulled out of their sockets. I was able to remove the screws from the case, then re-insert the screws into the nuts and punch them (hard) back into the little socket holes. They stuck fast, and didn’t spin when I reassembled the remote.