はじめに
Amazon Fire HD 7 (第4世代)のリチウムイオンバッテリーを交換します。
必要な工具と部品
-
-
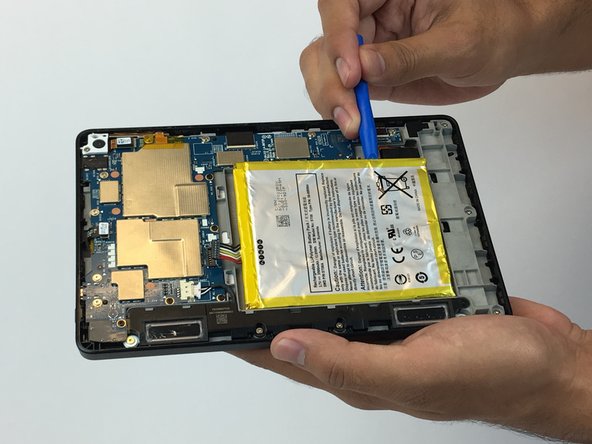
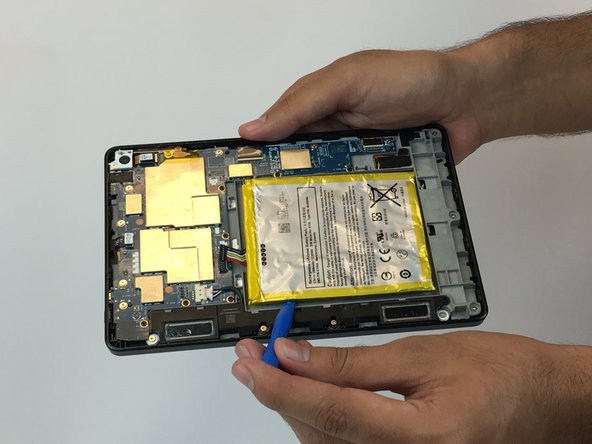
ケース中央のバッテリー周辺に9つのクリップが追加されています。 プラスチックツールをクリップの下に挿入し、持ち上げてクリップを外します。
-
すべてのクリップを外したら、バックケースを引いて、デバイスの内部が露出します。
Make sure you're very careful when you are prying up around the speakers, you could damage them! Take your time, and don't get in too much of a hurry taking the back off.
-
-


このデバイスを再組み立てするには、インストラクションを逆の順番に従って作業を進めてください。
このデバイスを再組み立てするには、インストラクションを逆の順番に従って作業を進めてください。
13 の人々がこのガイドを完成させました。
以下の翻訳者の皆さんにお礼を申し上げます:
100%

Midori Doiさんは世界中で修理する私たちを助けてくれています! あなたも貢献してみませんか?
翻訳を始める ›
チーム

USF Tampa, Team 4-4, Passmore Fall 2016 USF Tampa, Team 4-4, Passmore Fall 2016人のメンバー
USFT-PASSMORE-F16S4G4
4 メンバー
10のガイドは作成済み
4 件のコメント
Which direction are you placing the prying tool to release the clips; to open it up? With the prying tip facing up to release clips and then use to lift the back up as you move along the edges or face prying tip down to release clips which will then release the back to lift?
Also, using a black case, it’s hard to tell in the pic where exactly these clips are? Can you mark them on a photo?
Thank you! What seems to be an easy task is proving to be a struggle for my 4th Gen 7HD.
I have just replaced the battery in my wife's Kindle and the clips did not want to let go. I had to warn the back of the case with a hair dryer to get it to flex. The battery was well stuck down and needed a metal pry tool to release it.
Thanks for the information, but is there any risk of electric shock?