メインコンテンツにスキップ

Amazon Fire Game Controller Outer Shell Replacement

必要な工具と部品

  1. Amazon Fire Game Controller Outer Shell Replacement, Motherboard: 手順 1、 1の画像 1
    • Use a Triangle #2 screwdriver to remove the six 10 mm screws from the back of the controller.

  2. Amazon Fire Game Controller Outer Shell Replacement: 手順 2、 1の画像 1
    • Pry the two shell pieces from one another from the top orientation with a plastic opening tool.

    • The weights will fall out.

  3. Amazon Fire Game Controller Outer Shell Replacement: 手順 3、 1の画像 1
    • Disconnect the battery terminal wires and the play, pause, and stop wires from the motherboard.

  4. Amazon Fire Game Controller Outer Shell Replacement: 手順 4、 1の画像 1
    • Use a J1 screwdriver to unscrew the four 7 mm screws from the motherboard.

  5. Amazon Fire Game Controller Outer Shell Replacement: 手順 5、 1の画像 1
    • Lift the motherboard out of the controller casing.

  6. Amazon Fire Game Controller Outer Shell Replacement, Outer Shell: 手順 6、 1の画像 1
    • Use a JIS #0 screwdriver to remove the two 7 mm screws from the retaining bracket that secures the play, stop, and pause button wiring.

  7. Amazon Fire Game Controller Outer Shell Replacement: 手順 7、 1の画像 1
    • Use a JIS #0 screwdriver to unscrew the 5 mm screws from the LED indicator assembly.

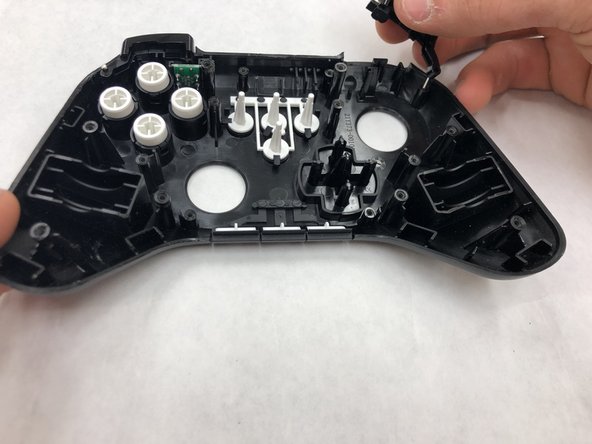
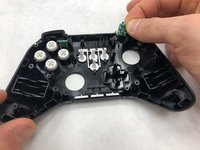
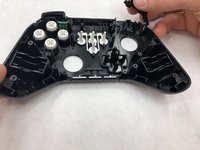
  8. Amazon Fire Game Controller Outer Shell Replacement: 手順 8、 2の画像 1 Amazon Fire Game Controller Outer Shell Replacement: 手順 8、 2の画像 2
    • Slide out the triggers and bumpers.

終わりに

To reassemble your device, follow these instructions in reverse order.

作成者

4人の作成者と共同で作成されました。

Andrew Klopfenstein

メンバー登録日: 01/14/19

19 ポイント

2のガイドは作成済み

チーム

IUPUI, Team S4-G4, Wilson Summer 2019 IUPUI, Team S4-G4, Wilson Summer 2019人のメンバー

IUPUI-WILSON-SU19S4G4

4 メンバー

4のガイドは作成済み

0 件のコメント

コメントを追加

統計データ:

過去 24時間: 1

過去 7 日: 4

過去 30 日: 9

今までの合計 583