メインコンテンツにスキップ
リペアコミュニティに参加 - アカウントの作成

Amazon Echo Woofer Replacement

必要な工具と部品

    1. Amazon Echo Woofer Replacement, Power and Speaker Driver Board: 手順 1、 1の画像 1
      • Power off and unplug your Echo before disassembly. Failure to do so could result in injury or damage to the device.

      • Peel off the rubber footing from the bottom of the Echo.

      • Do not pull the rubber footing too hard, as it could stretch out of shape. Use a spudger to help remove the foot if you have any trouble.

      FixBotに聞いてみる

      コメントを追加

    2. Amazon Echo Woofer Replacement: 手順 2、 3の画像 1 Amazon Echo Woofer Replacement: 手順 2、 3の画像 2 Amazon Echo Woofer Replacement: 手順 2、 3の画像 3
      • Remove the four 42.8 mm T10 Torx screws from the bottom of the Echo.

      FixBotに聞いてみる

      コメントを追加

    3. Amazon Echo Woofer Replacement: 手順 3、 1の画像 1
      • Slowly lift the plate containing the board. Be careful not to disconnect any of the wires.

      FixBotに聞いてみる

      コメントを追加

    4. Amazon Echo Woofer Replacement: 手順 4、 1の画像 1
      この手順で使用する道具:
      Tweezers
      $4.99
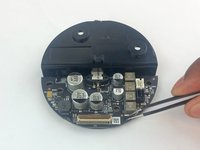
      • Using tweezers, carefully disconnect the two red and black cables from their sockets on the board.

      • Tugging on the wires may damage the device. Pull from the plastic connectors instead.

      FixBotに聞いてみる

      コメントを追加

    5. Amazon Echo Woofer Replacement: 手順 5、 2の画像 1 Amazon Echo Woofer Replacement: 手順 5、 2の画像 2
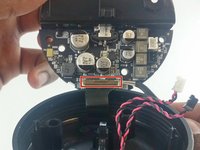
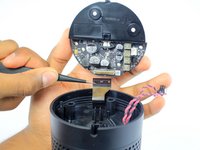
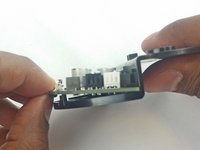
      • Lift the brown plastic latch on the ZIF connector securing the driver board ribbon cable.

      • Pull the ribbon cable from its connector. The plate and board should now be free from the Echo.

      FixBotに聞いてみる

      コメントを追加

    6. Amazon Echo Woofer Replacement: 手順 6、 3の画像 1 Amazon Echo Woofer Replacement: 手順 6、 3の画像 2 Amazon Echo Woofer Replacement: 手順 6、 3の画像 3
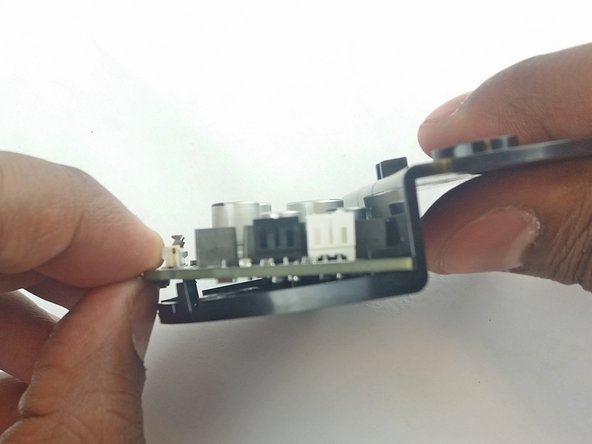
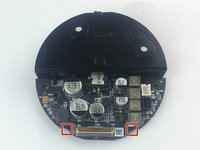
      • Using the spudger, pull back the two plastic clips on the plate.

      • Lift the board up and pull it away from the plate.

      FixBotに聞いてみる

      コメントを追加

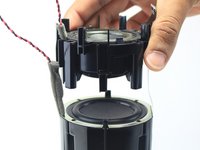
    1. Amazon Echo Woofer Replacement, Tweeter Assembly: 手順 7、 2の画像 1 Amazon Echo Woofer Replacement, Tweeter Assembly: 手順 7、 2の画像 2
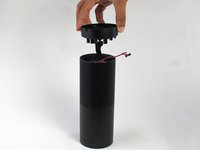
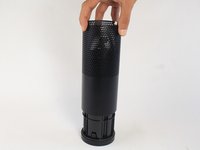
      • Remove the plastic plate from the bottom of the device. Then remove the plastic shrouding.

      FixBotに聞いてみる

      コメントを追加

    2. Amazon Echo Woofer Replacement: 手順 8、 1の画像 1
      • Peel off the black fabric wrapped around the Echo.

      • Be careful not to rip the fabric. Use a spudger to help remove the adhesive if you have any trouble.

      FixBotに聞いてみる

      コメントを追加

    3. Amazon Echo Woofer Replacement: 手順 9、 3の画像 1 Amazon Echo Woofer Replacement: 手順 9、 3の画像 2 Amazon Echo Woofer Replacement: 手順 9、 3の画像 3
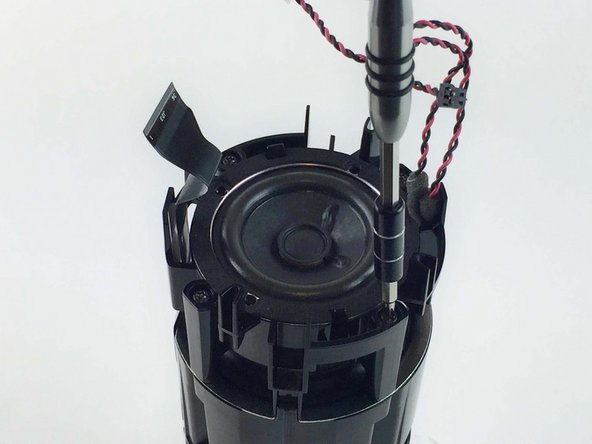
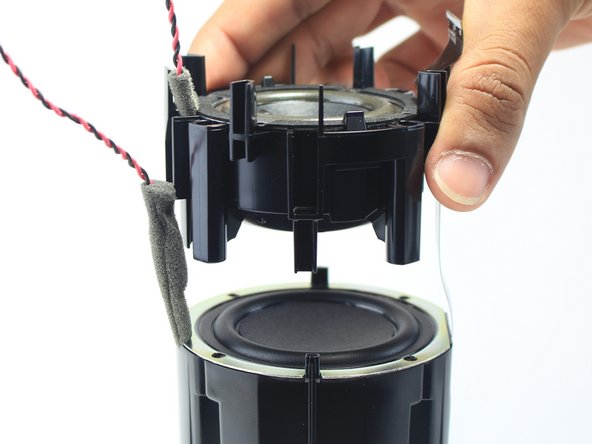
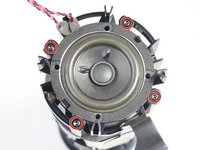
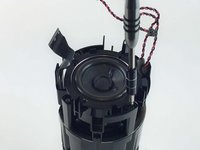
      • Remove the four 42.8 mm T10 Torx screws around the tweeter.

      • Lift the tweeter and its attached housing from the device.

      FixBotに聞いてみる

      コメントを追加

    1. Amazon Echo Woofer Replacement, Woofer: 手順 10、 1の画像 1
      • Lift the woofer out of the Echo.

      FixBotに聞いてみる

      コメントを追加

終わりに

To reassemble your device, follow these instructions in reverse order.

キャンセル: このガイドを終了できませんでした。

ある他の人がこのガイドを完成しました。

作成者

3人の作成者と共同で作成されました。

Alexander Albert

メンバー登録日: 02/04/16

1,169 ポイント

6のガイドは作成済み

チーム

USF Tampa, Team 3-3, Wollert Spring 2016 USF Tampa, Team 3-3, Wollert Spring 2016人のメンバー

USFT-WOLLERT-S16S3G3

4 メンバー

19のガイドは作成済み

3件のガイドコメント

Where can you buy a replacement woofer?

adam mierzwa - 返信 共有

My exact question.

Marty Koenig - 返信 共有

Could you post the dimension of the woofer unit? Its depth and diameter (and possibly screw holes location/diameter)? That would be very useful. Thank you.

No Body - 返信 共有

コメントを追加

統計データ:

過去 24時間: 0

過去 7 日: 7

過去 30 日: 46

今までの合計 8,679