メインコンテンツにスキップ

Aluratek ADMPF310F Screen Replacement

必要な工具と部品

  1. Aluratek ADMPF310F Screen Replacement, Screen: 手順 1、 3の画像 1 Aluratek ADMPF310F Screen Replacement, Screen: 手順 1、 3の画像 2 Aluratek ADMPF310F Screen Replacement, Screen: 手順 1、 3の画像 3
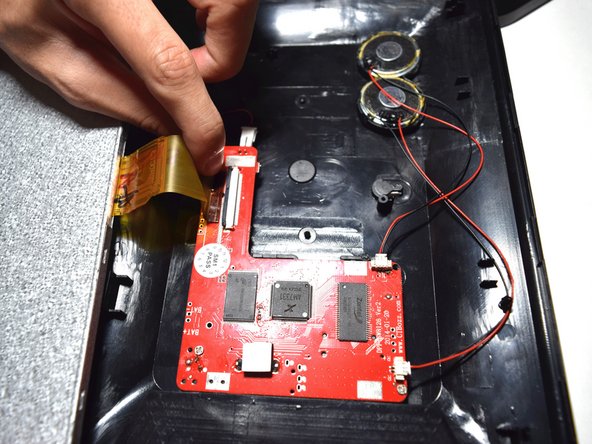
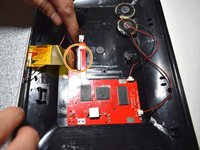
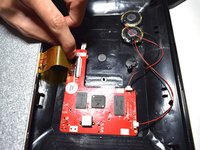
    • Using the plastic opening tool, pry off the clips all around the frame. You will hear a popping sound for every clip

    • Be sure not to pry to hard because you could crack or break the plastic facing of the device.

  2. Aluratek ADMPF310F Screen Replacement: 手順 2、 1の画像 1
    • Lift screen out of place so you can access the plugs that connect it.

    • Be careful not to pull the screen to far away when placing to the side, many fragile wires are connected.

  3. Aluratek ADMPF310F Screen Replacement: 手順 3、 2の画像 1 Aluratek ADMPF310F Screen Replacement: 手順 3、 2の画像 2
    • Using the plastic spudger tool lift the plastic zif(zero instertion force) connector clip up.

    • Pull the ribbon cable away from the motherboard.

    • Be careful as this clip is very frail.

  4. Aluratek ADMPF310F Screen Replacement: 手順 4、 1の画像 1
    • Disconnect the red and black cable connecting the screen to the motherboard by just pulling it out.

終わりに

To reassemble your device, follow these instructions in reverse order.

作成者

3人の作成者と共同で作成されました。

Chris Belair

メンバー登録日: 10/20/16

333 ポイント

2のガイドは作成済み

チーム

UMass Dartmouth, Team 5-1, Martin Fall 2016 UMass Dartmouth, Team 5-1, Martin Fall 2016人のメンバー

UMASSD-MARTIN-F16S5G1

3 メンバー

5のガイドは作成済み

0 件のコメント

コメントを追加

統計データ:

過去 24時間: 0

過去 7 日: 4

過去 30 日: 10

今までの合計 416