メインコンテンツにスキップ

Altair WBP-210 Full Disassembly

必要な工具と部品

  1. Altair WBP-210 Full Disassembly, Remove Mini-XLR nut: 手順 1、 1の画像 1
    • Remove nut on mini-XLR connector.

  2. Altair WBP-210 Full Disassembly, Remove rubber panels: 手順 2、 2の画像 1 Altair WBP-210 Full Disassembly, Remove rubber panels: 手順 2、 2の画像 2
    • Slide off rubber panels on all four corners.

    • If there are screws underneath, remove those as well.

  3. Altair WBP-210 Full Disassembly, Open case: 手順 3、 2の画像 1 Altair WBP-210 Full Disassembly, Open case: 手順 3、 2の画像 2
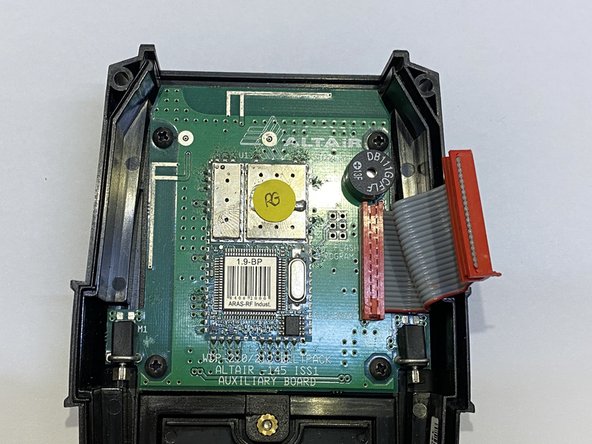
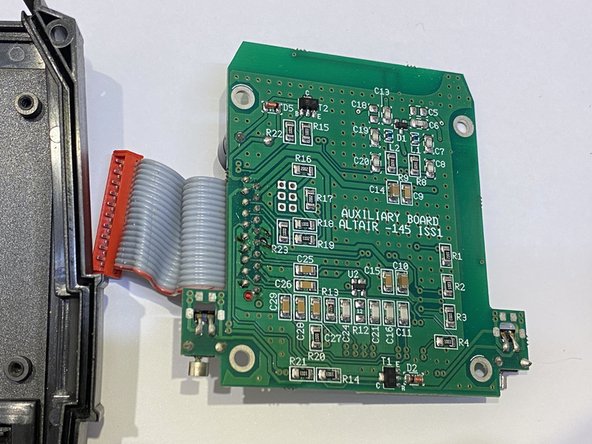
    • Open the case using a suitable tool to help separate the two halves.

    • Watch out for the ribbon cable.

  4. Altair WBP-210 Full Disassembly, Remove back case.: 手順 4、 2の画像 1 Altair WBP-210 Full Disassembly, Remove back case.: 手順 4、 2の画像 2
    • Disconnect the back half of the case.

  5. Altair WBP-210 Full Disassembly, Remove Auxiliary Board: 手順 5、 2の画像 1 Altair WBP-210 Full Disassembly, Remove Auxiliary Board: 手順 5、 2の画像 2
    • There are four screws holding the Auxiliary Board in place.

  6. Altair WBP-210 Full Disassembly, Remove Battery: 手順 6、 2の画像 1 Altair WBP-210 Full Disassembly, Remove Battery: 手順 6、 2の画像 2
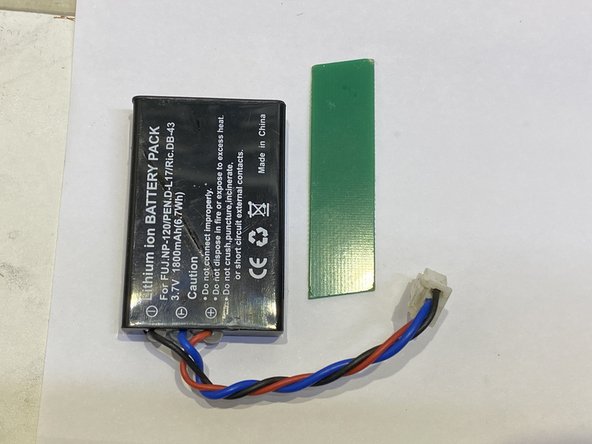
    • The battery is held in place by a flexible bit of PCB, which can be carefully removed.

  7. Altair WBP-210 Full Disassembly, Remove main board: 手順 7、 2の画像 1 Altair WBP-210 Full Disassembly, Remove main board: 手順 7、 2の画像 2
    • The main PCB is held in place by four screws.

終わりに

To reassemble your device, follow these instructions in reverse order.

ある他の人がこのガイドを完成しました。

作成者

1人の作成者と共同作成されました。

raven

メンバー登録日: 09/02/15

1,080 ポイント

4のガイドは作成済み

0 件のコメント

コメントを追加

統計データ:

過去 24時間: 0

過去 7 日: 1

過去 30 日: 5

今までの合計 38