はじめに
Apple recently introduced new privacy settings starting with macOS Mojave 10.14. These settings prevent Code42 (Crashplan) and other 3rd party applications from things like your Desktop, Contacts, Photos, Mail, Documents, Downloads, and other content and locations on your computer that contain personal data. These are often precisely the things that you are using your backup software to protect, so allowing Code42 Full Disk Access is essential to protecting your data.
These instructions apply to computers running macOS 10.14 (Mojave) through macOS 11 (Big Sur.)
-
-
Click in the Apple logo in the top left hand corner of the screen, then select "System Preferences"
-
-
-
-
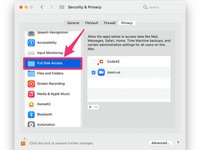
If necessary, unlock the preference pane by clicking on the padlock in the lower left corner of the window, then enter your password. Once the padlock icon is in the open position, select the "Privacy" tab
-
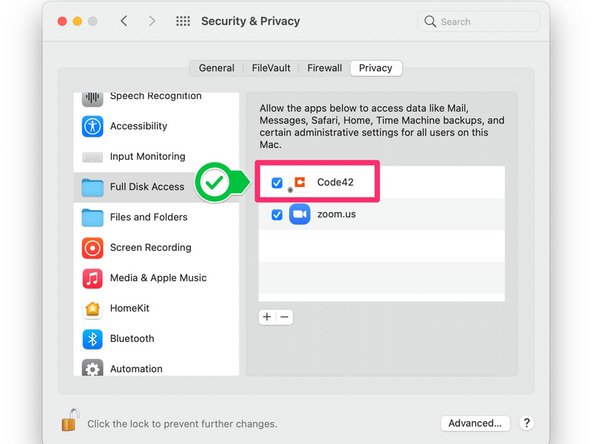
Once in the Privacy tab, Scroll through the box on the left and select "Full Disk Access"
-
Check the box next to "Code42" in the "Full Disk Access" settings pane to allow Crashplan to backup your personal files.
-
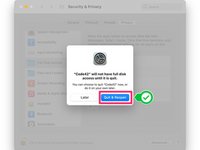
The following message appears: "Code42" will not have full disk access until it is quit. Click Quit Now.
-
-
-
Though not strictly necessary, it is good practice to restart your computer to allow the changes you've made to take effect. The next time Code42 launches, it should have the permission it needs to access your home folder and backup your Desktop, Documents, Mail, Contacts, Photos, and more.
-
For more information on this change, see Code42's documentation at: https://support.code42.com/CrashPlan/6/T...
-


ある他の人がこのガイドを完成しました。
