メインコンテンツにスキップ

Alienware P18G M14X R1 Hard Drive Replacement

必要な工具と部品

  1. Alienware P18G M14X R1 Hard Drive Replacement, Back Cover: 手順 1、 1の画像 1
    • Loosen the top left and top right 6.5mm PH1 screws that hold down the back cover.

    • The screws will not be able to be removed from the back cover. They can only be loosened or tightened.

  2. Alienware P18G M14X R1 Hard Drive Replacement: 手順 2、 1の画像 1
    • Slide back cover forward using your thumbs.

  3. Alienware P18G M14X R1 Hard Drive Replacement: 手順 3、 1の画像 1
    • Lift up the cover and set aside exposing the internals of the computer.

  4. Alienware P18G M14X R1 Hard Drive Replacement, Battery: 手順 4、 1の画像 1
    • Make sure the laptop is turned off before starting.

    • Using PH1 screwdriver loosen the two screws on the right of the battery.

    • The screws will not be able to be removed from the battery. They can only be loosened or tightened.

  5. Alienware P18G M14X R1 Hard Drive Replacement: 手順 5、 2の画像 1 Alienware P18G M14X R1 Hard Drive Replacement: 手順 5、 2の画像 2
    • Pull battery up using the tab provided.

  6. Alienware P18G M14X R1 Hard Drive Replacement: 手順 6、 1の画像 1
    • Disconnect the clip connecting the battery to the computer.

    • Set battery aside.

  7. Alienware P18G M14X R1 Hard Drive Replacement, Optical Drive: 手順 7、 1の画像 1
    • Unscrew the four 6.35mm screws using the PH1, that hold down the optical drive.

  8. Alienware P18G M14X R1 Hard Drive Replacement: 手順 8、 1の画像 1
    • Using the plastic opening tool unclip the white connector holding down the orange cable.

  9. Alienware P18G M14X R1 Hard Drive Replacement: 手順 9、 1の画像 1
    • Using the tab on the optical drive, lift the optical drive out of the computer and set it aside.

  10. Alienware P18G M14X R1 Hard Drive Replacement, Hard Drive: 手順 10、 1の画像 1
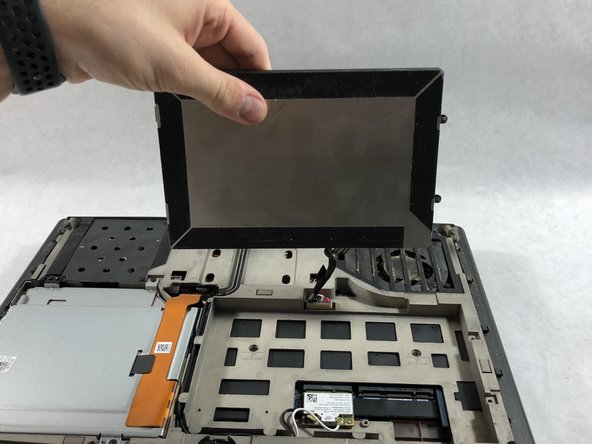
    • Loosen the three 6.35 mm screws using the PH1 screw driver, to release the hard drive.

    • The screws will not be able to be removed from the hard drive. They can only be loosened or tightened.

  11. Alienware P18G M14X R1 Hard Drive Replacement: 手順 11、 1の画像 1
    • Pull the tab on the hard drive slowly and carefuly because there will be a cable attached to it.

  12. Alienware P18G M14X R1 Hard Drive Replacement: 手順 12、 1の画像 1
    • Pull the clip away from the hard drive to remove it.

終わりに

To reassemble your device, follow these instructions in reverse order.

6 の人々がこのガイドを完成させました。

作成者

2人の作成者と共同で作成されました。

Andonaq Grozdani

メンバー登録日: 03/01/18

892 ポイント

5のガイドは作成済み

チーム

UMass Dartmouth, Team S2-G2, Simcock Spring 2018 UMass Dartmouth, Team S2-G2, Simcock Spring 2018人のメンバー

UMASSD-SIMCOCK-S18S2G2

3 メンバー

5のガイドは作成済み

0 件のコメント

コメントを追加

統計データ:

過去 24時間: 0

過去 7 日: 1

過去 30 日: 22

今までの合計 2,847