メインコンテンツにスキップ

Alienware M17x Hard Drive Replacement

必要な工具と部品

  1. Alienware M17x Hard Drive Replacement, Battery: 手順 1、 2の画像 1 Alienware M17x Hard Drive Replacement, Battery: 手順 1、 2の画像 2
    • Turn off your laptop before starting.

    • Flip the laptop over so the model stickers face the ceiling.

  2. Alienware M17x Hard Drive Replacement: 手順 2、 1の画像 1
    • Remove the two 3.5 mm Phillips #0 screws holding the cover in place.

    • Slide cover forward then carefully lift up.

  3. Alienware M17x Hard Drive Replacement: 手順 3、 1の画像 1
    • Remove the two 5.5 mm Phillips #0 screws holding the battery in place.

  4. Alienware M17x Hard Drive Replacement: 手順 4、 2の画像 1 Alienware M17x Hard Drive Replacement: 手順 4、 2の画像 2
    • Carefully use the Plastic Opening Tool to unplug the battery.

    • Lift the battery up and out to remove.

  5. Alienware M17x Hard Drive Replacement, Hard Drive: 手順 5、 1の画像 1
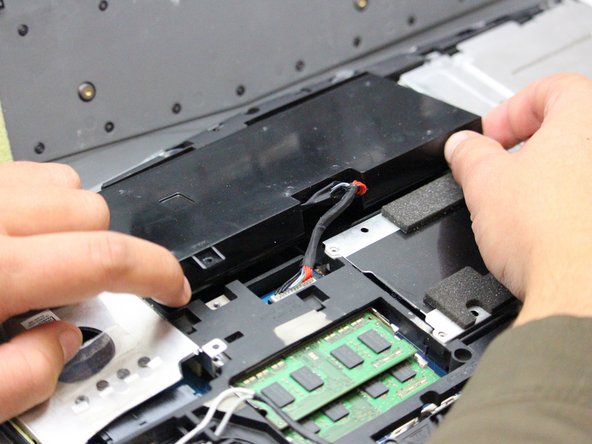
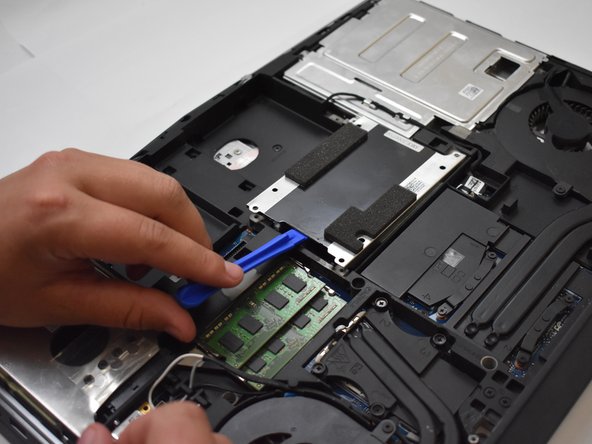
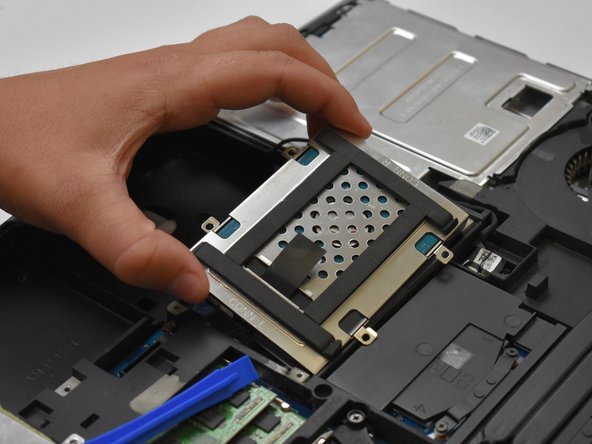
    • With the laptop flipped over, cover removed, and battery removed; continue by locating your hard drive(s).

  6. Alienware M17x Hard Drive Replacement: 手順 6、 3の画像 1 Alienware M17x Hard Drive Replacement: 手順 6、 3の画像 2 Alienware M17x Hard Drive Replacement: 手順 6、 3の画像 3
    • Remove the eight 3.5 mm Phillips #0 screws.

    • Remove the hard drive(s), using the Plastic Opening Tool by lifting on the edges and pulling the hard drive up and out.

終わりに

To reassemble your device, follow these instructions in reverse order.

ある他の人がこのガイドを完成しました。

作成者

3人の作成者と共同で作成されました。

Mosier Locke

メンバー登録日: 09/27/18

729 ポイント

5のガイドは作成済み

チーム

0 件のコメント

コメントを追加

統計データ:

過去 24時間: 0

過去 7 日: 1

過去 30 日: 13

今までの合計 2,342