メインコンテンツにスキップ

Alienware M17x Display Assembly Replacement

必要な工具と部品

  1. Alienware M17x Display Assembly Replacement, Battery: 手順 1、 2の画像 1 Alienware M17x Display Assembly Replacement, Battery: 手順 1、 2の画像 2
    • Turn off your laptop before starting.

    • Flip the laptop over so the model stickers face the ceiling.

  2. Alienware M17x Display Assembly Replacement: 手順 2、 1の画像 1
    • Remove the two 3.5 mm Phillips #0 screws holding the cover in place.

    • Slide cover forward then carefully lift up.

  3. Alienware M17x Display Assembly Replacement: 手順 3、 1の画像 1
    • Remove the two 5.5 mm Phillips #0 screws holding the battery in place.

  4. Alienware M17x Display Assembly Replacement: 手順 4、 2の画像 1 Alienware M17x Display Assembly Replacement: 手順 4、 2の画像 2
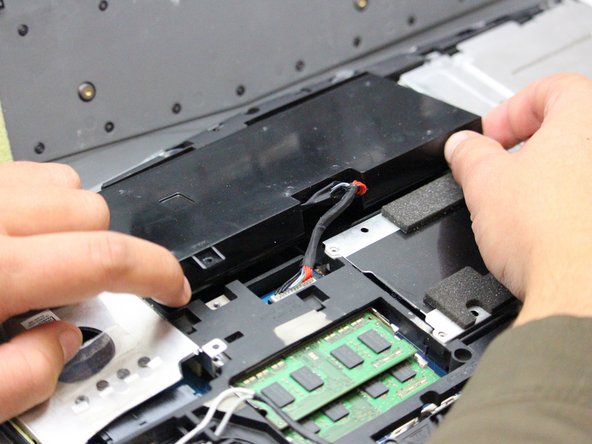
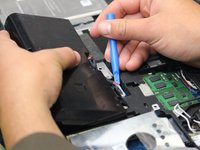
    • Carefully use the Plastic Opening Tool to unplug the battery.

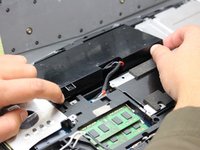
    • Lift the battery up and out to remove.

  5. Alienware M17x Display Assembly Replacement, Display Assembly: 手順 5、 1の画像 1
    • Flip the laptop back over so that the Alienware logo faces the ceiling then open the lid to view the screen.

  6. Alienware M17x Display Assembly Replacement: 手順 6、 3の画像 1 Alienware M17x Display Assembly Replacement: 手順 6、 3の画像 2 Alienware M17x Display Assembly Replacement: 手順 6、 3の画像 3
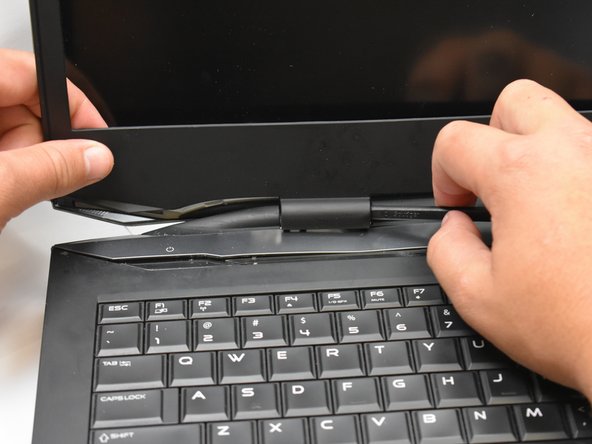
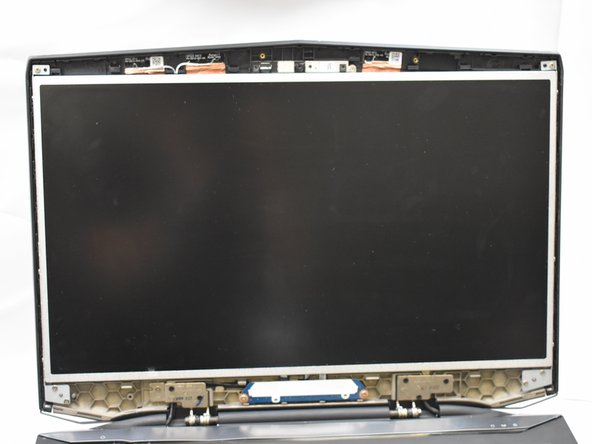
    • Use a spudger as a lever to pry the black plastic siding off of the frame starting on either of the top corners.

    • Use the spudger to remove the siding from the bottom of the frame near the hinges.

    • Carefully lift the black plastic siding up and out of the hinged area making sure not to break the fragile sides.

  7. Alienware M17x Display Assembly Replacement: 手順 7、 2の画像 1 Alienware M17x Display Assembly Replacement: 手順 7、 2の画像 2
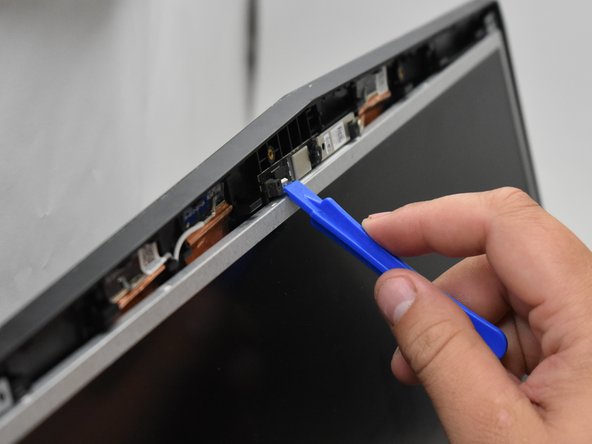
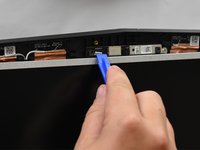
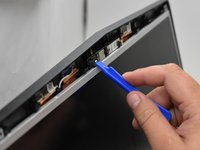
    • Use the plastic opening tool to disconnect the screen from the top mount.

  8. Alienware M17x Display Assembly Replacement: 手順 8、 1の画像 1
    • Avoid directly touching the connectors with anything other than plastic tools to avoid damaging the internal components.

  9. Alienware M17x Display Assembly Replacement: 手順 9、 1の画像 1
    • Tilt the screen forward to expose the connecting wires.

    • Disconnect said wires to then lift the display assembly out of the frame.

終わりに

To reassemble your device, follow these instructions in reverse order.

作成者

1人の作成者と共同作成されました。

Mosier Locke

メンバー登録日: 09/27/18

729 ポイント

5のガイドは作成済み

チーム

0 件のコメント

コメントを追加

統計データ:

過去 24時間: 0

過去 7 日: 3

過去 30 日: 9

今までの合計 593