メインコンテンツにスキップ

Alienware Aurora M9700 Camera Replacement

必要な工具と部品

  1. Alienware Aurora M9700 Camera Replacement, Camera: 手順 1、 1の画像 1
    • Open the device so the main screen is facing forward.

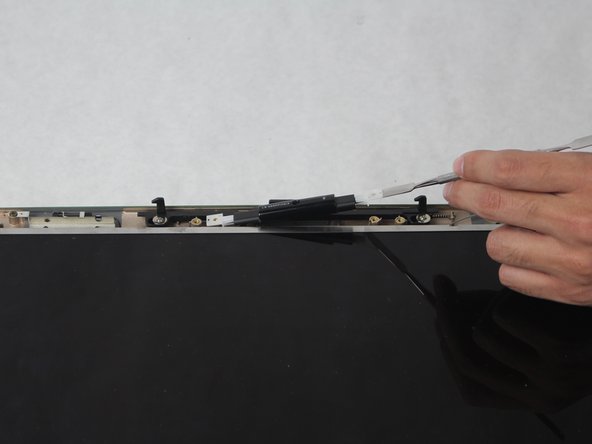
    • Locate the 8 rubber buttons around the bezel of the display and remove the rubber buttons with the metal spudger to expose the screws underneath.

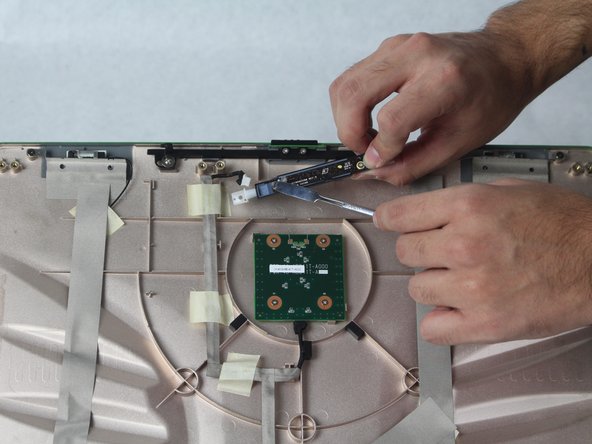
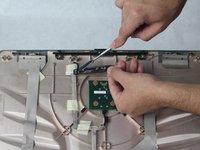
    • Locate the 8 screws around the perimeter of the screen and unscrew them.

  2. Alienware Aurora M9700 Camera Replacement: 手順 2、 2の画像 1 Alienware Aurora M9700 Camera Replacement: 手順 2、 2の画像 2
    • Insert the plastic opening tool between the black and green frames to remove the display frame at the bottom of the display.

    • Slide the lock to the right when removing the display frame.

    • Remove the frame display.

  3. Alienware Aurora M9700 Camera Replacement: 手順 3、 2の画像 1 Alienware Aurora M9700 Camera Replacement: 手順 3、 2の画像 2
    • Now that the outer frame is removed, locate the two screws to the right and the left of the camera.

    • Remove the two screws freeing the camera of the brackets holding it in place.

    • Pry the camera upward from its designated location using the metal spudger.

  4. Alienware Aurora M9700 Camera Replacement: 手順 4、 2の画像 1 Alienware Aurora M9700 Camera Replacement: 手順 4、 2の画像 2
    • Unplug the wire connection between the camera and the laptop.

終わりに

To reassemble your device, follow these instructions in reverse order.

作成者

5人の作成者と共同で作成されました。

Jasmine Anchondo

メンバー登録日: 10/09/18

679 ポイント

5のガイドは作成済み

チーム

Sam Houston State, Team S15-G3, Blackburne Fall 2018 Sam Houston State, Team S15-G3, Blackburne Fall 2018人のメンバー

SHSU-BLACKBURNE-F18S15G3

4 メンバー

5のガイドは作成済み

0 件のコメント

コメントを追加

統計データ:

過去 24時間: 0

過去 7 日: 0

過去 30 日: 4

今までの合計 167