メインコンテンツにスキップ

Alcatel IdealXCITE Rear Speaker Replacement

必要な工具と部品

  1. Alcatel IdealXCITE Rear Speaker Replacement, Battery: 手順 1、 3の画像 1 Alcatel IdealXCITE Rear Speaker Replacement, Battery: 手順 1、 3の画像 2 Alcatel IdealXCITE Rear Speaker Replacement, Battery: 手順 1、 3の画像 3
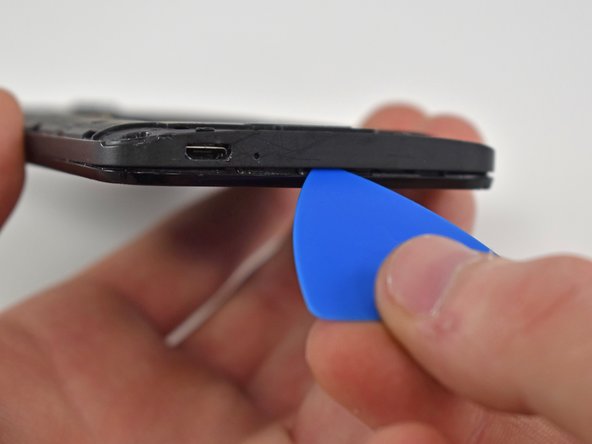
    • Place your finger in the small notch on the left corner of the phone.

    • Use your finger to gently pull up on the back cover where the notch is located.

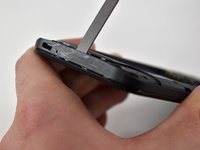
    • Gently pull up on the back cover, working around the phone.

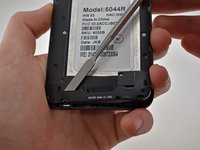
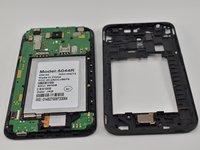
    • Remove the cover from the phone, and set it aside for later installation.

  2. Alcatel IdealXCITE Rear Speaker Replacement: 手順 2、 3の画像 1 Alcatel IdealXCITE Rear Speaker Replacement: 手順 2、 3の画像 2 Alcatel IdealXCITE Rear Speaker Replacement: 手順 2、 3の画像 3
    • Place your thumb in the small notch between the battery and the phone.

    • Use your thumb to gently pry the battery up at the notch, releasing it from the phone.

    • Take note of the contacts in the phone and on the battery for reinstallation.

  3. Alcatel IdealXCITE Rear Speaker Replacement, Antenna: 手順 3、 2の画像 1 Alcatel IdealXCITE Rear Speaker Replacement, Antenna: 手順 3、 2の画像 2
    • Remove the four 4mm PH00 screws.

  4. Alcatel IdealXCITE Rear Speaker Replacement: 手順 4、 3の画像 1 Alcatel IdealXCITE Rear Speaker Replacement: 手順 4、 3の画像 2 Alcatel IdealXCITE Rear Speaker Replacement: 手順 4、 3の画像 3
    • Using a spudger, pry upwards in the indentation on the bottom right corner of the phone.

    • Work the tool gently around the antenna to release it.

  5. Alcatel IdealXCITE Rear Speaker Replacement, Rear Speaker: 手順 5、 3の画像 1 Alcatel IdealXCITE Rear Speaker Replacement, Rear Speaker: 手順 5、 3の画像 2 Alcatel IdealXCITE Rear Speaker Replacement, Rear Speaker: 手順 5、 3の画像 3
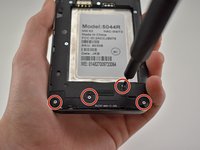
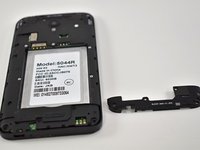
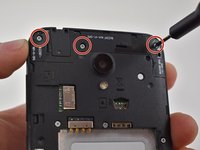
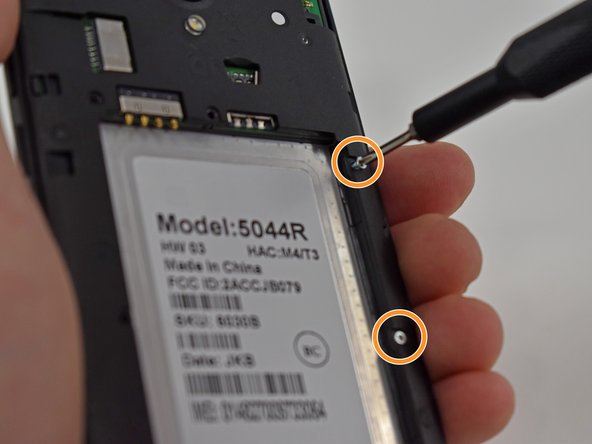
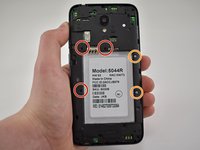
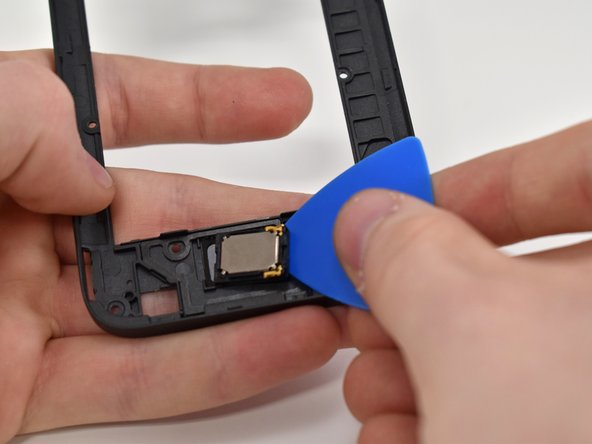
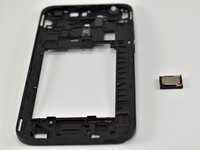
    • Remove the three 4mm PH00 screws holding the WiFi/GPS antenna in.

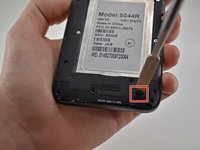
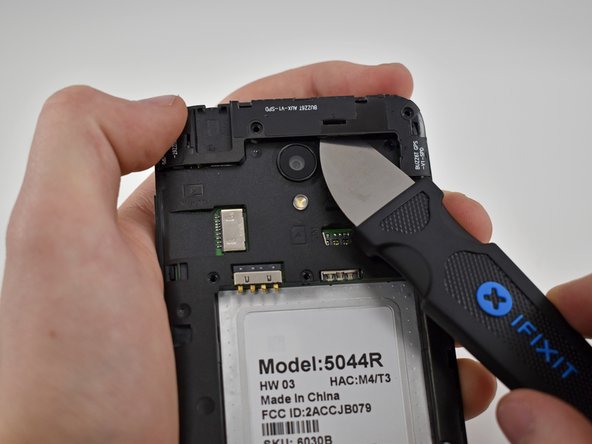
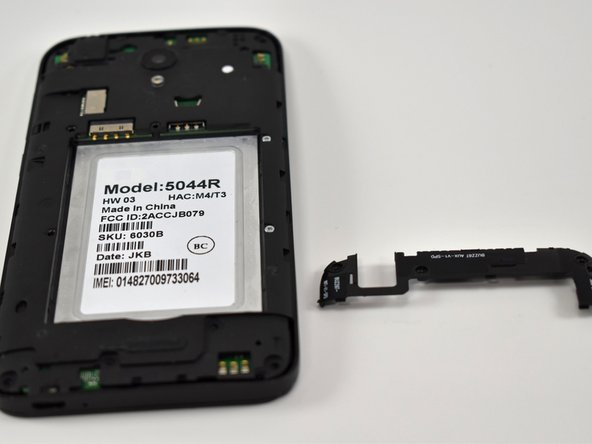
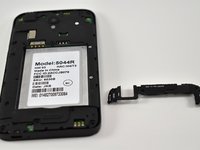
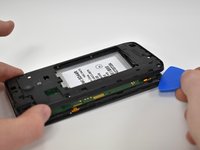
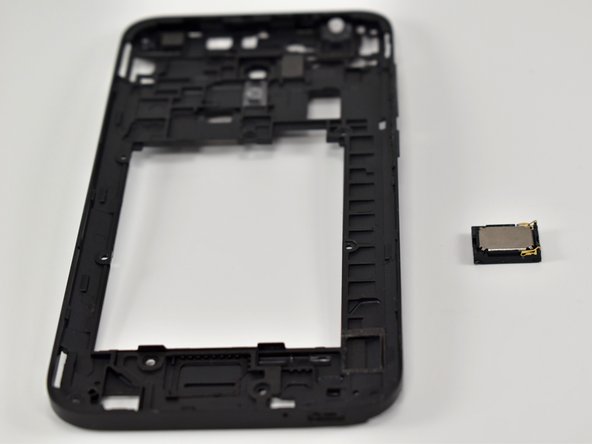
    • Gently pry the WiFi/GPS antenna out using a Jimmy and set aside.

  6. Alcatel IdealXCITE Rear Speaker Replacement: 手順 6、 2の画像 1 Alcatel IdealXCITE Rear Speaker Replacement: 手順 6、 2の画像 2
    • Remove the three remaining 4mm PH00 screws.

    • Remove the two 3mm PH00 screws.

  7. Alcatel IdealXCITE Rear Speaker Replacement: 手順 7、 3の画像 1 Alcatel IdealXCITE Rear Speaker Replacement: 手順 7、 3の画像 2 Alcatel IdealXCITE Rear Speaker Replacement: 手順 7、 3の画像 3
    • Using a spudger and an iFixit opening pick, pry the midframe up.

  8. Alcatel IdealXCITE Rear Speaker Replacement: 手順 8、 3の画像 1 Alcatel IdealXCITE Rear Speaker Replacement: 手順 8、 3の画像 2 Alcatel IdealXCITE Rear Speaker Replacement: 手順 8、 3の画像 3
    • Pry gently between the rear case and speaker using an iFixit opening pick.

    • Reapply adhesive to the new speaker when reassembling the phone.

終わりに

To reassemble your device, follow these instructions in reverse order.

作成者

2人の作成者と共同で作成されました。

Franklin Froehlich

メンバー登録日: 03/07/19

427 ポイント

3のガイドは作成済み

チーム

Casper College, Team S1-G2, Lareau Spring 2019 Casper College, Team S1-G2, Lareau Spring 2019人のメンバー

CASC-LAREAU-S19S1G2

4 メンバー

6のガイドは作成済み

0 件のコメント

コメントを追加

統計データ:

過去 24時間: 3

過去 7 日: 5

過去 30 日: 11

今までの合計 295