メインコンテンツにスキップ

Akaso EK7000 4K Front Panel Replacement

必要な工具と部品

  1. Akaso EK7000 4K Front Panel Replacement, Battery: 手順 1、 2の画像 1 Akaso EK7000 4K Front Panel Replacement, Battery: 手順 1、 2の画像 2
    • Locate the battery cover at the bottom of the camera. Use your fingers to gently pry open the battery cover.

  2. Akaso EK7000 4K Front Panel Replacement: 手順 2、 2の画像 1 Akaso EK7000 4K Front Panel Replacement: 手順 2、 2の画像 2
    • Locate the small plastic flap attached to the battery. Pull the battery out towards you.

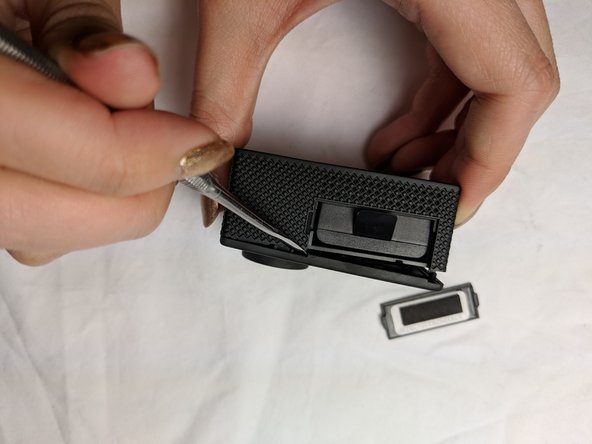
  3. Akaso EK7000 4K Front Panel Replacement, Front Panel: 手順 3、 2の画像 1 Akaso EK7000 4K Front Panel Replacement, Front Panel: 手順 3、 2の画像 2
    • Using the metal spudger, gently pry open the front panel from the exposed battery cartridge.

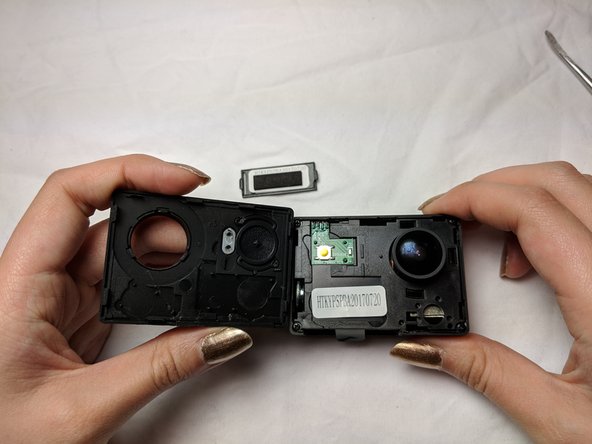
  4. Akaso EK7000 4K Front Panel Replacement: 手順 4、 2の画像 1 Akaso EK7000 4K Front Panel Replacement: 手順 4、 2の画像 2
    • Remove the rest of front panel with your fingers or with assistance from the spudger.

終わりに

To reassemble your device, follow these instructions in reverse order.

ある他の人がこのガイドを完成しました。

作成者

1人の作成者と共同作成されました。

Annie Sun

メンバー登録日: 02/05/19

436 ポイント

3のガイドは作成済み

チーム

UC Davis, Team S20-G2, Lore Winter 2019 UC Davis, Team S20-G2, Lore Winter 2019人のメンバー

UCD-LORE-W19S20G2

3 メンバー

4のガイドは作成済み

0 件のコメント

コメントを追加

統計データ:

過去 24時間: 0

過去 7 日: 3

過去 30 日: 13

今までの合計 924