はじめに
Replacing the trigger button requires the removal of the controller back plate and the careful pulling of the trigger from its housing.
必要な工具と部品
-
-
Lay the controller face down on a flat surface and remove the seven 9mm Phillips #0 screws on the back of the controller.
-
Lift up and remove the controller back plate.
 FixBotに聞いてみる
-
-
-
-
With one hand, hold the controller down and with the other pull up on the lower clear plastic trigger housing to remove it.
-
-
-
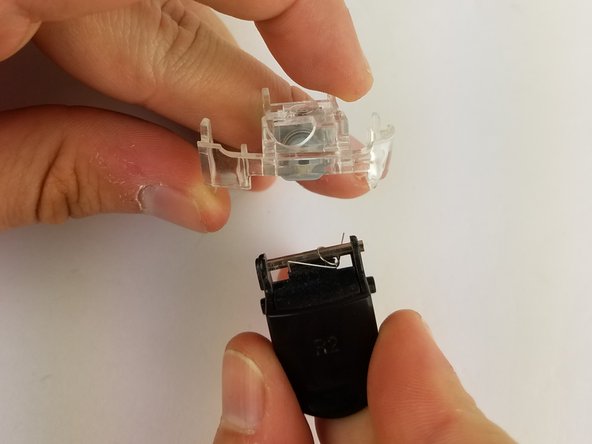
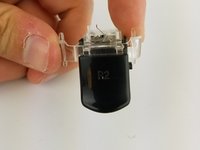
Firmly grip the clear plastic trigger housing with one hand and use your other hand pull the black trigger button from its housing.
-


To reassemble your device, follow these instructions in reverse order.
4 の人々がこのガイドを完成させました。
チーム

USF Tampa, Team S19-G5, Hoffman Spring 2017 USF Tampa, Team S19-G5, Hoffman Spring 2017人のメンバー
USFT-HOFFMAN-S17S19G5
4 メンバー
28のガイドは作成済み