はじめに
This technical guide provides a step-by-step process for replacing the screen assembly of an Acer Spin 5 N17W2 laptop. The Acer Spin 5 N17W2 is a popular convertible laptop that features a touchscreen display, making it a great device for both productivity and entertainment. However, if the screen becomes damaged or stops working, it can be a frustrating issue to deal with. With this guide, you'll be able to replace the screen yourself, saving you time and money compared to taking it to a repair shop. The guide includes detailed instructions, helpful tips, and recommended tools to ensure a successful screen replacement.
必要な工具と部品
-
-
Use the Phillips #1 screwdriver to remove the six 6mm screws.
-
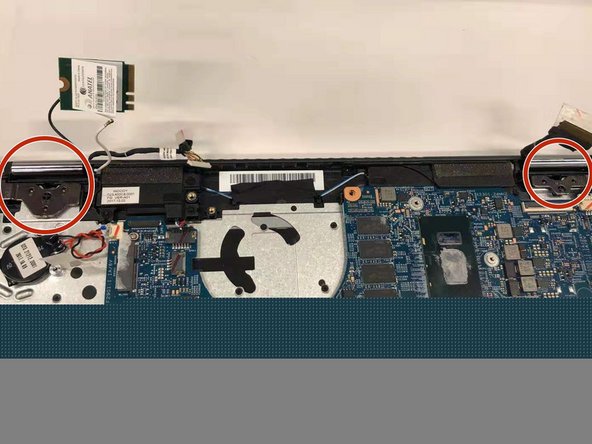
Use Phillips #1 screwdriver to remove six 5mm screws.
-
-


To reassemble your device, follow these instructions in reverse order.
To reassemble your device, follow these instructions in reverse order.
3 の人々がこのガイドを完成させました。
チーム

Duke University Pratt School of Engineering, Team S6-G1, Matos-Garner Fall 2019 Duke University Pratt School of Engineering, Team S6-G1, Matos-Garner Fall 2019人のメンバー
DUKEPSE-MATOS-GARNER-F19S6G1
4 メンバー
7のガイドは作成済み