メインコンテンツにスキップ

Acer Iconia W510 Dock Bottom Cover Replacement

必要な工具と部品

  1. Acer Iconia W510 Dock Bottom Cover Replacement, Bottom Cover: 手順 1、 1の画像 1
    • Remove the two 6.6mmT6 Torx screws near the hinge.

    • Remove the four 3.6mm T6 Torx screws on either side.

  2. Acer Iconia W510 Dock Bottom Cover Replacement: 手順 2、 3の画像 1 Acer Iconia W510 Dock Bottom Cover Replacement: 手順 2、 3の画像 2 Acer Iconia W510 Dock Bottom Cover Replacement: 手順 2、 3の画像 3
    • Using an Xacto knife, peel the rubber strip back far enough on either end to expose the two screws.

    • Remove the two 4.5mm Phillips screws.

  3. Acer Iconia W510 Dock Bottom Cover Replacement: 手順 3、 3の画像 1 Acer Iconia W510 Dock Bottom Cover Replacement: 手順 3、 3の画像 2 Acer Iconia W510 Dock Bottom Cover Replacement: 手順 3、 3の画像 3
    • Unclip the rear cover.

  4. Acer Iconia W510 Dock Bottom Cover Replacement: 手順 4、 3の画像 1 Acer Iconia W510 Dock Bottom Cover Replacement: 手順 4、 3の画像 2 Acer Iconia W510 Dock Bottom Cover Replacement: 手順 4、 3の画像 3
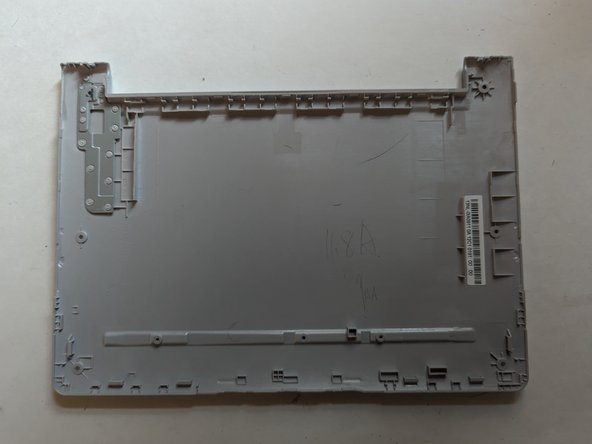
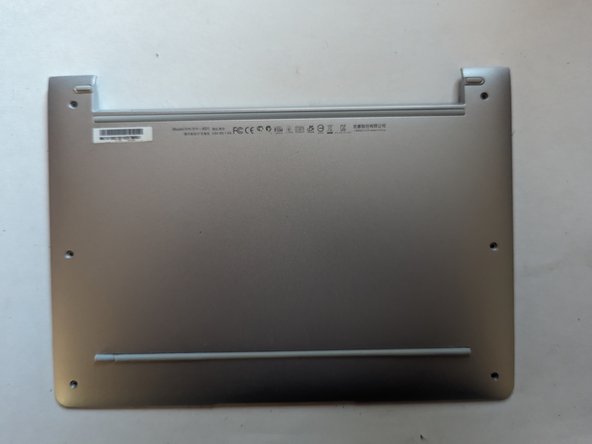
    • Remove the bottom cover.

終わりに

To reassemble your device, follow these instructions in reverse order.

作成者

1人の作成者と共同作成されました。

Jerry Wheeler

メンバー登録日: 03/21/22

58,488 ポイント

69のガイドは作成済み

チーム

Oregonians Oregonians人のメンバー

Community

8 メンバー

176のガイドは作成済み

0 件のコメント

コメントを追加

統計データ:

過去 24時間: 0

過去 7 日: 1

過去 30 日: 4

今までの合計 24