メインコンテンツにスキップ

Acer Iconia Tablet A100 Screen Cover Glass Replacement

必要な工具と部品

  1. Acer Iconia Tablet A100 Screen Cover Glass Replacement, Screen Cover Glass: 手順 1、 1の画像 1
    • Begin with the screen facing in the upward position.

  2. Acer Iconia Tablet A100 Screen Cover Glass Replacement: 手順 2、 1の画像 1
    • Remove the four side pieces of the tablet.

    • Start with either side and work your way around the tablet.

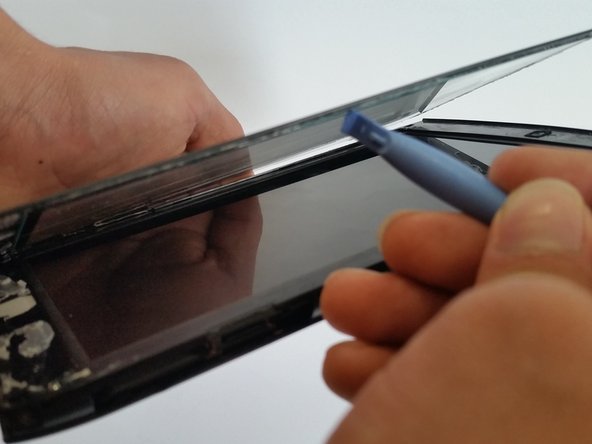
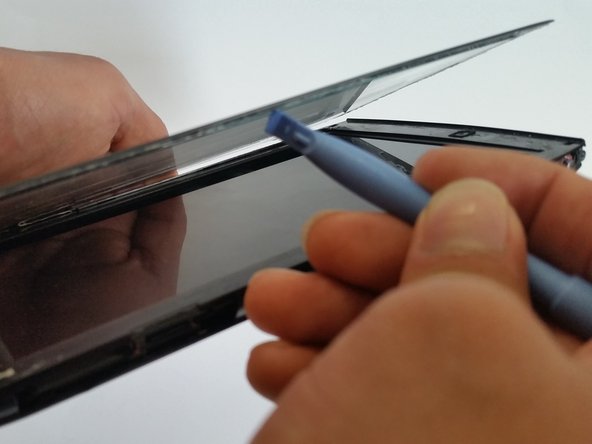
  3. Acer Iconia Tablet A100 Screen Cover Glass Replacement: 手順 3、 3の画像 1 Acer Iconia Tablet A100 Screen Cover Glass Replacement: 手順 3、 3の画像 2 Acer Iconia Tablet A100 Screen Cover Glass Replacement: 手順 3、 3の画像 3
    • Separate the screen from the device with a plastic opening tool (four sides in total).

    • Start with a plastic opening tool along the top perimeter of the tablet, the thin line, and remove the screen.

  4. Acer Iconia Tablet A100 Screen Cover Glass Replacement: 手順 4、 1の画像 1
    • Grab the new screen, and place on top of the tablet.

    • Position it to where everything is aligned correctly.

  5. Acer Iconia Tablet A100 Screen Cover Glass Replacement: 手順 5、 1の画像 1
    • Put the four side pieces back in its original place.

終わりに

To reassemble your device, follow these instructions in reverse order.

2 の人々がこのガイドを完成させました。

作成者

4人の作成者と共同で作成されました。

Omar Acosta

メンバー登録日: 03/03/15

526 ポイント

3のガイドは作成済み

チーム

Sam Houston State, Team 13-3, Blackburne Winter 2015 Sam Houston State, Team 13-3, Blackburne Winter 2015人のメンバー

SHSU-BLACKBURNE-W15S13G3

1 メンバー

3のガイドは作成済み

0 件のコメント

コメントを追加

統計データ:

過去 24時間: 0

過去 7 日: 1

過去 30 日: 6

今までの合計 1,174