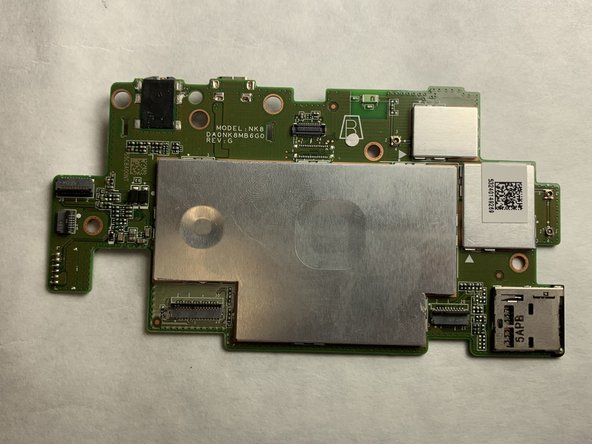
メインコンテンツにスキップ

Acer Iconia Tab 8 A1-860 Motherboard Replacement

必要な工具と部品

  1. Acer Iconia Tab 8 A1-860 Motherboard Replacement, Rear Case: 手順 1、 2の画像 1 Acer Iconia Tab 8 A1-860 Motherboard Replacement, Rear Case: 手順 1、 2の画像 2
    • Insert the plastic opening tool into the seam between the back case and the display.

    • Work the plastic opening tool around the seam until the rear case separates from the display.

  2. Acer Iconia Tab 8 A1-860 Motherboard Replacement: 手順 2、 1の画像 1
    • Separate the rear case and place the tablet face side down.

  3. Acer Iconia Tab 8 A1-860 Motherboard Replacement, Battery: 手順 3、 1の画像 1
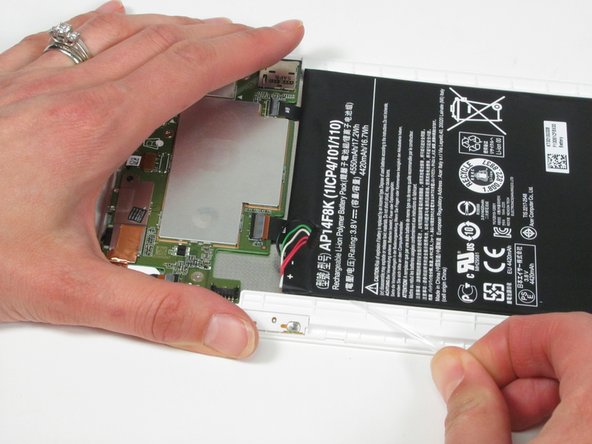
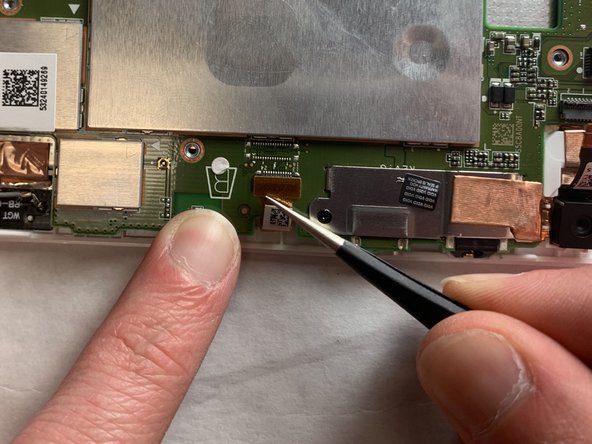
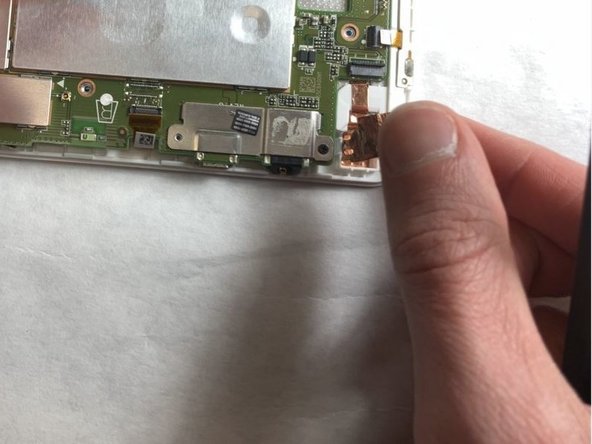
    • Using a spudger, work the tool under the battery connector located above the battery on the left side, and lift it free.

  4. Acer Iconia Tab 8 A1-860 Motherboard Replacement: 手順 4、 3の画像 1 Acer Iconia Tab 8 A1-860 Motherboard Replacement: 手順 4、 3の画像 2 Acer Iconia Tab 8 A1-860 Motherboard Replacement: 手順 4、 3の画像 3
    • Pull firmly on the black tabs, located at the top left and bottom right of the battery.

    • The clear adhesive strips attached to the tabs are quite stretchy. Don't give up; keep pulling the tabs until the battery releases. The strips will not be reusable.

    • Remove the battery.

  5. Acer Iconia Tab 8 A1-860 Motherboard Replacement, Motherboard: 手順 5、 2の画像 1 Acer Iconia Tab 8 A1-860 Motherboard Replacement, Motherboard: 手順 5、 2の画像 2
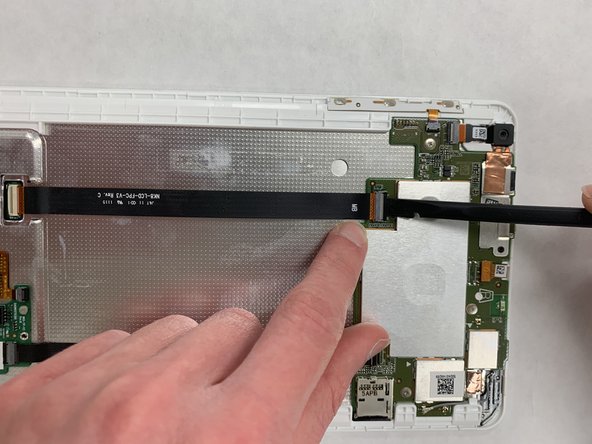
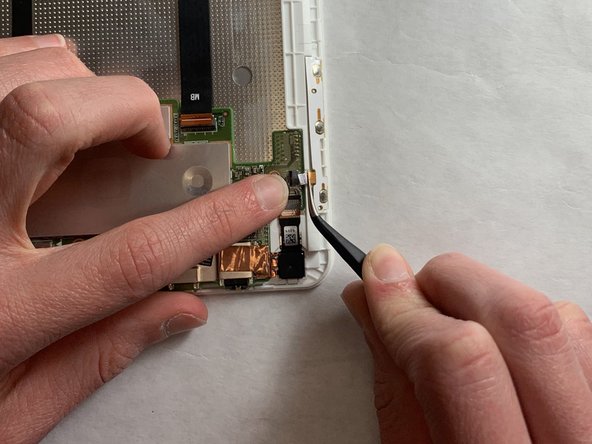
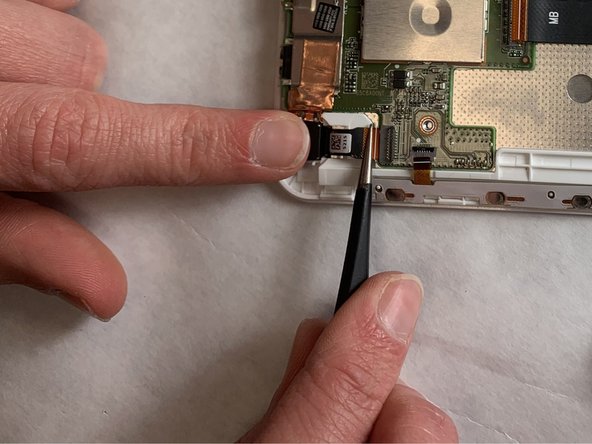
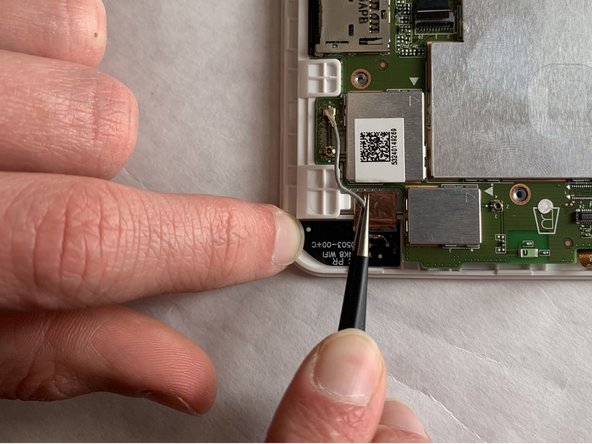
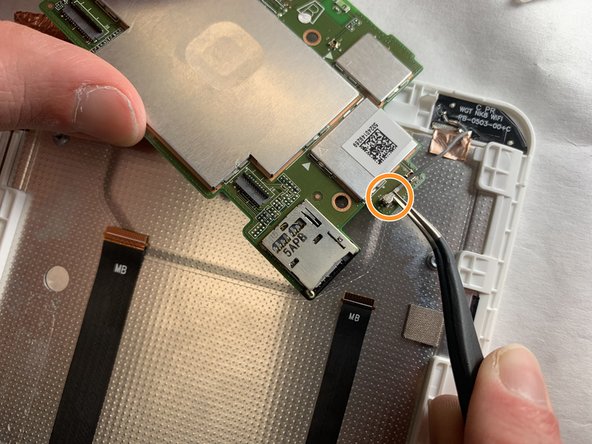
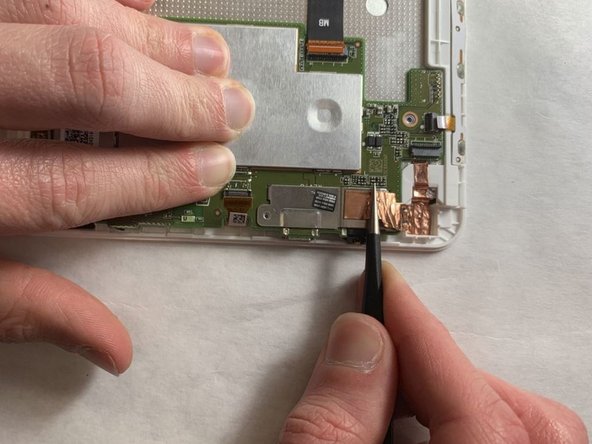
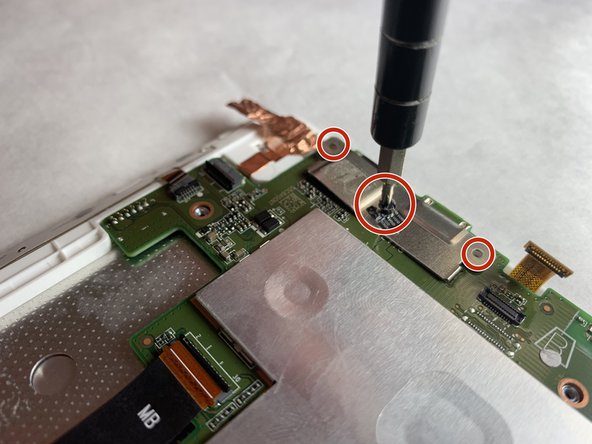
    • Using the spudger, remove the two tabs shown by placing the spudger under the gray part of the connectors and pulling on the tabs.

  6. Acer Iconia Tab 8 A1-860 Motherboard Replacement: 手順 6、 1の画像 1
    • Use a Phillips #00 screwdriver to remove the three 2 mm screws.

  7. Acer Iconia Tab 8 A1-860 Motherboard Replacement: 手順 7、 2の画像 1 Acer Iconia Tab 8 A1-860 Motherboard Replacement: 手順 7、 2の画像 2
    この手順で使用する道具:
    Tweezers
    $4.99
    購入する
    • Using the spudger, push the tab where this belt connects to the motherboard to free it.

    • Use tweezers in order to pull the belt from its slot in the motherboard.

  8. Acer Iconia Tab 8 A1-860 Motherboard Replacement: 手順 8、 2の画像 1 Acer Iconia Tab 8 A1-860 Motherboard Replacement: 手順 8、 2の画像 2
    • Using the spudger, push the tab connecting this belt to the motherboard.

    • Once the tab is pushed and the belt is free to move, use tweezers to pull it from the slot.

  9. Acer Iconia Tab 8 A1-860 Motherboard Replacement: 手順 9、 3の画像 1 Acer Iconia Tab 8 A1-860 Motherboard Replacement: 手順 9、 3の画像 2 Acer Iconia Tab 8 A1-860 Motherboard Replacement: 手順 9、 3の画像 3
    • Using tweezers, pull upward on the end of this belt where it plugs into the motherboard.

  10. Acer Iconia Tab 8 A1-860 Motherboard Replacement: 手順 10、 3の画像 1 Acer Iconia Tab 8 A1-860 Motherboard Replacement: 手順 10、 3の画像 2 Acer Iconia Tab 8 A1-860 Motherboard Replacement: 手順 10、 3の画像 3
    • With the tweezers, grab the gray wire and move it from underneath the plastic piece shown in red.

    • Then place the tweezers on the end of the wire circled, and pull the piece from the motherboard.

  11. Acer Iconia Tab 8 A1-860 Motherboard Replacement: 手順 11、 3の画像 1 Acer Iconia Tab 8 A1-860 Motherboard Replacement: 手順 11、 3の画像 2 Acer Iconia Tab 8 A1-860 Motherboard Replacement: 手順 11、 3の画像 3
    • Use tweezers in order to lift a corner of this copper foil.

    • Then use a spudger to pull the copper foil from the motherboard.

    • If the copper foil does not remove easily, use an iOpener heating pad to release the adhesive.

  12. Acer Iconia Tab 8 A1-860 Motherboard Replacement: 手順 12、 2の画像 1 Acer Iconia Tab 8 A1-860 Motherboard Replacement: 手順 12、 2の画像 2
    • Using tweezers, remove the "void" sticker to reveal a 3 mm screw.

    • Use a Phillips #000 screwdriver to remove the three 3 mm screws.

  13. Acer Iconia Tab 8 A1-860 Motherboard Replacement: 手順 13、 2の画像 1 Acer Iconia Tab 8 A1-860 Motherboard Replacement: 手順 13、 2の画像 2
    • Carefully lift the motherboard out of its slot in the rear case.

終わりに

To reassemble your device, follow these instructions in reverse order.

3 の人々がこのガイドを完成させました。

作成者

4人の作成者と共同で作成されました。

Michael Buchanan

メンバー登録日: 04/01/19

361 ポイント

2のガイドは作成済み

チーム

IUPUI, Team S2-G3, Harley Spring 2019 IUPUI, Team S2-G3, Harley Spring 2019人のメンバー

IUPUI-HARLEY-S19S2G3

3 メンバー

2のガイドは作成済み

0 件のコメント

コメントを追加

統計データ:

過去 24時間: 2

過去 7 日: 5

過去 30 日: 11

今までの合計 436