-
-
Make sure the device is fully powered off.
-
Flip the computer over so that the back is facing up.
-
Remove the twelve 6mm Phillips #1 screws from the bottom of the laptop.
-
-
Use the iFixit opening tools as wedges to pry the back of the laptop off.
-
Go slow, making sure not to snap the plastic. With enough of a gap made, you can use your hand to finish taking off the back.
-
-
-
-
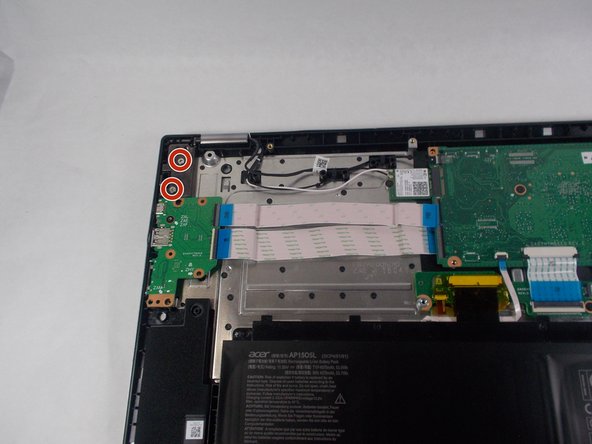
Unplug the camera/microphone ribbon cable from the circuit board.
-
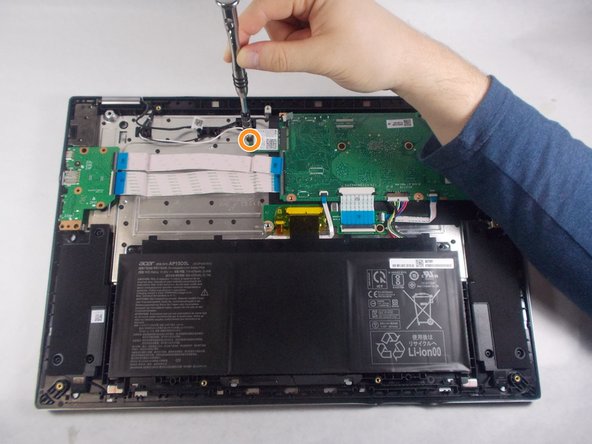
Remove the single 3mm Phillips #1 screw from the Intel core.
-
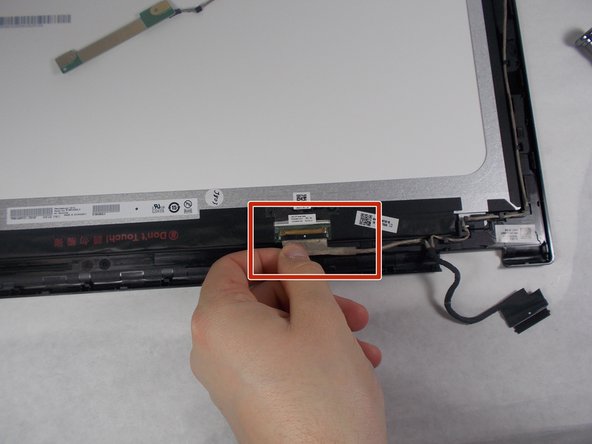
Unplug the cable from the circuit board.
-
-
Use the plastic opening tool, create a gap between the back and front of the display.
-
Lift the front out with your hands.
-
-
-
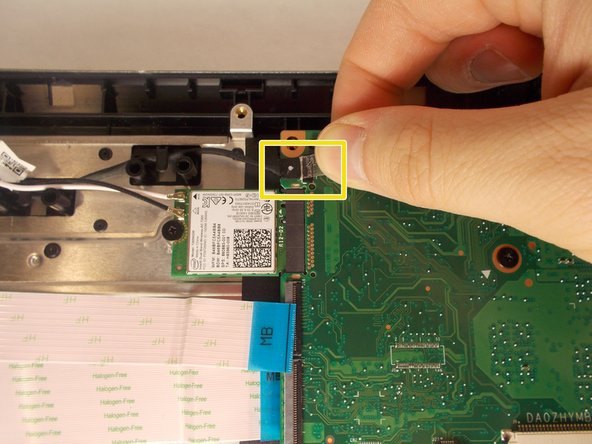
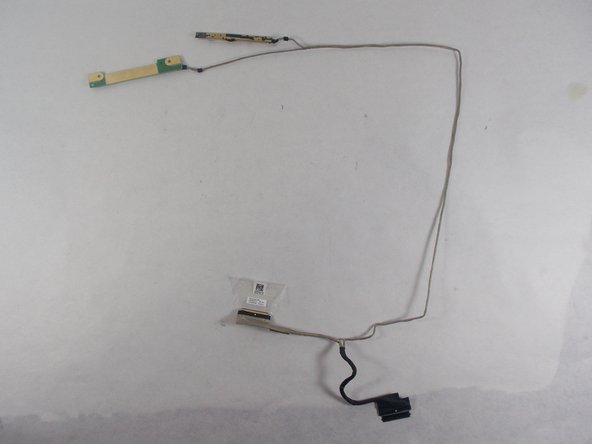
Remove the microphone component from the rest of the computer by detaching the connected wire.
-
The camera component of the laptop is connected to the same wire, so remove this as well.
-
The camera is only held down with adhesives, so there is no need to use any tools.
-
-
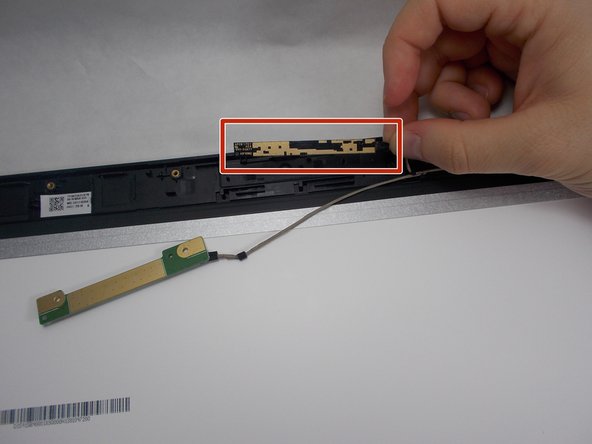
Remove the microphone and camera wire out from around the display screen.
-
Remove the ribbon cable at the bottom of the display screen to completely free the wire.
-
Carefully remove the adhesive tape and take out the ribbon cable.
-
このガイドを埋め込む
サイズを選択し、以下のコードをコピーして、このガイドを小さなウィジェットとしてサイト/フォーラムに埋め込みます。
プレビュー