メインコンテンツにスキップ

Acer Chromebook CB3-131-C3KD Battery Replacement

必要な工具と部品

  1. Acer Chromebook CB3-131-C3KD Battery Replacement, Battery: 手順 1、 2の画像 1 Acer Chromebook CB3-131-C3KD Battery Replacement, Battery: 手順 1、 2の画像 2
    • Make sure you turn off the laptop before starting.

    • Unscrew and remove the (11) eleven 4mm J0 head screws on the underside of the laptop using the JIS #0 screwdriver.

  2. Acer Chromebook CB3-131-C3KD Battery Replacement: 手順 2、 3の画像 1 Acer Chromebook CB3-131-C3KD Battery Replacement: 手順 2、 3の画像 2 Acer Chromebook CB3-131-C3KD Battery Replacement: 手順 2、 3の画像 3
    • Use the plastic opening tool to remove the back cover.

    • Be careful not to damage the ribbon cable connecting the back cover to the laptop.

  3. Acer Chromebook CB3-131-C3KD Battery Replacement: 手順 3、 2の画像 1 Acer Chromebook CB3-131-C3KD Battery Replacement: 手順 3、 2の画像 2
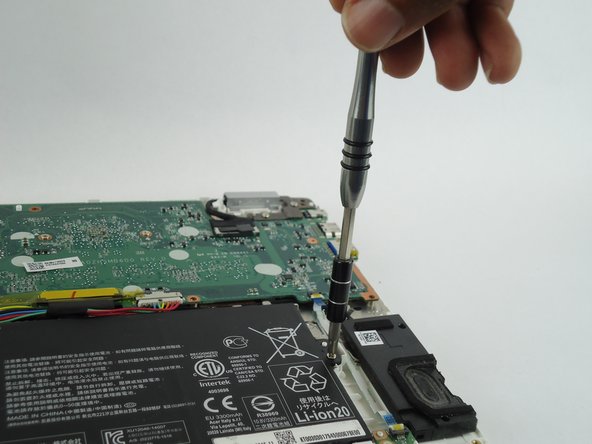
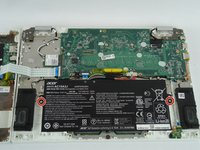
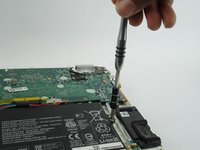
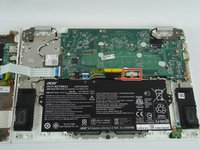
    • Unscrew the (2) two 3mm J0 Phillips head screws that hold the battery in place.

  4. Acer Chromebook CB3-131-C3KD Battery Replacement: 手順 4、 2の画像 1 Acer Chromebook CB3-131-C3KD Battery Replacement: 手順 4、 2の画像 2
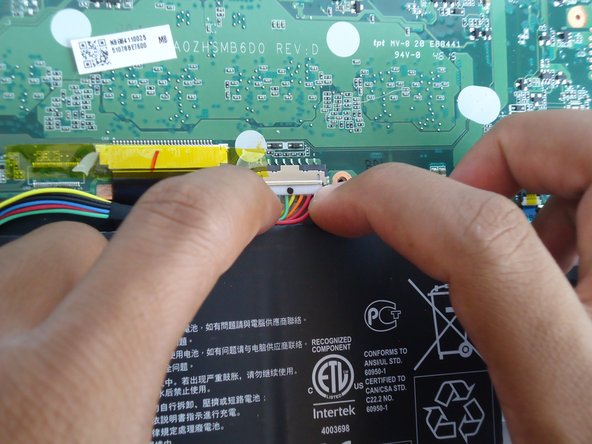
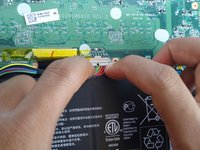
    • Disconnect the battery from the motherboard.

    • Carefully disconnect the cable parallel to the board, not at an angle. Otherwise, you could damage the port.

  5. Acer Chromebook CB3-131-C3KD Battery Replacement: 手順 5、 2の画像 1 Acer Chromebook CB3-131-C3KD Battery Replacement: 手順 5、 2の画像 2
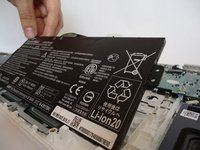
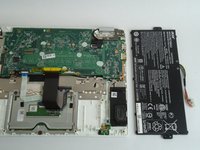
    • Carefully lift the battery from one side, and then lift it out of the laptop.

終わりに

To reassemble your device, follow these instructions in reverse order.

10 の人々がこのガイドを完成させました。

作成者

3人の作成者と共同で作成されました。

Ashley Oxner

メンバー登録日: 09/26/17

731 ポイント

3のガイドは作成済み

チーム

USF Tampa, Team S11-G1, Passmore Fall 2017 USF Tampa, Team S11-G1, Passmore Fall 2017人のメンバー

USFT-PASSMORE-F17S11G1

3 メンバー

10のガイドは作成済み

0件のガイドコメント

コメントを追加

統計データ:

過去 24時間: 0

過去 7 日: 5

過去 30 日: 15

今までの合計 12,518