この修理ガイドは変更されています。最新の未承認バージョンに切り替えます。
はじめに
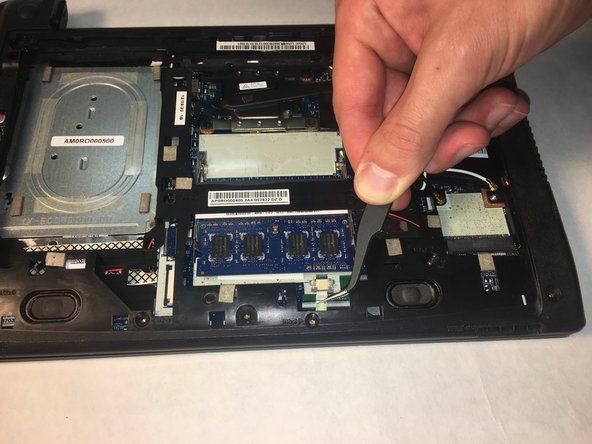
With use, the SD card reader of your laptop may stop reading SD cards. The SD card reader might need to be replaced if your computer does not recognize when a SD card is inserted. It is a good idea to attempt inserting multiple SD cards to ensure that the SD card reader is the problem, not the SD card itself. Replace the reader with this guide.
必要な工具と部品


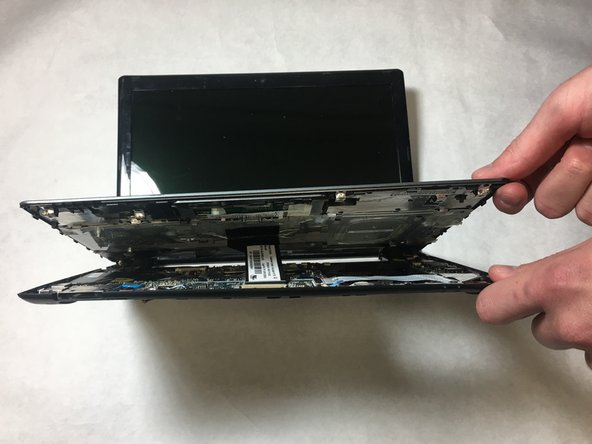

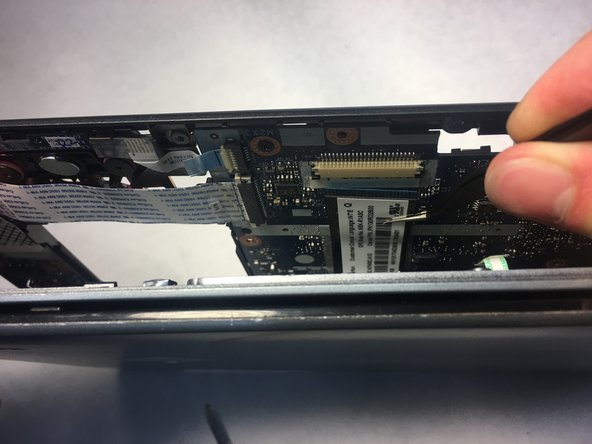


To reassemble your device, follow these instructions in reverse order.
To reassemble your device, follow these instructions in reverse order.
チーム

IUPUI, Team S1-G6, Harley Fall 2018 IUPUI, Team S1-G6, Harley Fall 2018人のメンバー
IUPUI-HARLEY-F18S1G6
3 メンバー
4のガイドは作成済み