メインコンテンツにスキップ

Acer Aspire V5-131-2629 Hard Drive Replacement

必要な工具と部品

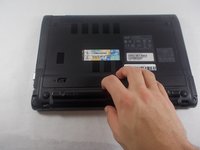
  1. Acer Aspire V5-131-2629 Hard Drive Replacement, Battery: 手順 1、 1の画像 1
    • Carefully turn your Acer Aspire V5-131-2629 upside down, so that the battery cell is visible and nearest to you.

  2. Acer Aspire V5-131-2629 Hard Drive Replacement: 手順 2、 1の画像 1
    • Identify the small, oval slide switch on the left hand side of the laptop, directly above the battery.

  3. Acer Aspire V5-131-2629 Hard Drive Replacement: 手順 3、 1の画像 1
    • Insert an opening tool into the hole on the right side of the oval switch. Use the opening tool to slide the switch to the right.

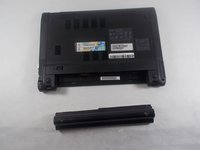
  4. Acer Aspire V5-131-2629 Hard Drive Replacement: 手順 4、 2の画像 1 Acer Aspire V5-131-2629 Hard Drive Replacement: 手順 4、 2の画像 2
    • With the switch engaged to the right, firmly pull the battery out and towards yourself, parallel to your work surface.

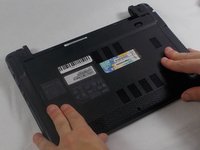
  5. Acer Aspire V5-131-2629 Hard Drive Replacement, Cover: 手順 5、 1の画像 1
    • Remove the single Phillips #0 screw from the cover on the underside of the laptop.

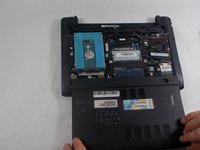
  6. Acer Aspire V5-131-2629 Hard Drive Replacement: 手順 6、 2の画像 1 Acer Aspire V5-131-2629 Hard Drive Replacement: 手順 6、 2の画像 2
    • Remove the cover by sliding it outwards and remove it from the device.

  7. Acer Aspire V5-131-2629 Hard Drive Replacement, Hard Drive: 手順 7、 1の画像 1
    • Locate the large blue hard drive on the left side on the computer.

  8. Acer Aspire V5-131-2629 Hard Drive Replacement: 手順 8、 1の画像 1
    • Gently pull out the ribbon cable on the computer-attached end.

  9. Acer Aspire V5-131-2629 Hard Drive Replacement: 手順 9、 1の画像 1
    • Completely remove the hard drive from the hard drive bay.

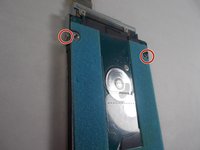
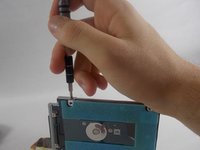
  10. Acer Aspire V5-131-2629 Hard Drive Replacement: 手順 10、 2の画像 1 Acer Aspire V5-131-2629 Hard Drive Replacement: 手順 10、 2の画像 2
    • Remove the two screws on the side of the hard drive cage.

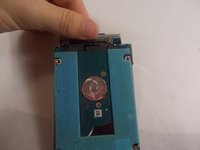
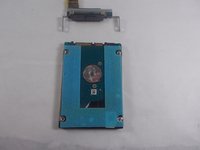
  11. Acer Aspire V5-131-2629 Hard Drive Replacement: 手順 11、 2の画像 1 Acer Aspire V5-131-2629 Hard Drive Replacement: 手順 11、 2の画像 2
    • Pull the hard drive cage from the hard drive to separate the two.

終わりに

To reassemble your device, follow these instructions in reverse order.

4 の人々がこのガイドを完成させました。

作成者

5人の作成者と共同で作成されました。

Nicole B Bosse

メンバー登録日: 10/27/19

175 ポイント

1ガイドが承認済み

チーム

UMass Dartmouth, Team S1-G3, O'Connell Fall 2019 UMass Dartmouth, Team S1-G3, O'Connell Fall 2019人のメンバー

UMASSD-O'CONNELL-F19S1G3

3 メンバー

12のガイドは作成済み

0 件のコメント

コメントを追加

統計データ:

過去 24時間: 0

過去 7 日: 3

過去 30 日: 23

今までの合計 1,366