はじめに
The Wi-Fi card is what enables the laptop to connect to a wireless internet connection, such as one found in a school or in a cafe. If your laptop is not maintaining a steady internet connection, then your Wi-Fi card is either disconnected or will need to be replaced. The goal of this guide is to show how to replace a faulty Wi-Fi card (or upgrade to a newer one). The Wi-Fi card is only connected to the computer by a few cables, and is relatively easy to remove and replace. In this guide, a plastic opening tool, a spudger, and a Phillips #0 screwdriver will be needed. The steps required for this guide will only take a few minutes to complete.
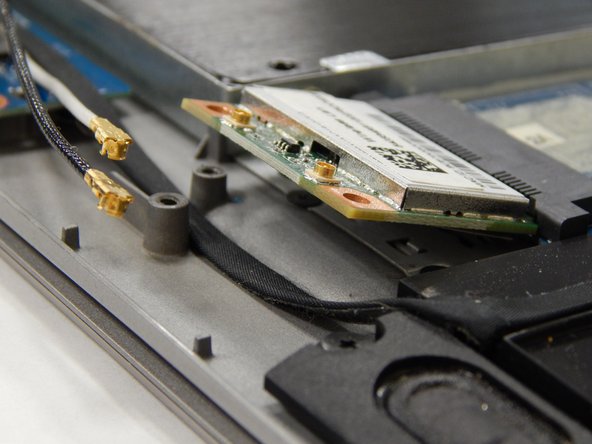
When reconnecting the two cables that attach to the Wi-Fi card, remember to align them as they were before they were removed. Additionally, don't forget to disconnect the battery from the motherboard before beginning any internal repair or replacement work. This way, electric discharge and damage to internal components can be avoided.
必要な工具と部品
-
-
Keeping it closed, turn the laptop upside down.
-
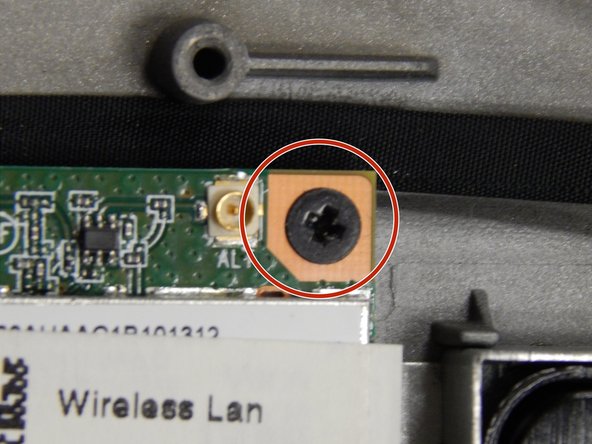
With the Phillips #0 screwdriver, remove the twelve 5 mm screws that hold the laptop together.
-
Insert the plastic opening tool between the plastic casings to pull the bottom lid of the laptop up.
-
-


To reassemble your device, follow these instructions in reverse order.
To reassemble your device, follow these instructions in reverse order.

チーム

UW Tacoma, Team S1-G1, Rose Fall 2018 UW Tacoma, Team S1-G1, Rose Fall 2018人のメンバー
UWT-ROSE-F18S1G1
4 メンバー
5のガイドは作成済み