メインコンテンツにスキップ

Acer Aspire S3-391-6046 Keyboard Replacement

必要な工具と部品

  1. Acer Aspire S3-391-6046 Keyboard Replacement, Back Cover: 手順 1、 1の画像 1
    • Place laptop upside down.

  2. Acer Aspire S3-391-6046 Keyboard Replacement: 手順 2、 2の画像 1 Acer Aspire S3-391-6046 Keyboard Replacement: 手順 2、 2の画像 2
    • Remove the twelve 5mm screws with a Phillips #1 screwdriver.

  3. Acer Aspire S3-391-6046 Keyboard Replacement: 手順 3、 1の画像 1
    • Lift cover upwards away from you.

  4. Acer Aspire S3-391-6046 Keyboard Replacement, Keyboard: 手順 4、 3の画像 1 Acer Aspire S3-391-6046 Keyboard Replacement, Keyboard: 手順 4、 3の画像 2 Acer Aspire S3-391-6046 Keyboard Replacement, Keyboard: 手順 4、 3の画像 3
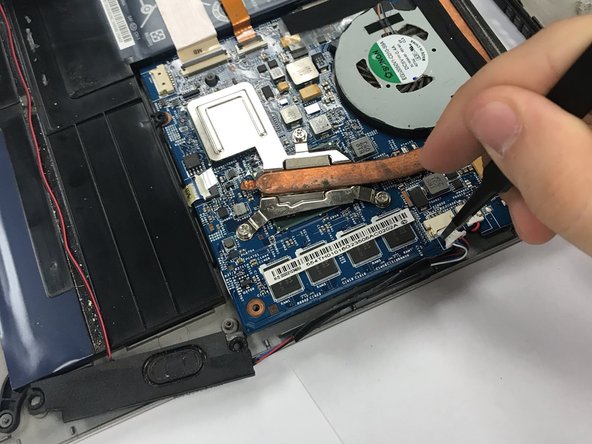
    • Remove the four Phillips #0 screws that are connected to the left and right speakers.

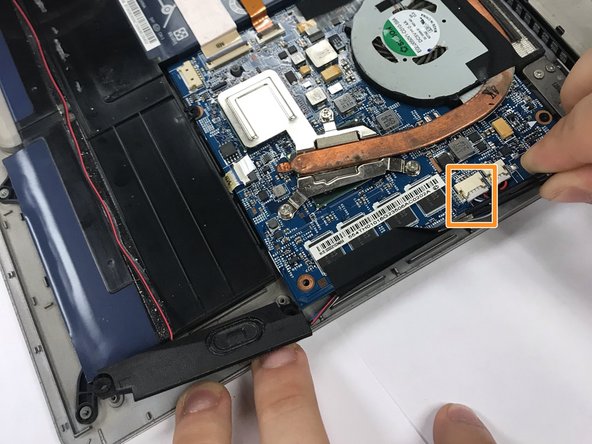
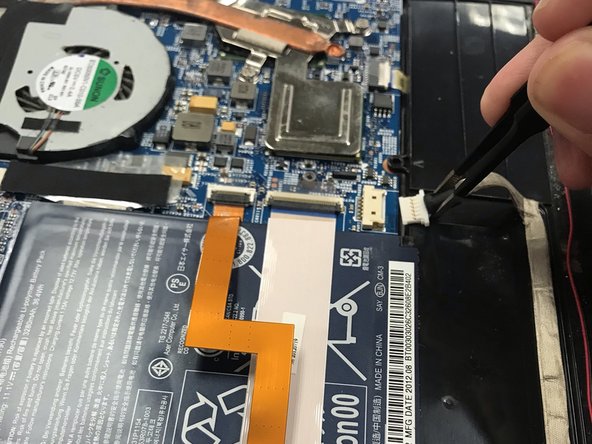
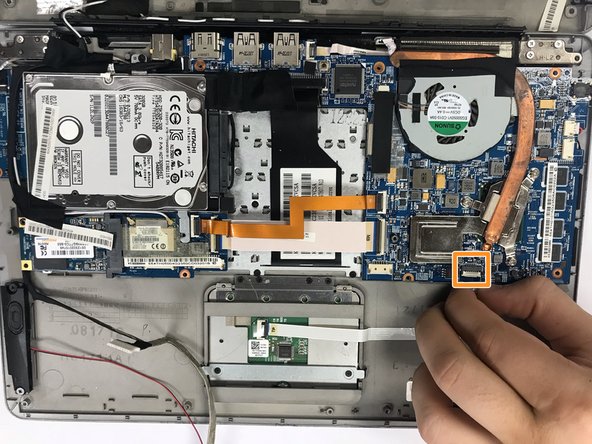
    • Carefully disconnect the wires that connect the speaker to the rest of the computer.

  5. Acer Aspire S3-391-6046 Keyboard Replacement: 手順 5、 1の画像 1
    • Remove two Phillips #0 screws that are beside the ends of the gray wire.

  6. Acer Aspire S3-391-6046 Keyboard Replacement: 手順 6、 3の画像 1 Acer Aspire S3-391-6046 Keyboard Replacement: 手順 6、 3の画像 2 Acer Aspire S3-391-6046 Keyboard Replacement: 手順 6、 3の画像 3
    • Remove the gray wire slowly with tweezers.

    • Carefully peel wire off.

  7. Acer Aspire S3-391-6046 Keyboard Replacement: 手順 7、 2の画像 1 Acer Aspire S3-391-6046 Keyboard Replacement: 手順 7、 2の画像 2
    • Slowly remove the two wires that are to the left of the battery with tweezers in an upward pulling motion.

  8. Acer Aspire S3-391-6046 Keyboard Replacement: 手順 8、 2の画像 1 Acer Aspire S3-391-6046 Keyboard Replacement: 手順 8、 2の画像 2
    • Completely remove the battery out of its position.

  9. Acer Aspire S3-391-6046 Keyboard Replacement: 手順 9、 2の画像 1 Acer Aspire S3-391-6046 Keyboard Replacement: 手順 9、 2の画像 2
    • Remove the five Phillips #0 screws that are on the border of the laptop.

    • Disconnect the white wire that is below the fan.

  10. Acer Aspire S3-391-6046 Keyboard Replacement: 手順 10、 2の画像 1 Acer Aspire S3-391-6046 Keyboard Replacement: 手順 10、 2の画像 2
    • Flip all of the circuits upwards.

    • Remove all Phillips #0 screws.

    • Remove the keyboard.

終わりに

To reassemble your device, follow these instructions in reverse order.

作成者

1人の作成者と共同作成されました。

Brian Jimenez

メンバー登録日: 09/18/18

145 ポイント

1ガイドが承認済み

チーム

University of North Texas, Team S3-G3, Raign Fall 2018 University of North Texas, Team S3-G3, Raign Fall 2018人のメンバー

UNT-RAIGN-F18S3G3

4 メンバー

6のガイドは作成済み

0 件のコメント

コメントを追加

統計データ:

過去 24時間: 0

過去 7 日: 1

過去 30 日: 2

今までの合計 821