はじめに
If your Acer Aspire R R5-471T-51UN trackpad is not responding to your finger movements correctly—slow cursor movement, no cursor movement, the cursor is not moving in the direction that matches your finger movement, or the laptop is not waking up when you move your finger across the trackpad—use this guide to replace the trackpad on your laptop.
The trackpad is the part on the laptop that allows you to move the cursor with the touch and movement of your finger to access different applications on your desktop. Without a properly working trackpad, it will be very hard to navigate around your laptop.
If your cursor is not moving at all when you touch the trackpad, make sure your trackpad is enabled by checking through the settings, or press the specific keys on the laptop that enable and disable the trackpad. To figure out what specific keys to press, use this link: How do I enable or disable the touchpad on my computer? - Acer Community. You should do this step before going through this guide to replace your entire trackpad.
If the problem with your laptop is a faulty trackpad, completing this guide should give you a newly working trackpad. Your cursor should respond to the touch and movement of your finger and move in the same direction that your finger is moving on the trackpad. This should also wake your computer up when you drag your finger across the touchpad.
This guide requires the unscrewing of and prying apart certain parts of the laptop using the tools listed in the guide. Do not use a large amount of force when doing these tasks as some of the parts inside the laptop are delicate and can be easily broken.
必要な工具と部品
-
-
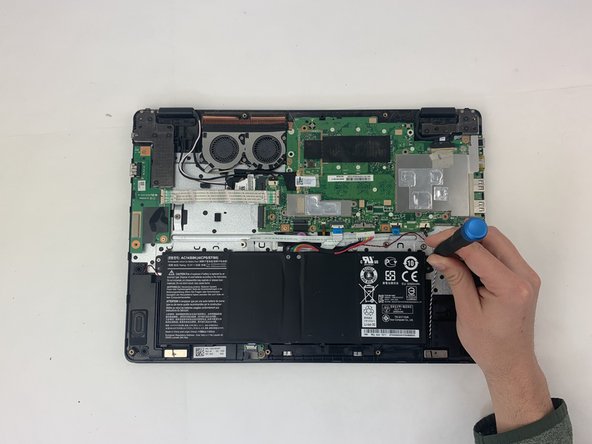
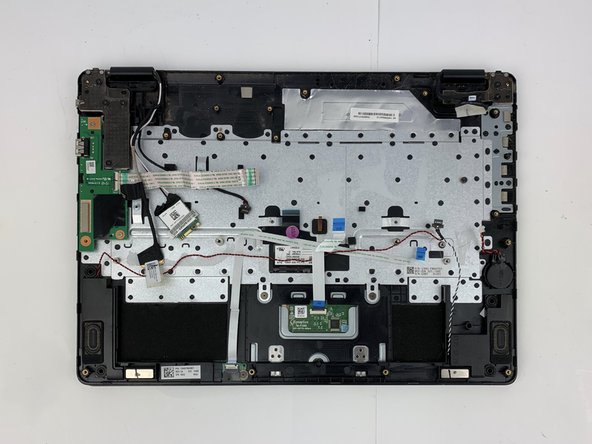
Flip your laptop over so the bottom is facing you.
-
Remove the twelve 5 mm screws with a Phillips #0 screwdriver.
-
-
-
-
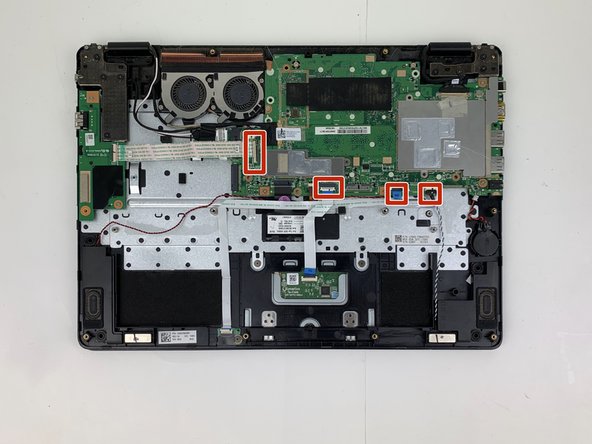
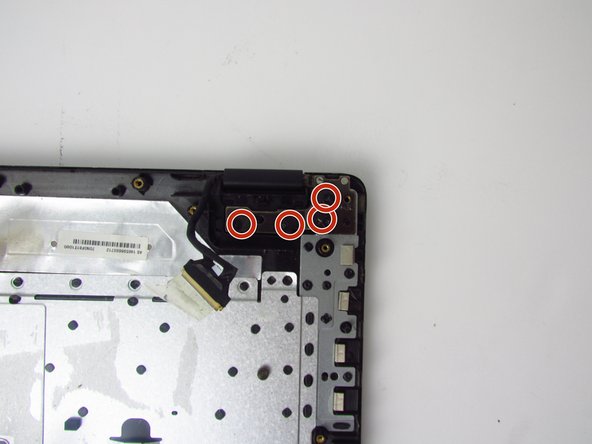
Use the spudger to flip up the locking tabs on each of the four ZIF cable connectors.
-
Remove each of the ribbon cables from their connectors.
-
-
-
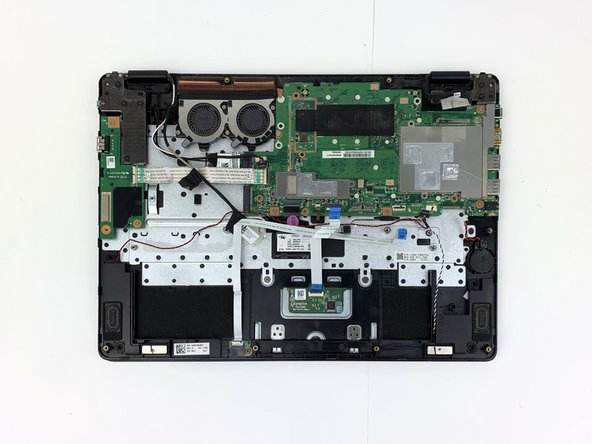
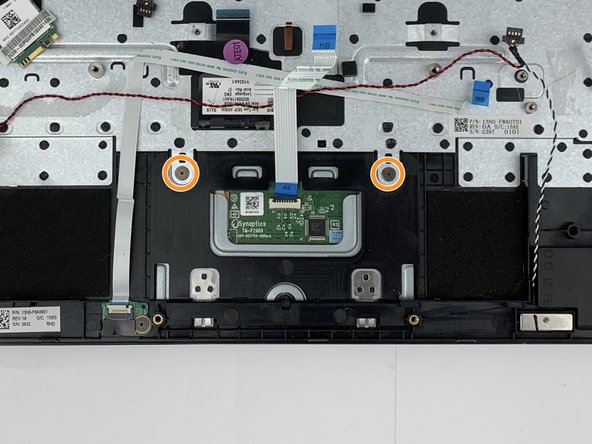
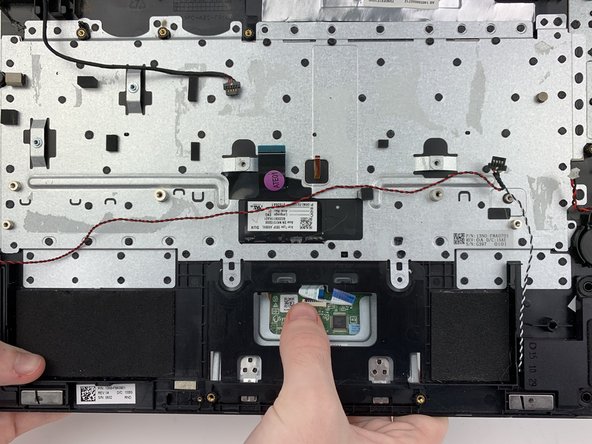
Use a spudger to flip up the locking tab of the trackpad ZIF connector and remove the ribbon cable from it.
-
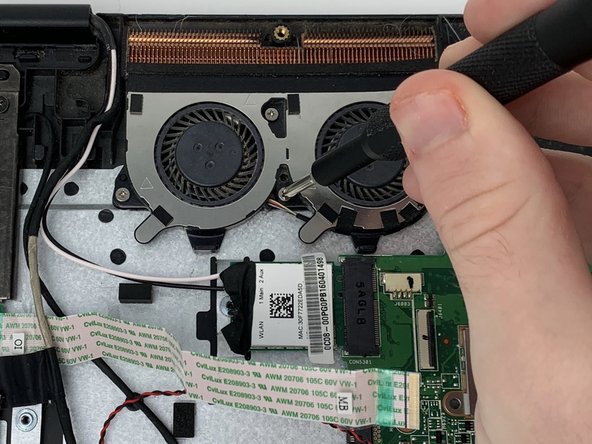
Remove the two screws holding the trackpad to the frame with a Phillips #0 screwdriver.
-


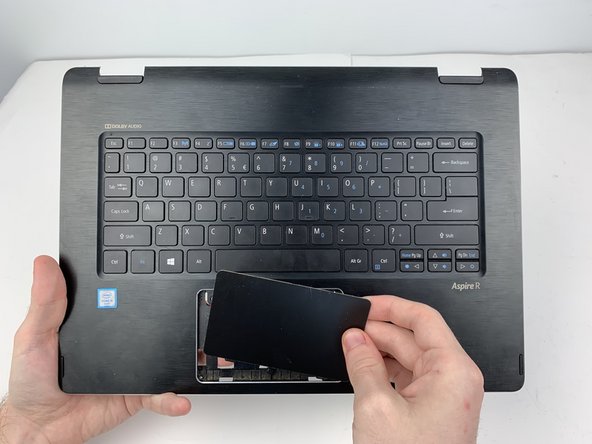
To reassemble your device, follow these instructions in reverse order.
To reassemble your device, follow these instructions in reverse order.
チーム

Embry-Riddle Aeronautical University, Team S3-G3, Watkins Spring 2020 Embry-Riddle Aeronautical University, Team S3-G3, Watkins Spring 2020人のメンバー
ERAU-WATKINS-S20S3G3
4 メンバー
5のガイドは作成済み