メインコンテンツにスキップ

Acer Aspire One 751h-1948 Keyboard Replacement

必要な工具と部品

  1. Acer Aspire One 751h-1948 Keyboard Replacement, Battery: 手順 1、 1の画像 1
    • Close the laptop and flip it over to view the back of the laptop.

  2. Acer Aspire One 751h-1948 Keyboard Replacement: 手順 2、 3の画像 1 Acer Aspire One 751h-1948 Keyboard Replacement: 手順 2、 3の画像 2 Acer Aspire One 751h-1948 Keyboard Replacement: 手順 2、 3の画像 3
    • Unlock the right side of the battery by sliding the battery lock to the right. Then slide the left lock to the left and remove the battery.

  3. Acer Aspire One 751h-1948 Keyboard Replacement, Keyboard: 手順 3、 3の画像 1 Acer Aspire One 751h-1948 Keyboard Replacement, Keyboard: 手順 3、 3の画像 2 Acer Aspire One 751h-1948 Keyboard Replacement, Keyboard: 手順 3、 3の画像 3
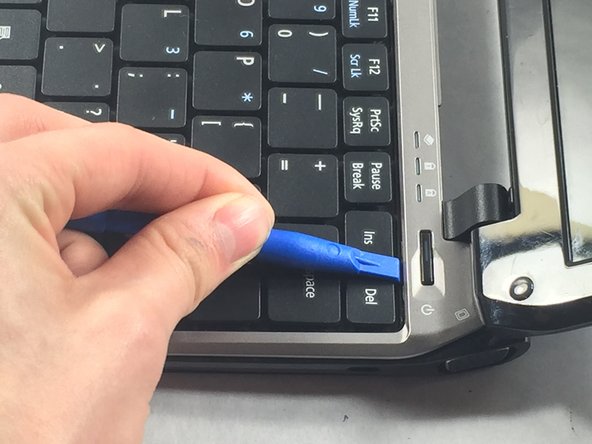
    • Use the plastic opening tool to push in each of the four clips and carefully lift the keyboard.
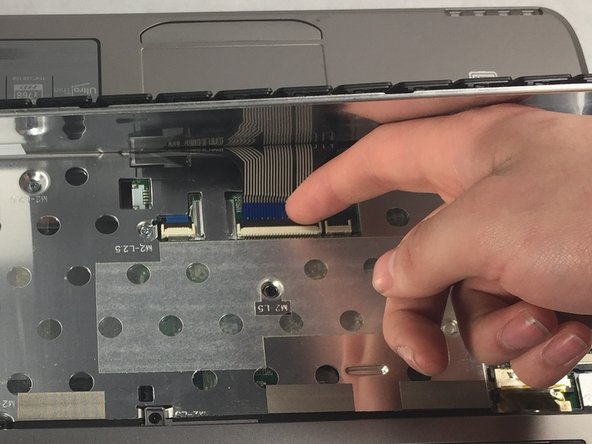
    • Don't lift the keyboard completely so that you don't damage the ribbon cable underneath.

  4. Acer Aspire One 751h-1948 Keyboard Replacement: 手順 4、 2の画像 1 Acer Aspire One 751h-1948 Keyboard Replacement: 手順 4、 2の画像 2
    • When you remove the keyboard, be careful not to damage the ribbon cable that attaches it to the motherboard.

    • Unplug the ribbon cable by gently lifting the black tab up. Then remove the cable.

終わりに

To reassemble your device, follow these instructions in reverse order.

ある他の人がこのガイドを完成しました。

作成者

2人の作成者と共同で作成されました。

Chris Bolton

メンバー登録日: 03/22/17

434 ポイント

4のガイドは作成済み

チーム

UMass Dartmouth, Team S8-G2, Catania Spring 2017 UMass Dartmouth, Team S8-G2, Catania Spring 2017人のメンバー

UMASSD-CATANIA-S17S8G2

3 メンバー

8のガイドは作成済み

0 件のコメント

コメントを追加

統計データ:

過去 24時間: 0

過去 7 日: 1

過去 30 日: 3

今までの合計 217