はじめに
If you need to replace the mSATA Solid-State Drive on the Acer Aspire M5-583P-6423, use this guide.
A solid-state drive (SSD) is a device that stores data persistently. The purpose of replacing the solid-state drive is so that the device's operating system can boot up faster, programs can load quicker, and files can be saved more rapidly. The replacement of this drive will additionally help the longevity of the device depending on how much you write and save to it.
Before you begin using this guide, turn off and unplug your device.
必要な工具と部品
-
-
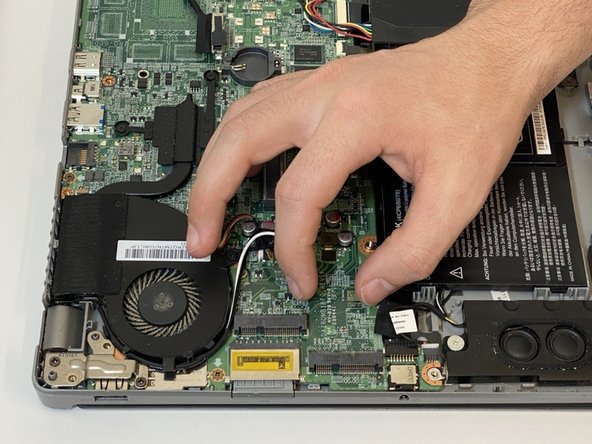
Turn the computer off and close it. Disconnect the charging cable from the laptop and place the laptop upside down.
-
Remove seventeen M2.5x8mm screws on the back cover of the laptop with the Phillips #00 screwdriver.
-
-
-
-
The boxed area shows where your mSATA Solid State Drive (mSATA SSD) connects to your laptop's motherboard.
-
Remove the M2x3mm screw using the Phillips #00 Screwdriver.
-
If your laptop already has an mSATA SSD connected, remove it by lifting it up to a 45° angle and pulling it out.
-


To reassemble your device, follow these instructions in reverse order.
To reassemble your device, follow these instructions in reverse order.
ある他の人がこのガイドを完成しました。

チーム

Embry-Riddle Aeronautical University, Team S16-G6, Branham Spring 2020 Embry-Riddle Aeronautical University, Team S16-G6, Branham Spring 2020人のメンバー
ERAU-BRANHAM-S20S16G6
5 メンバー
5のガイドは作成済み