メインコンテンツにスキップ

Acer Aspire ES1-332 LCD Screen Replacement

必要な工具と部品

ビデオの概要

  1. Acer Aspire ES1-332 LCD Screen Replacement, LCD Screen: 手順 1、 3の画像 1 Acer Aspire ES1-332 LCD Screen Replacement, LCD Screen: 手順 1、 3の画像 2 Acer Aspire ES1-332 LCD Screen Replacement, LCD Screen: 手順 1、 3の画像 3
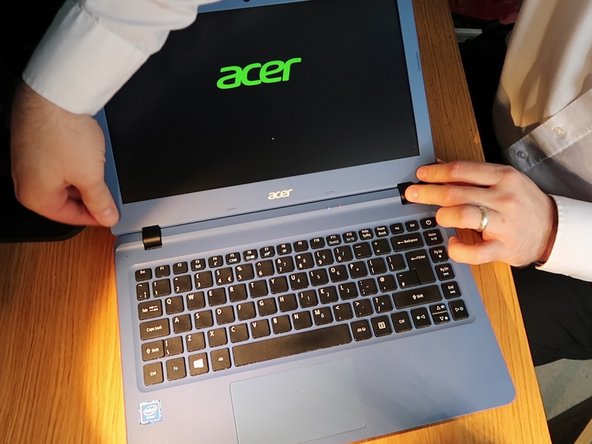
    • Grab a spudger and work your way around the outer edge of the screen

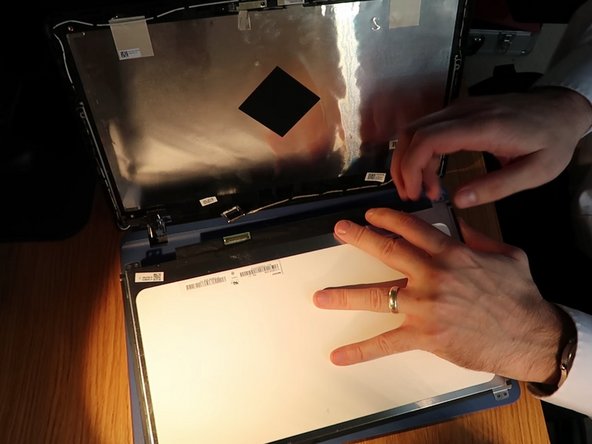
    • Lean the screen all the way back to remove the plastic frame from the hinges at the bottom

  2. Acer Aspire ES1-332 LCD Screen Replacement: 手順 2、 2の画像 1 Acer Aspire ES1-332 LCD Screen Replacement: 手順 2、 2の画像 2
    • Unscrew the 4 screws around the edge of the screen

    • Lean the screen all the way forward on to the keyboard

  3. Acer Aspire ES1-332 LCD Screen Replacement: 手順 3、 2の画像 1 Acer Aspire ES1-332 LCD Screen Replacement: 手順 3、 2の画像 2
    • Peal up the sticky tape next to the screen connector

    • Pull the connector down carefully away from the screen and disconnect it

  4. Acer Aspire ES1-332 LCD Screen Replacement: 手順 4、 3の画像 1 Acer Aspire ES1-332 LCD Screen Replacement: 手順 4、 3の画像 2 Acer Aspire ES1-332 LCD Screen Replacement: 手順 4、 3の画像 3
    • connect the new screen and screw back in place

    • Turn on the screen to test before putting the screen frame back on

    • Tilt the screen all the way back and push the frame back on hinges 1st.

    • Finally lean the laptop on its edge and clip the back on the hinges back in place.

ゴール

ある他の人がこのガイドを完成しました。

作成者

1人の作成者と共同作成されました。

Nick Myers

メンバー登録日: 04/15/18

3,398 ポイント

21のガイドは作成済み

0 件のコメント

コメントを追加

統計データ:

過去 24時間: 0

過去 7 日: 1

過去 30 日: 4

今までの合計 674