メインコンテンツにスキップ

Acer Aspire E1-531-2438 RAM Replacement

必要な工具と部品

  1. Acer Aspire E1-531-2438 RAM Replacement, Battery: 手順 1、 2の画像 1 Acer Aspire E1-531-2438 RAM Replacement, Battery: 手順 1、 2の画像 2
    • Unplug and power down the device before removing the battery.

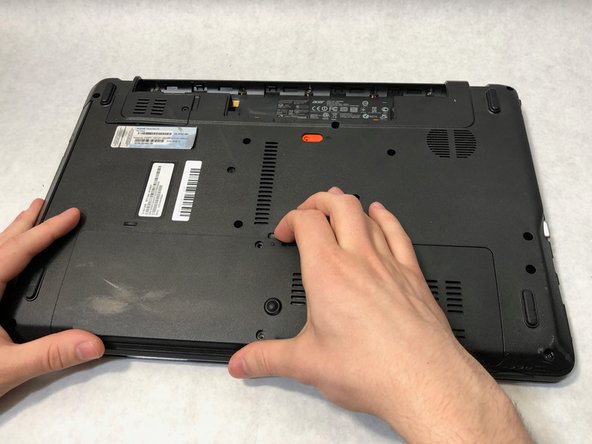
    • Turn the device over so the back side is facing up.

    • Using a spudger, slide the orange latch to the right. This will release the battery, which should pop up from the device.

    • Use two hands tilt the side of the battery closest to the orange latch upward as shown in the images.

  2. Acer Aspire E1-531-2438 RAM Replacement: 手順 2、 1の画像 1
    • Tilt the side of the battery closest to the orange latch upward.

    • Lift the battery up and out of the device.

  3. Acer Aspire E1-531-2438 RAM Replacement, RAM: 手順 3、 3の画像 1 Acer Aspire E1-531-2438 RAM Replacement, RAM: 手順 3、 3の画像 2 Acer Aspire E1-531-2438 RAM Replacement, RAM: 手順 3、 3の画像 3
    • Using a Phillips #0 screwdriver, remove the two 9mm screws on the access panel.

    • Remove the access panel to expose the hard drive, WiFi chip, and RAM modules.

  4. Acer Aspire E1-531-2438 RAM Replacement: 手順 4、 3の画像 1 Acer Aspire E1-531-2438 RAM Replacement: 手順 4、 3の画像 2 Acer Aspire E1-531-2438 RAM Replacement: 手順 4、 3の画像 3
    • Gently press outward on the two tabs that lock the RAM module in place.

    • Once the RAM module releases and flips up, gently pull the RAM module directly out of its socket.

終わりに

To reassemble your device, follow these instructions in reverse order.

作成者

2人の作成者と共同で作成されました。

Jakob Rinkus

メンバー登録日: 03/21/19

965 ポイント

7のガイドは作成済み

チーム

UMass Dartmouth, Team S8-G2, Bailey Spring 2019 UMass Dartmouth, Team S8-G2, Bailey Spring 2019人のメンバー

UMASSD-BAILEY-S19S8G2

3 メンバー

7のガイドは作成済み

0 件のコメント

コメントを追加

統計データ:

過去 24時間: 0

過去 7 日: 0

過去 30 日: 6

今までの合計 547