メインコンテンツにスキップ

Acer Aspire 5740-6378 Hard Drive Replacement

必要な工具と部品

  1. Acer Aspire 5740-6378 Hard Drive Replacement, Battery: 手順 1、 1の画像 1
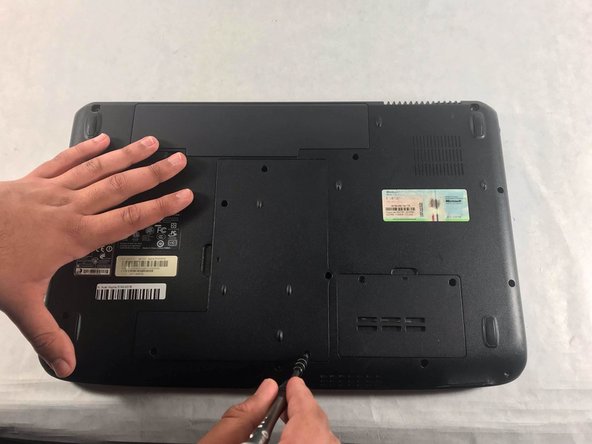
    • Slide the locking switch into the unlocked position to ready the battery for removal.

  2. Acer Aspire 5740-6378 Hard Drive Replacement: 手順 2、 1の画像 1
    • Slide the release latch until the battery pops out.

  3. Acer Aspire 5740-6378 Hard Drive Replacement: 手順 3、 1の画像 1
    • Remove the battery now that it's been unsecured.

  4. Acer Aspire 5740-6378 Hard Drive Replacement, Hard Drive: 手順 4、 1の画像 1
    • Flip over the device so the back is facing upward.

  5. Acer Aspire 5740-6378 Hard Drive Replacement: 手順 5、 2の画像 1 Acer Aspire 5740-6378 Hard Drive Replacement: 手順 5、 2の画像 2
    • Remove the five 8.7mm Phillips #0 screws securing the back panel.

  6. Acer Aspire 5740-6378 Hard Drive Replacement: 手順 6、 2の画像 1 Acer Aspire 5740-6378 Hard Drive Replacement: 手順 6、 2の画像 2
    • Remove the back panel using a spudger or other similar tool to lever it open to reveal the hard drive and other internal components.

  7. Acer Aspire 5740-6378 Hard Drive Replacement: 手順 7、 1の画像 1
    • Remove the single 3mm Phillips #0 screw that is holding the hard drive in place.

  8. Acer Aspire 5740-6378 Hard Drive Replacement: 手順 8、 3の画像 1 Acer Aspire 5740-6378 Hard Drive Replacement: 手順 8、 3の画像 2 Acer Aspire 5740-6378 Hard Drive Replacement: 手順 8、 3の画像 3
    • Slide the hard drive away from the connector, then lift it to remove the drive.

終わりに

To reassemble your device, follow these instructions in reverse order.

作成者

3人の作成者と共同で作成されました。

Ian Rodriguez

メンバー登録日: 03/20/19

734 ポイント

5のガイドは作成済み

チーム

UMass Dartmouth, Team S2-G5, Bailey Spring 2019 UMass Dartmouth, Team S2-G5, Bailey Spring 2019人のメンバー

UMASSD-BAILEY-S19S2G5

3 メンバー

5のガイドは作成済み

0 件のコメント

コメントを追加

統計データ:

過去 24時間: 0

過去 7 日: 0

過去 30 日: 4

今までの合計 299