はじめに
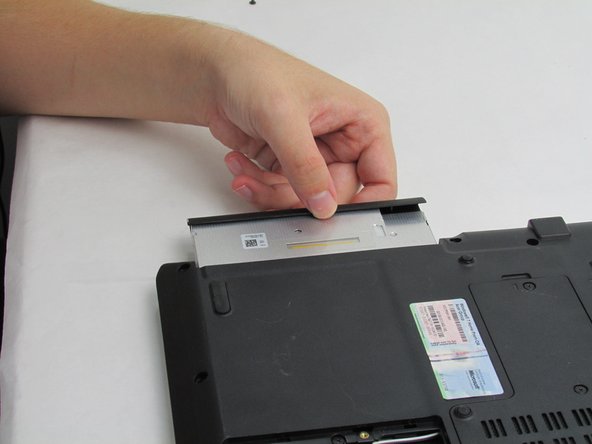
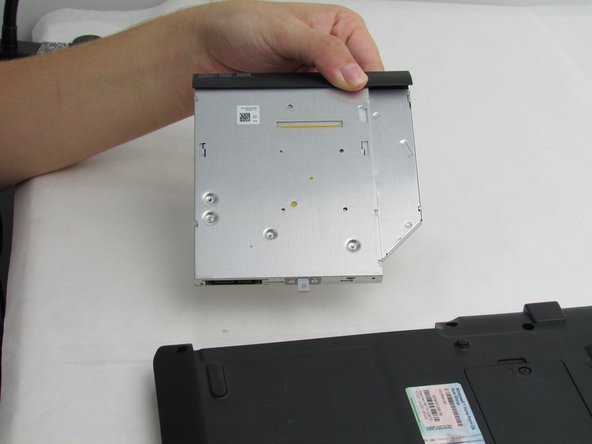
“Compact Disk”, CD Drive, is an external accessible memory component. Data is stored on the CD and is usually read by the drive. Data may also be written with the appropriate “read-write”, CD-RW, drive. The CD-ROM may be replaced by the added improvement of a “Digital Video Disk” drive, DVD will allow you to stream video. This guide will demonstrate how to replace the Acer Aspire 5534-1096 CD drive.
必要な工具と部品


To reassemble your device, follow these instructions in reverse order.
To reassemble your device, follow these instructions in reverse order.
チーム

Embry-Riddle Aeronautical University, Team S20-G4, Branham Fall 2019 Embry-Riddle Aeronautical University, Team S20-G4, Branham Fall 2019人のメンバー
ERAU-BRANHAM-F19S20G4
4 メンバー
5のガイドは作成済み